PetitGrand Update Progress Update
Updates on how the progress of Petit Grand is coming
Well, I am very satisfied with what I’ve gotten done this week; the first full week in my new shop. As you all know, the world has seemingly been turned upside down in the past few months and unsurprisingly has nudged me towards a change in direction. While my passion is for the large and impressive, times dictate a need to (at least for the time being) switch to small and complicated. The project that was originally named “Les Trois Tetons” and stood almost 15’ high has been adapted as I still cannot get the design out of my head.
What I have decided to do is scale the sculpture down and instead of welding a stainless steel skeleton and covering it with perforated aluminum, I am going to cast the structure from aluminum and cover the facets with the same dichroic glass as Double Diamond uses. I have created a “proof of concept” that is getting close to my liking:
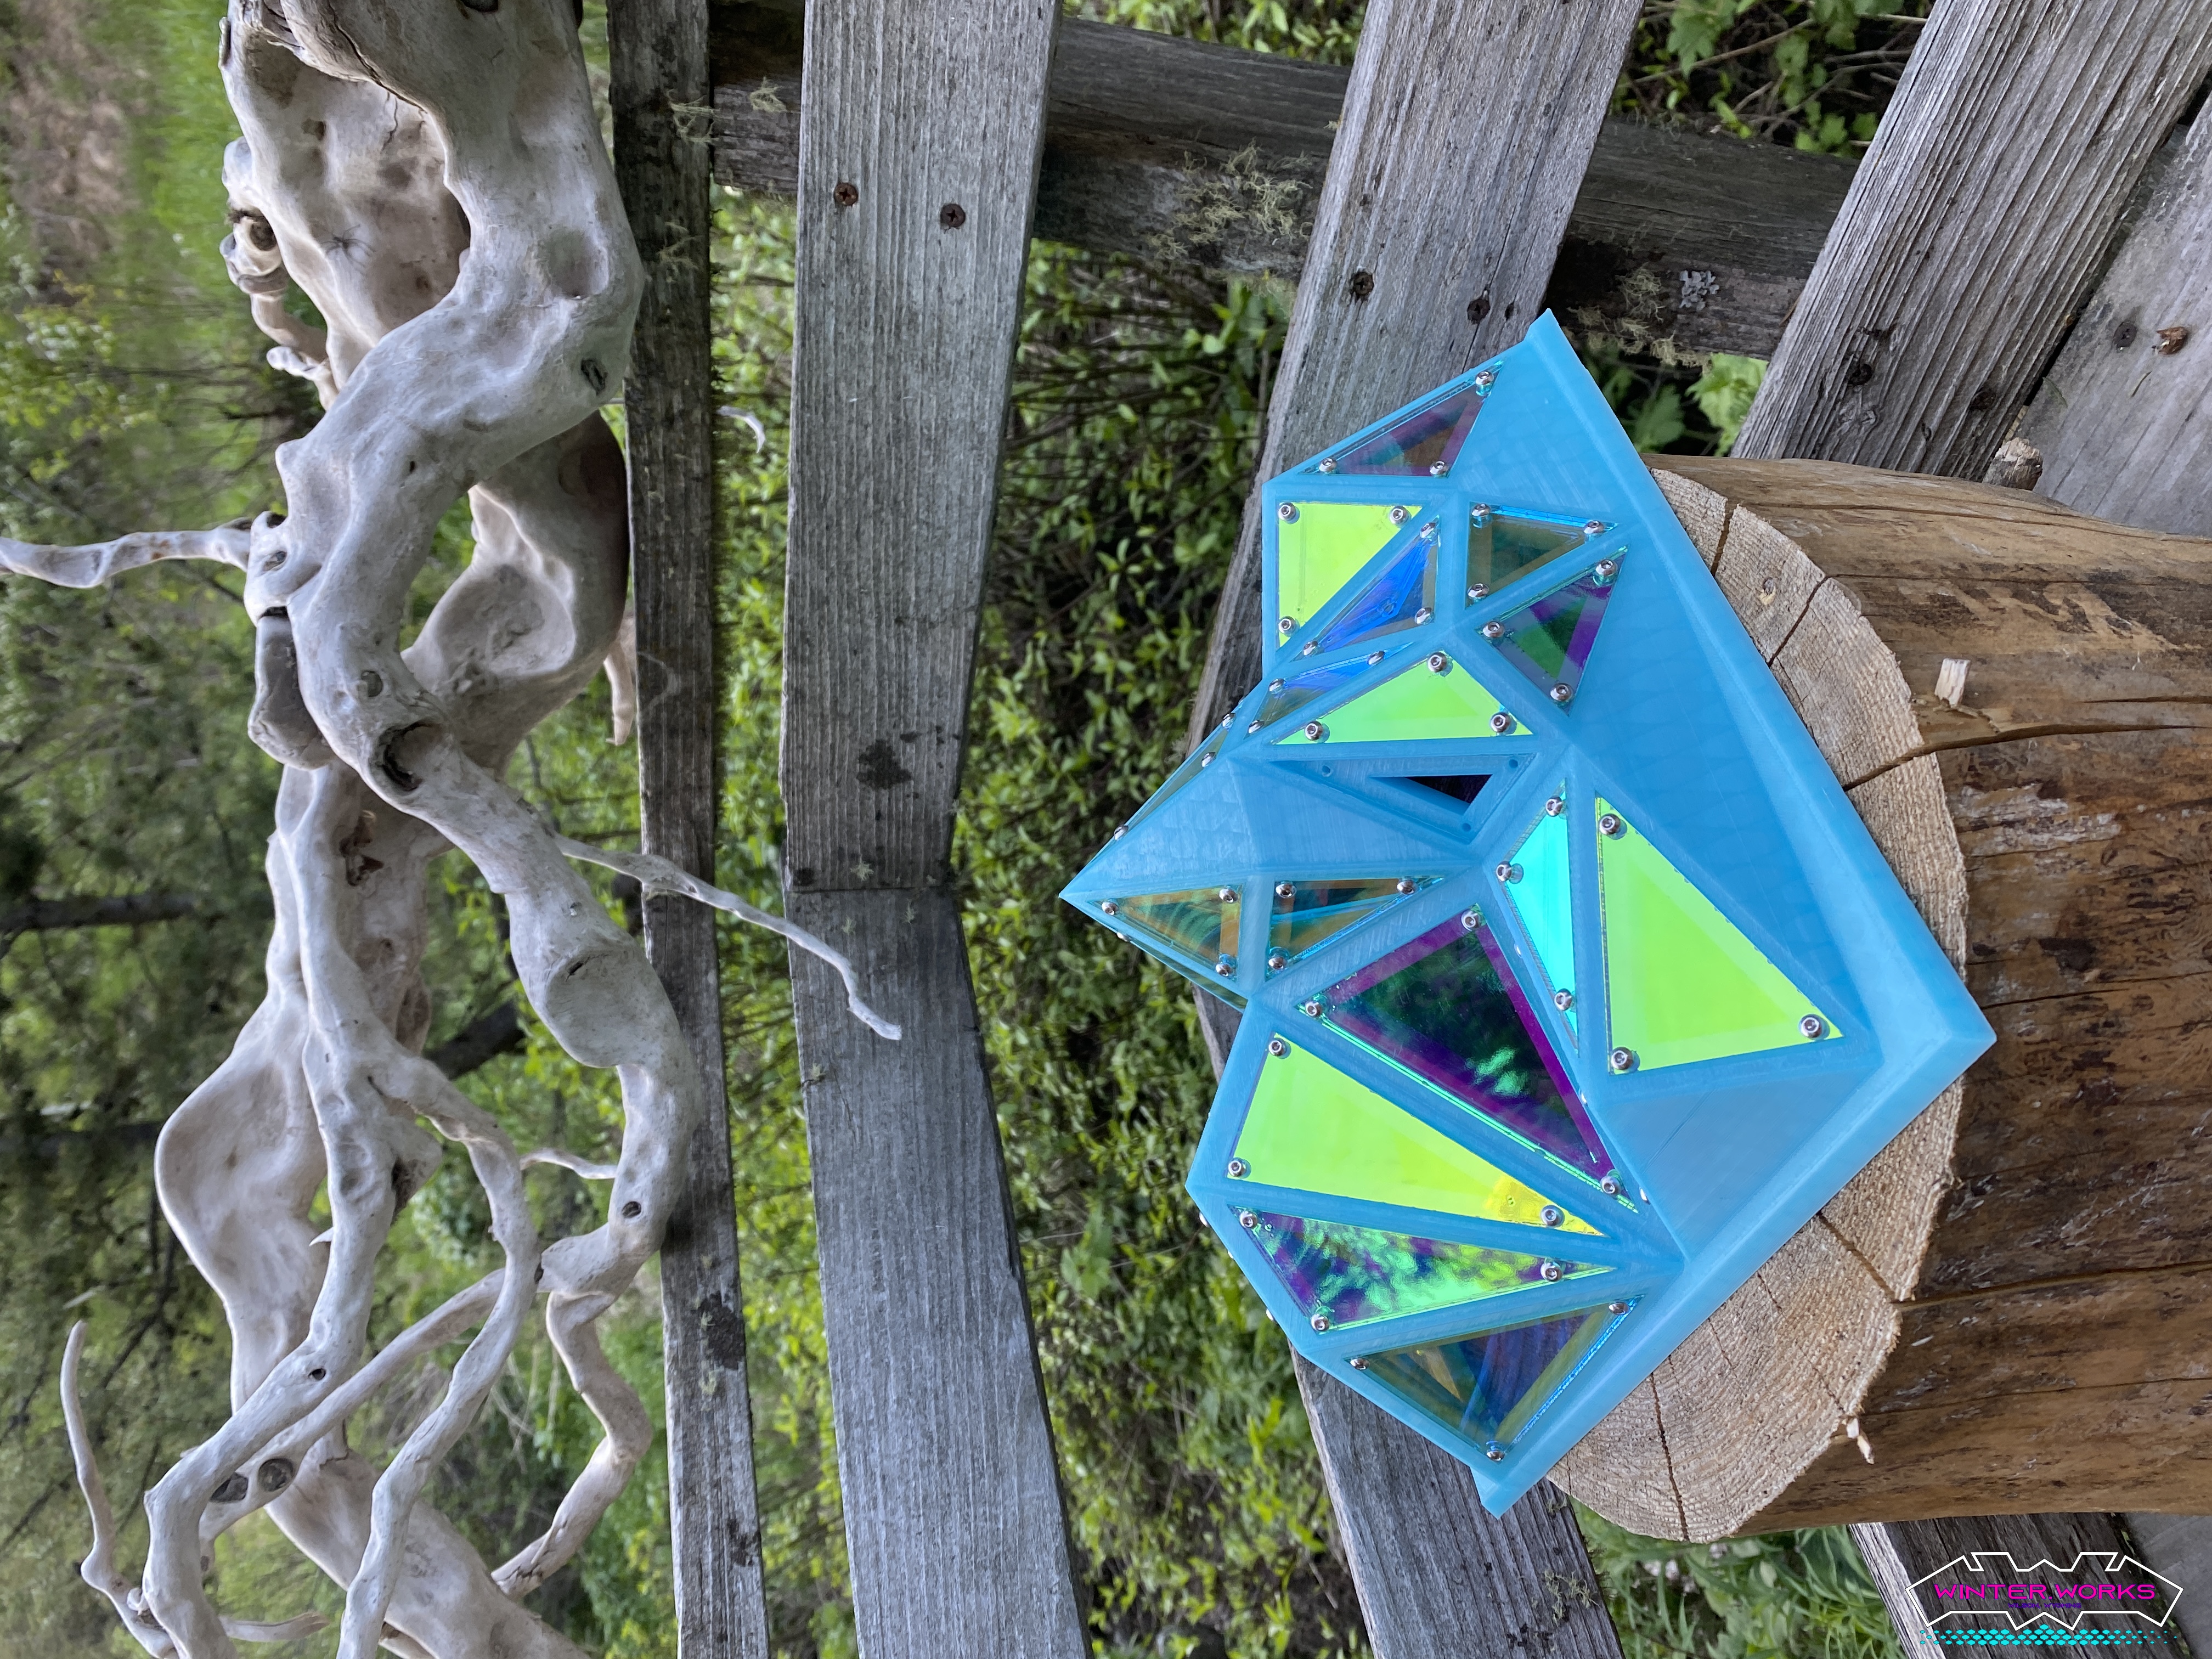
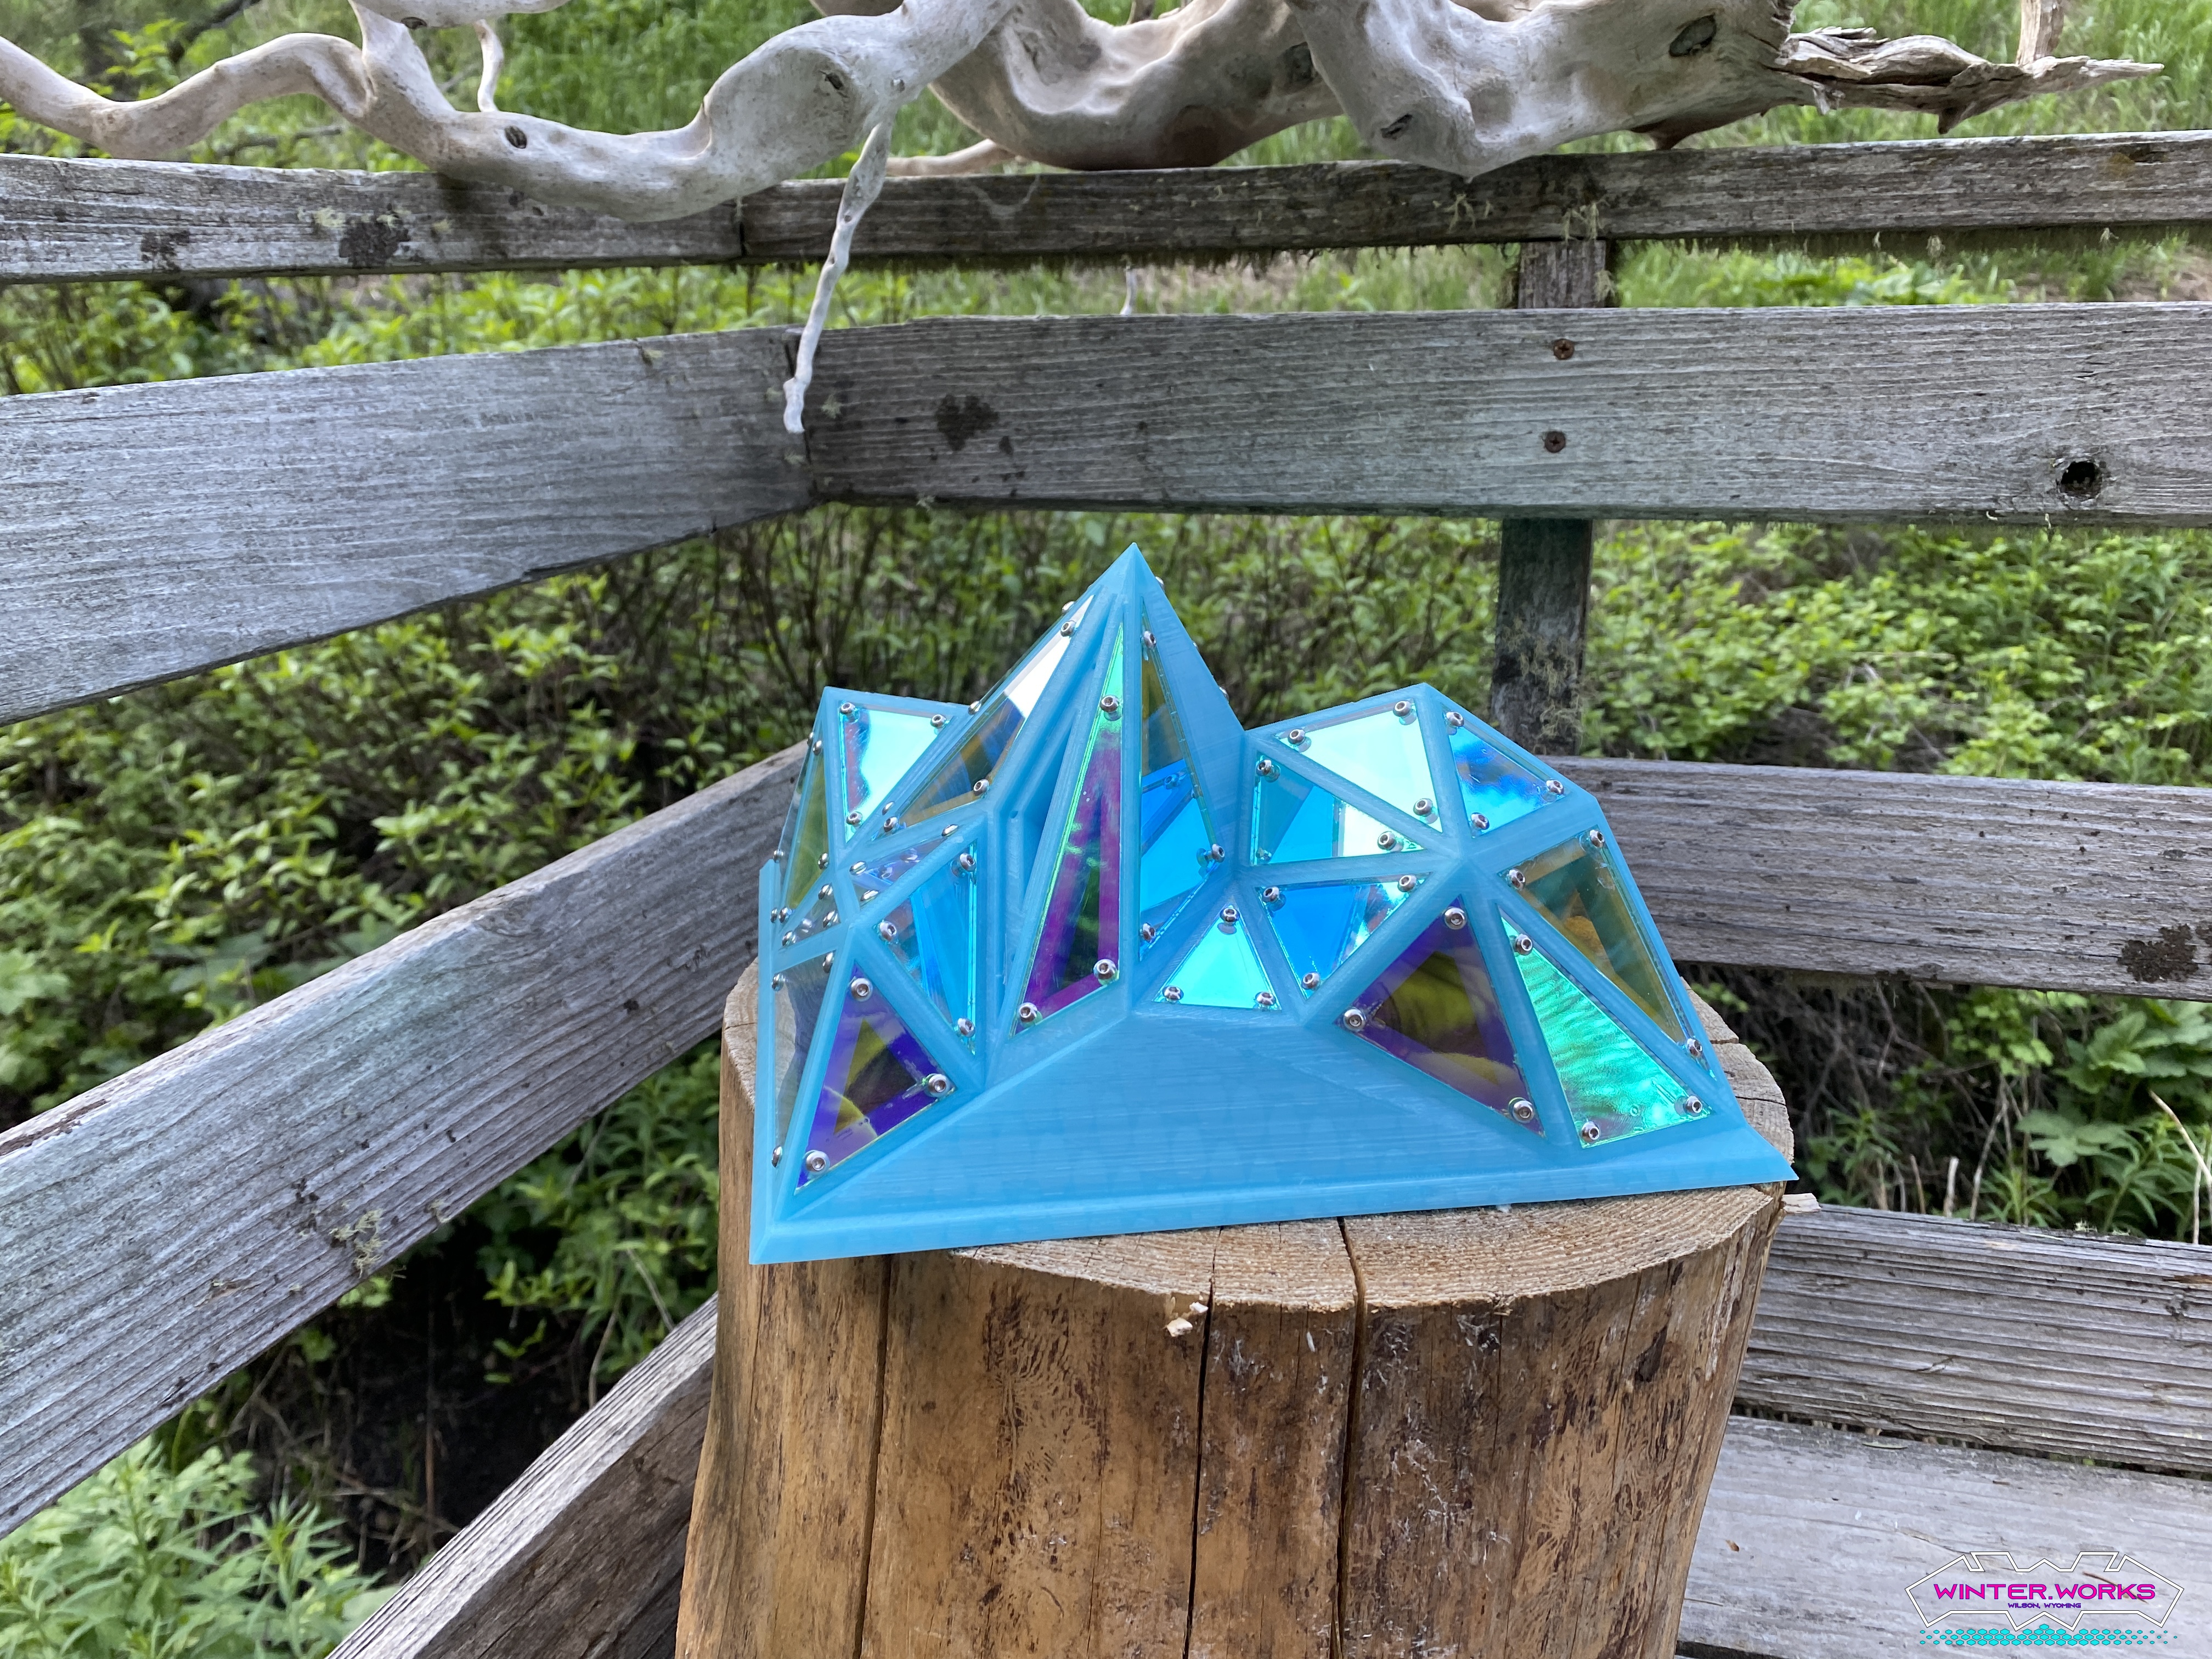
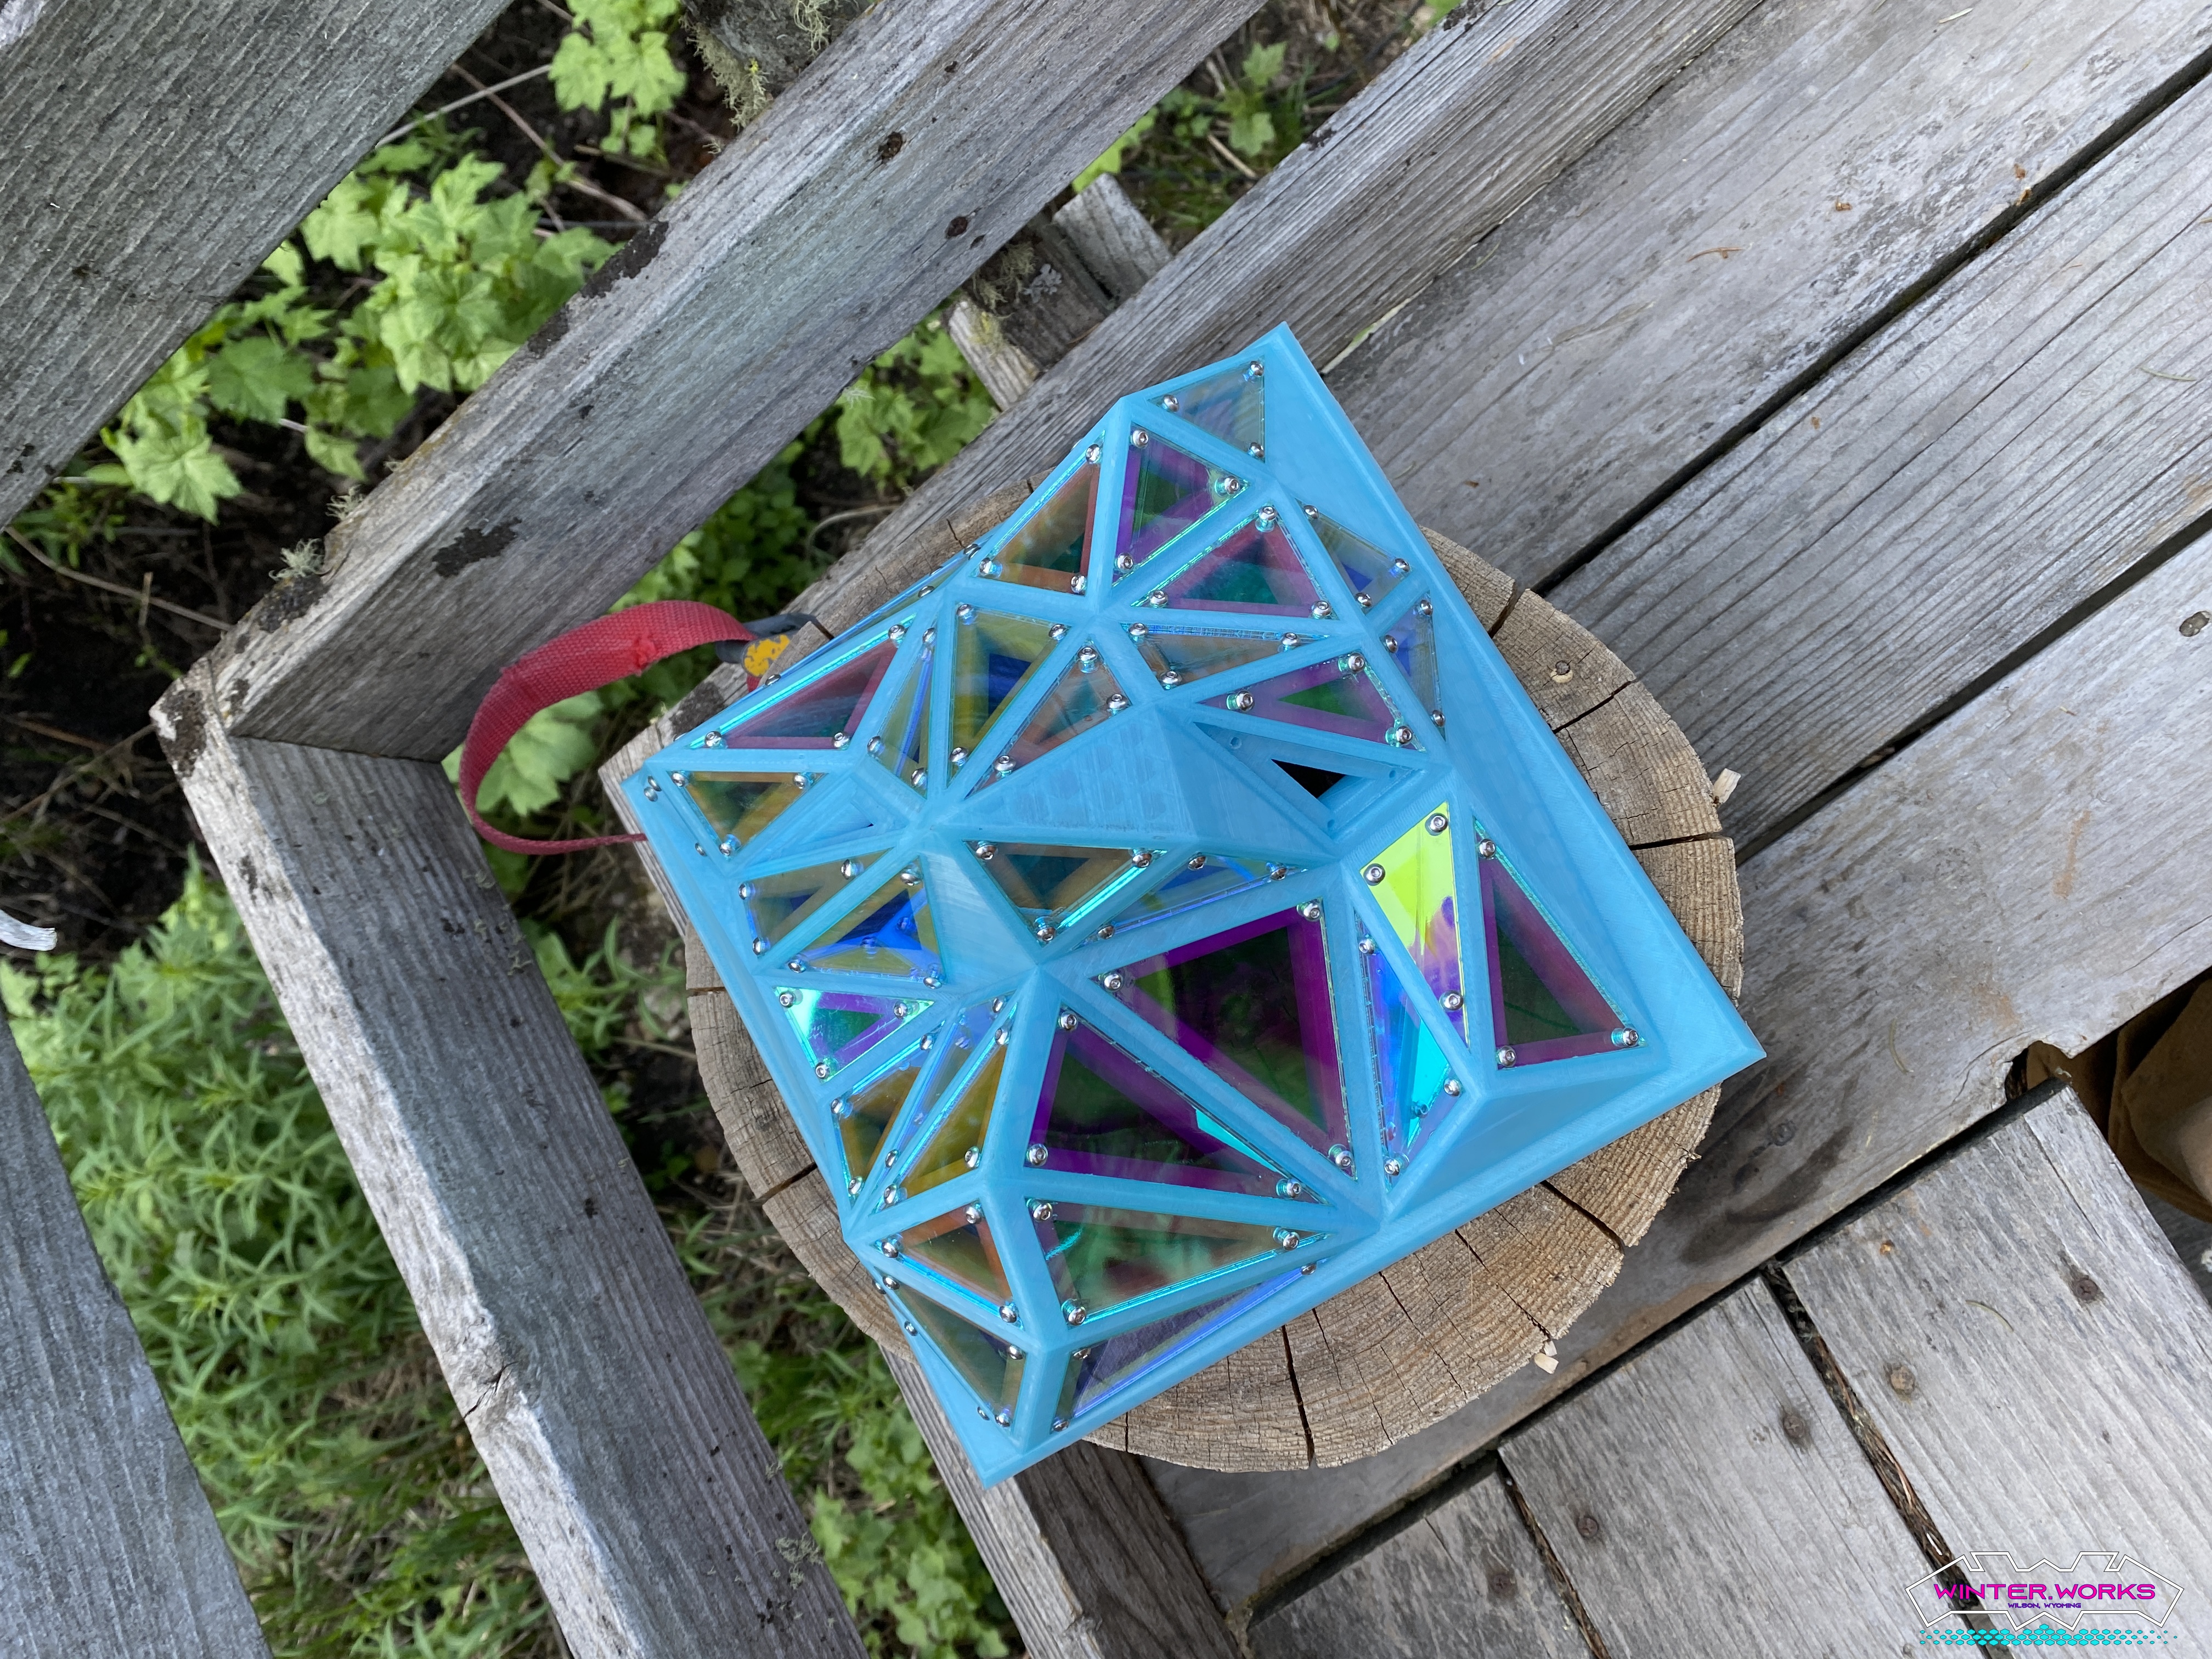
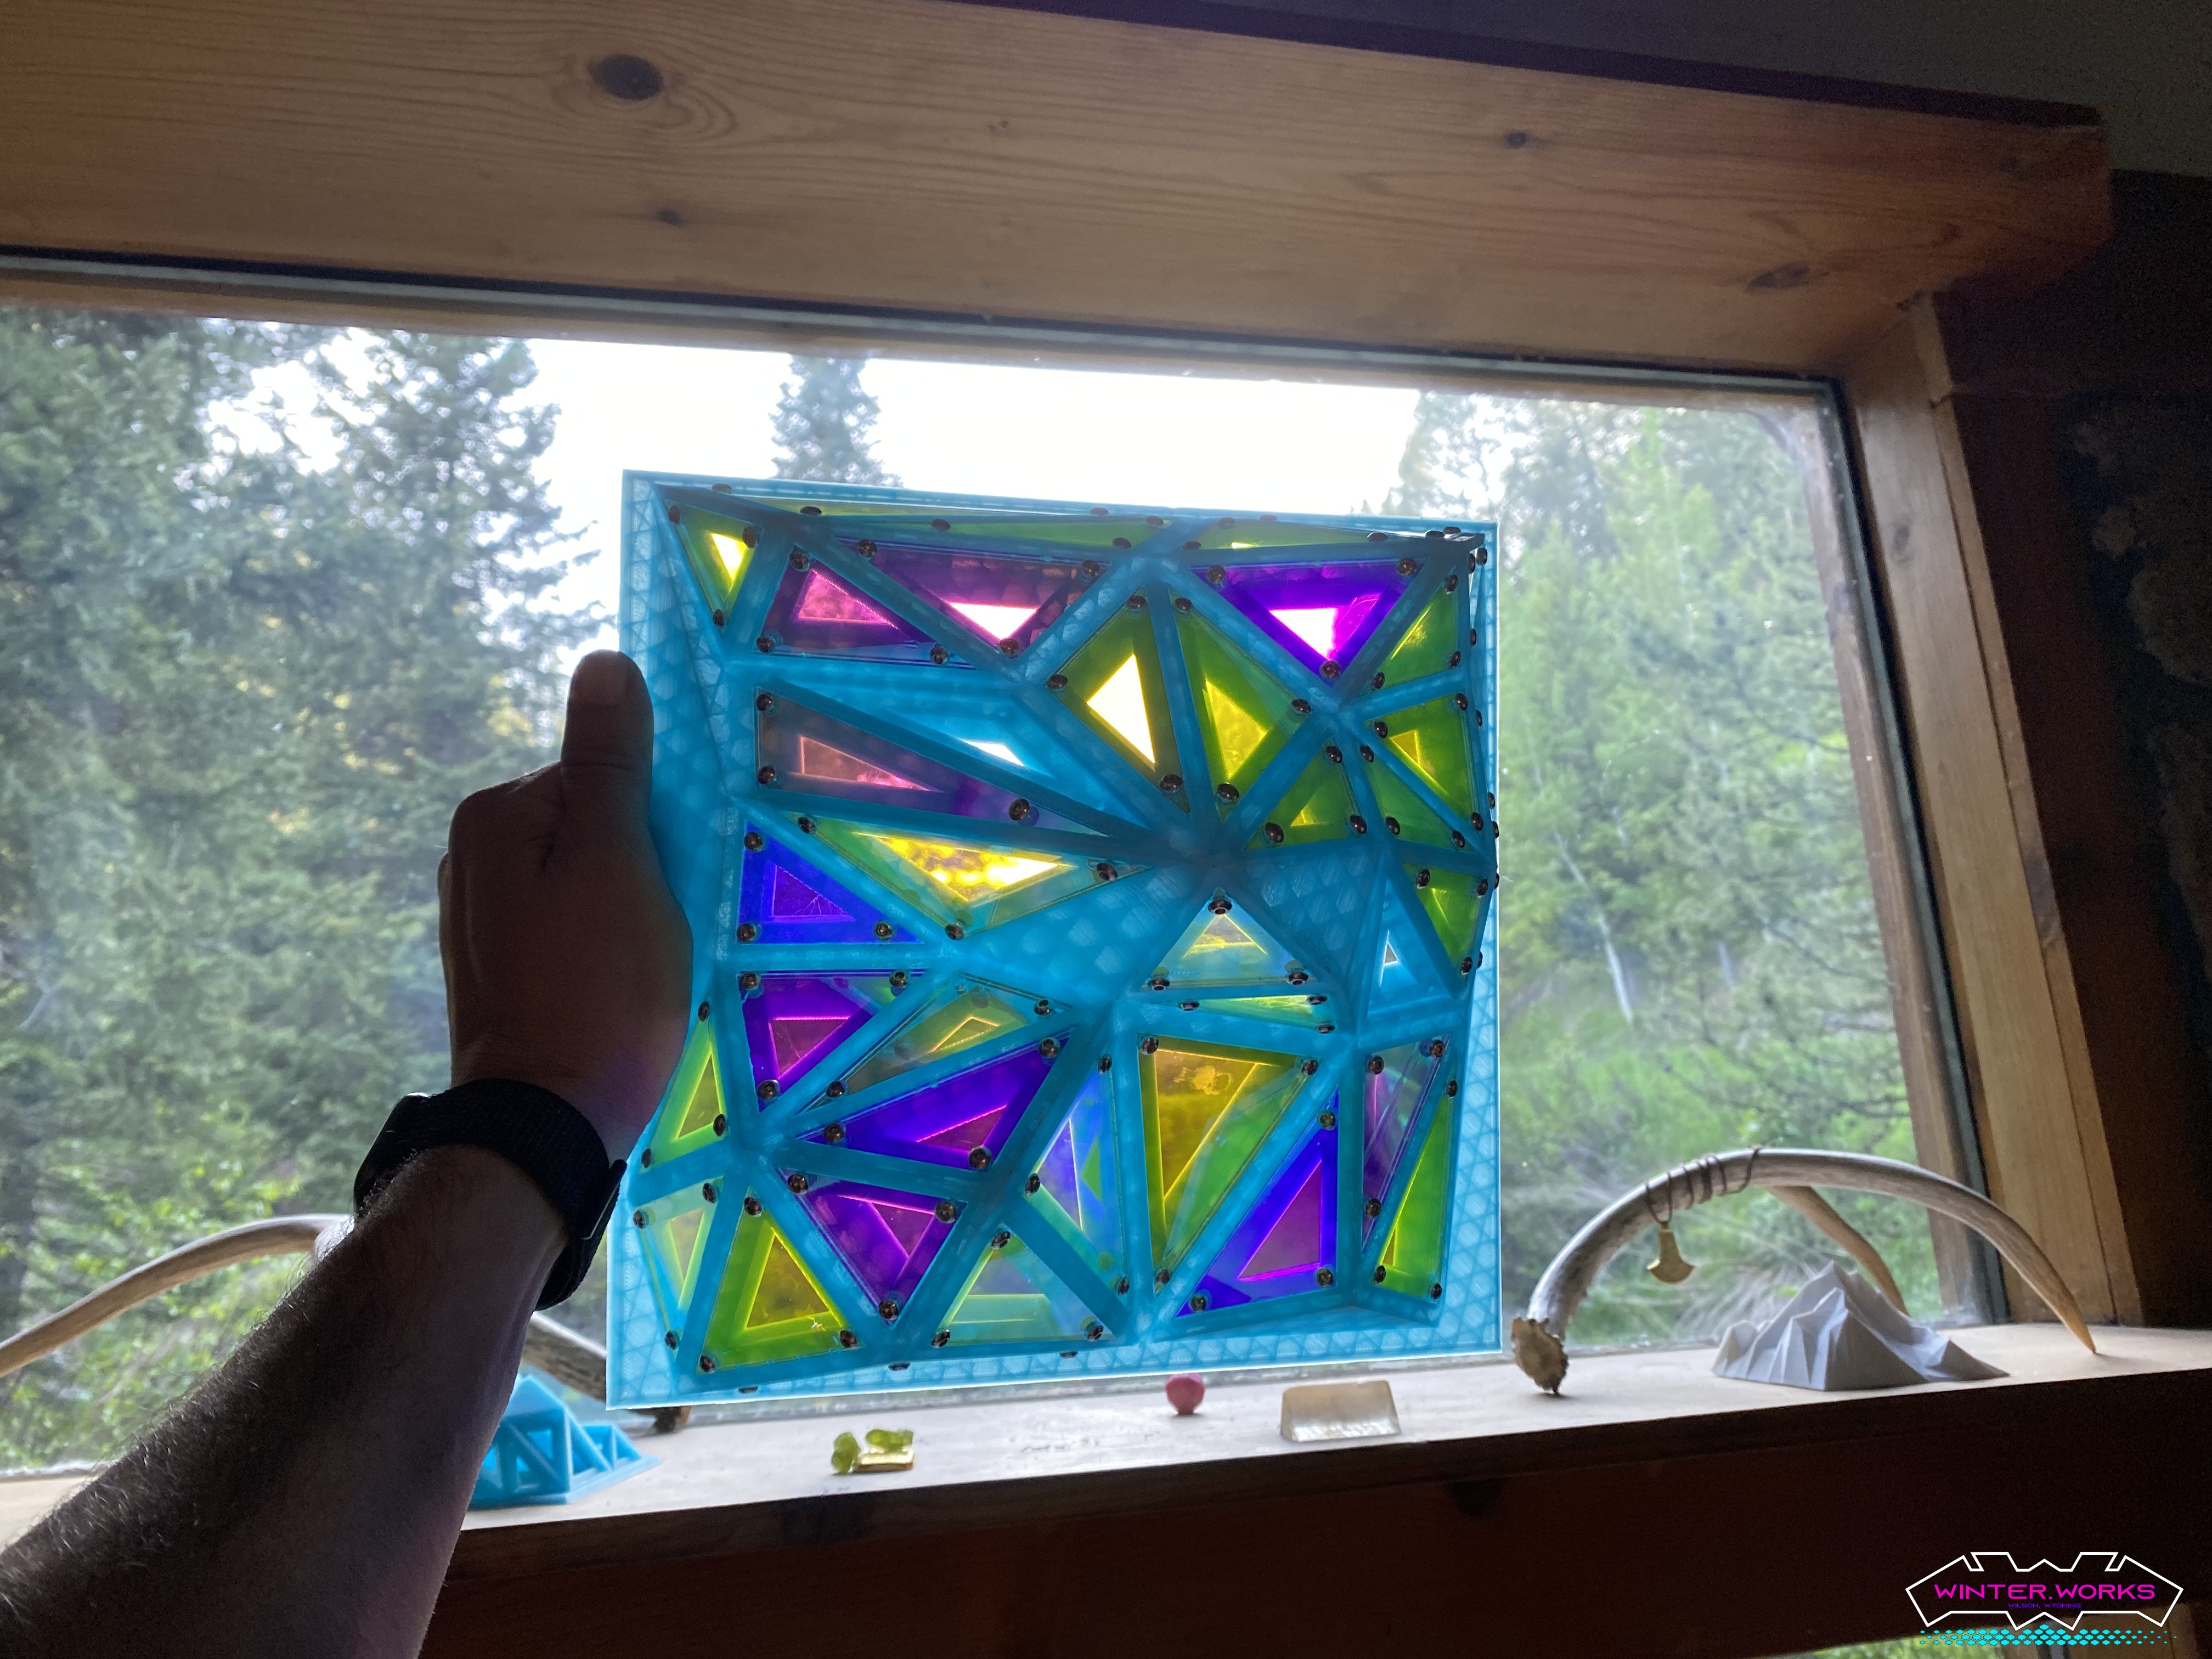
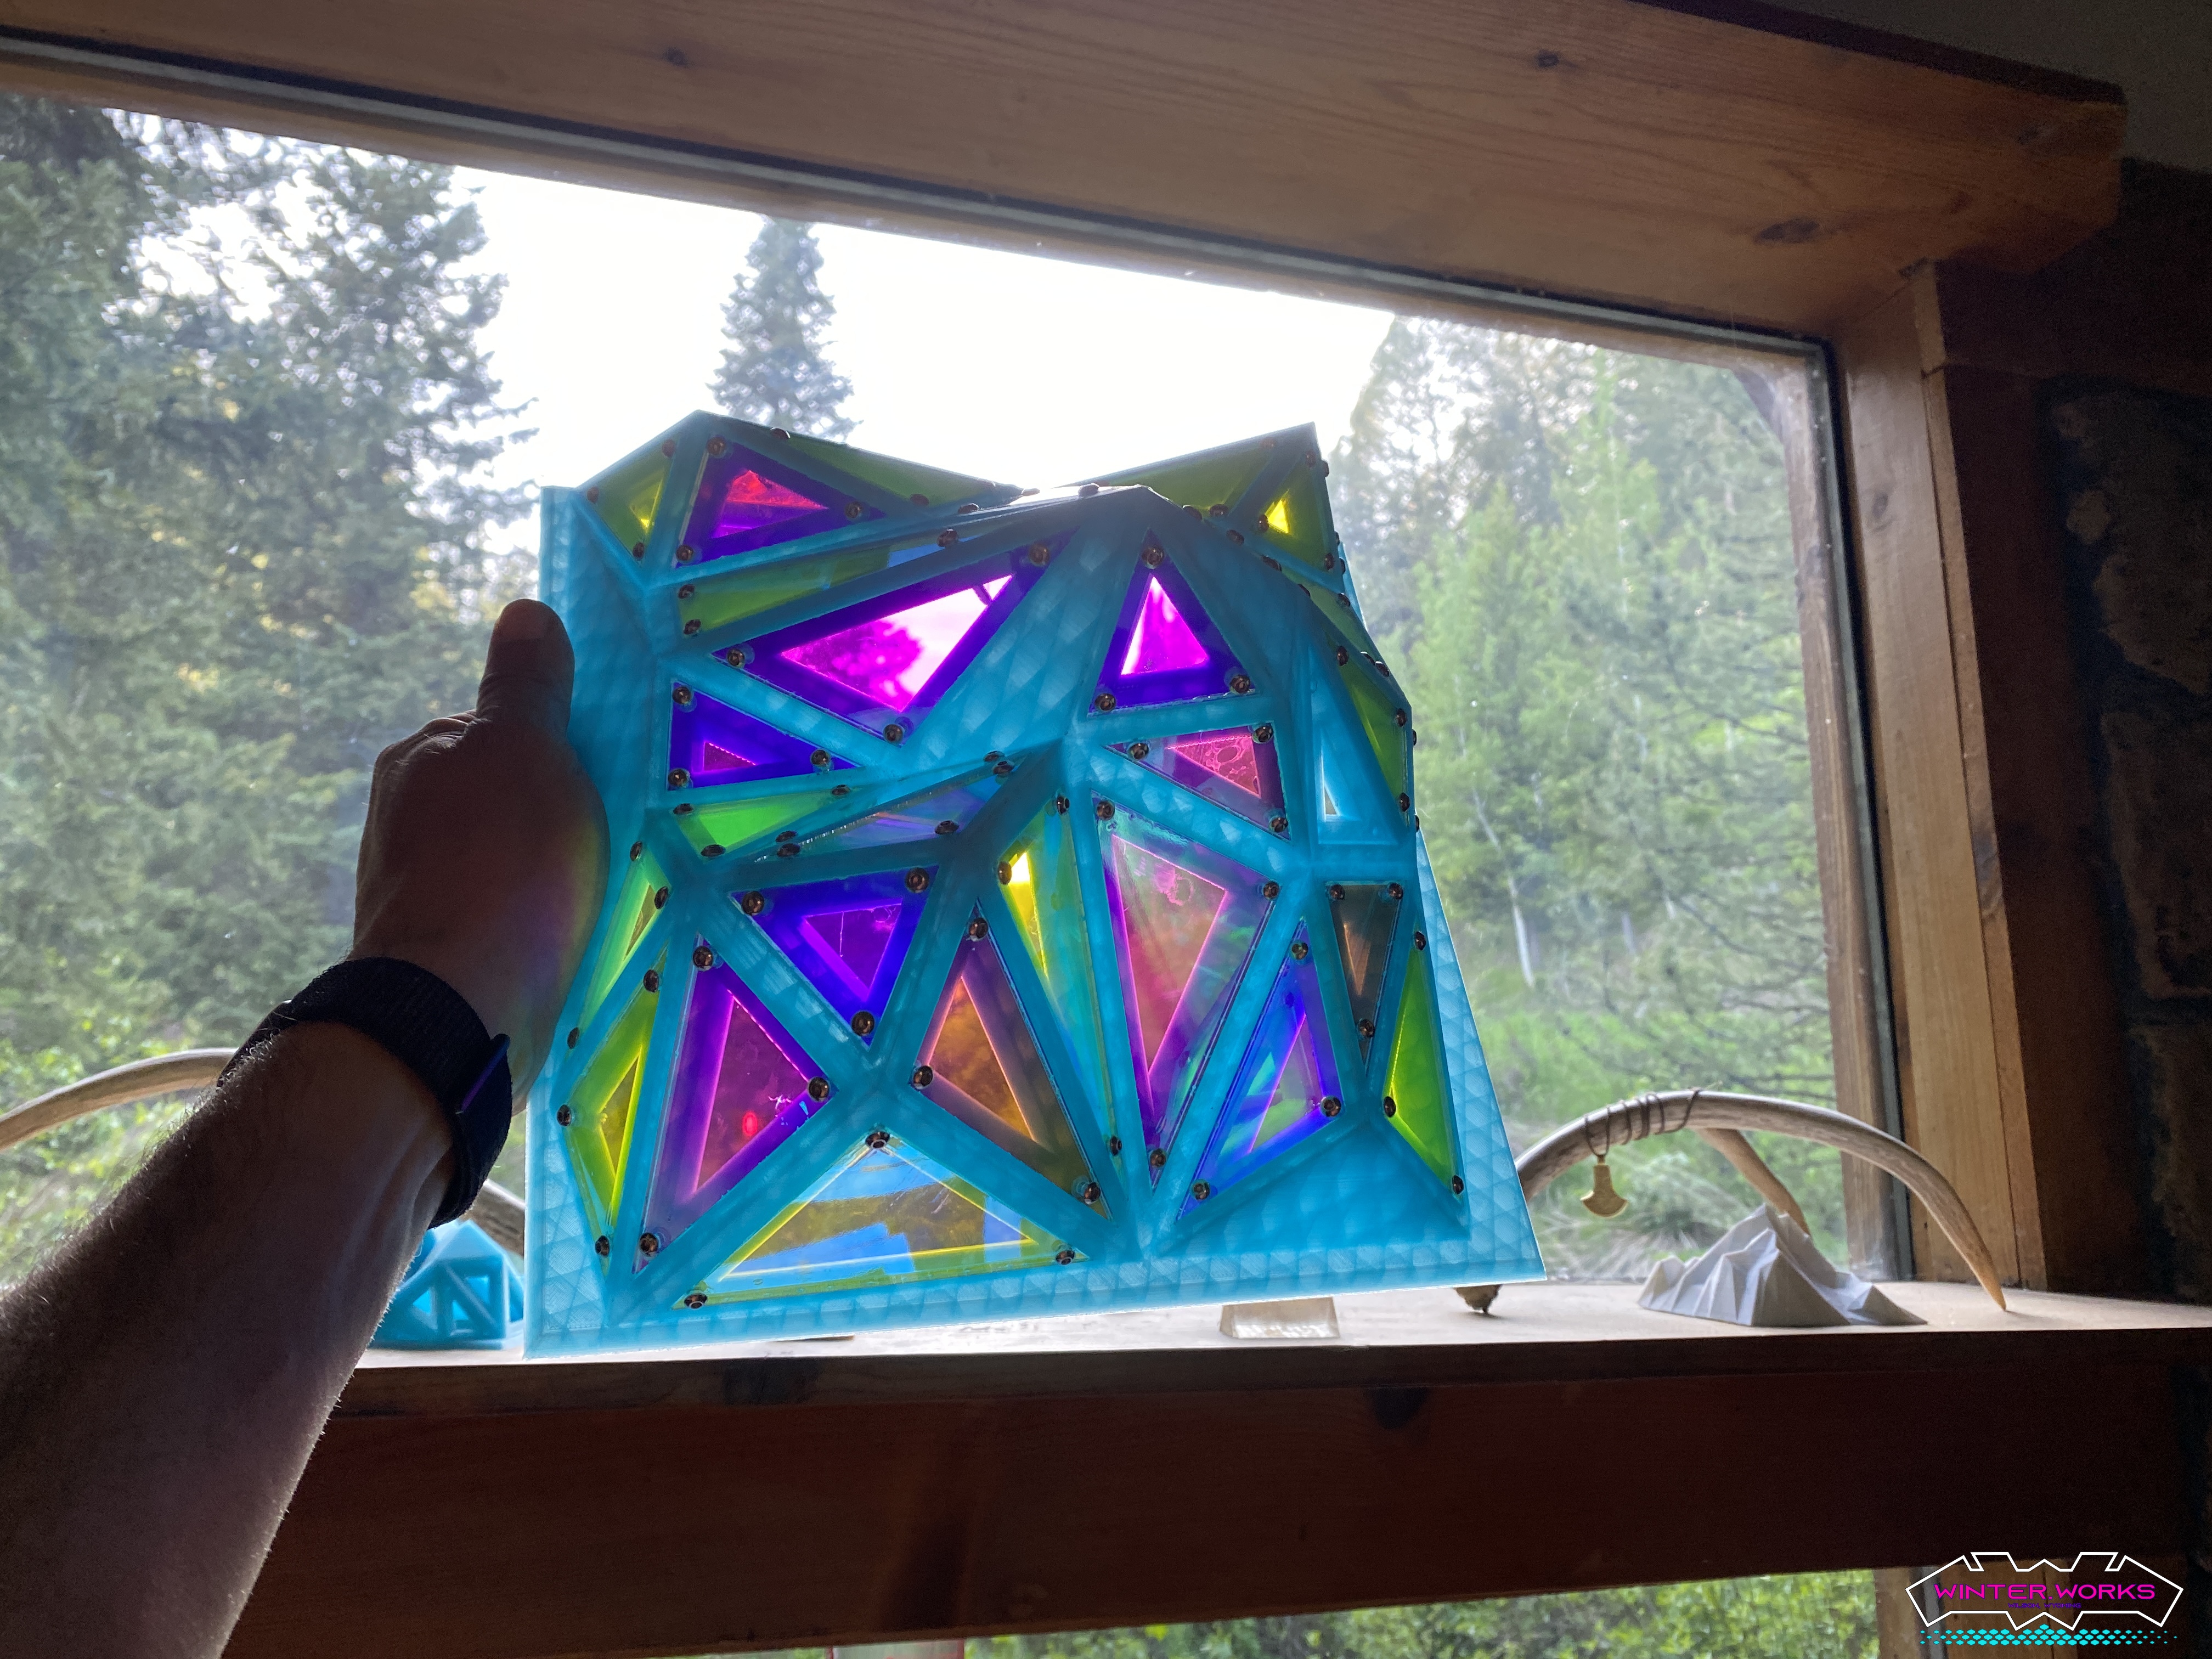
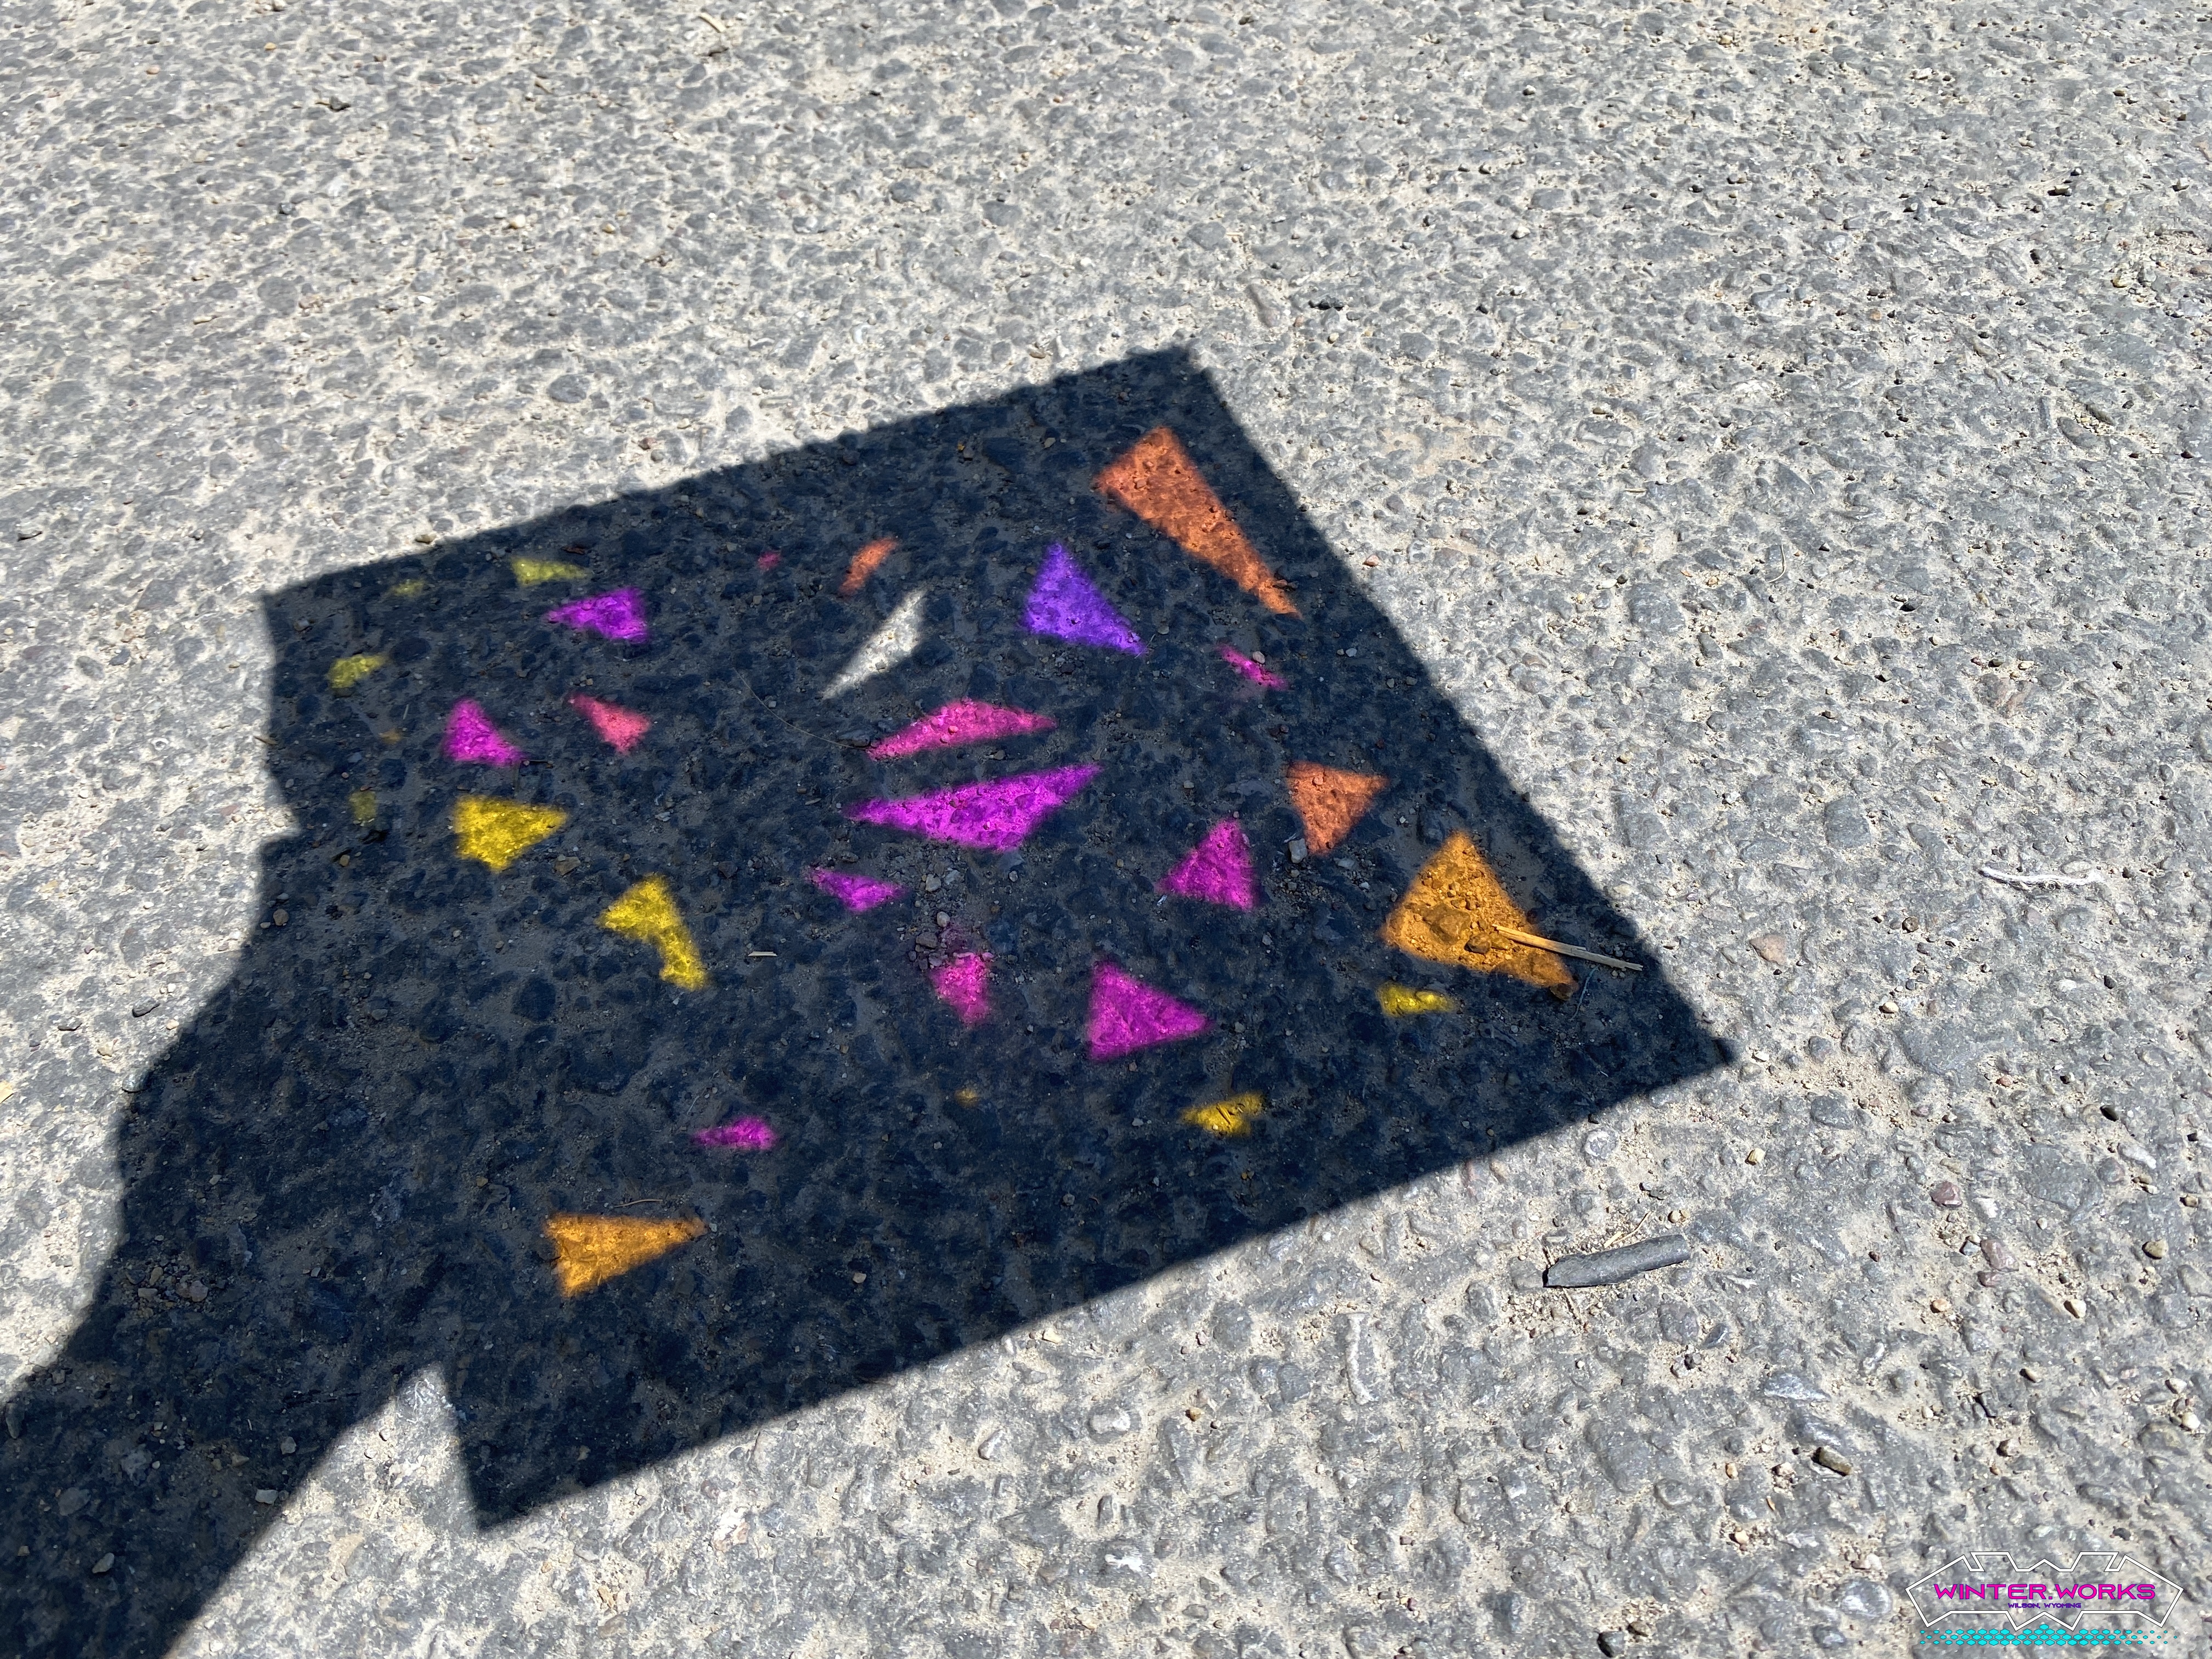
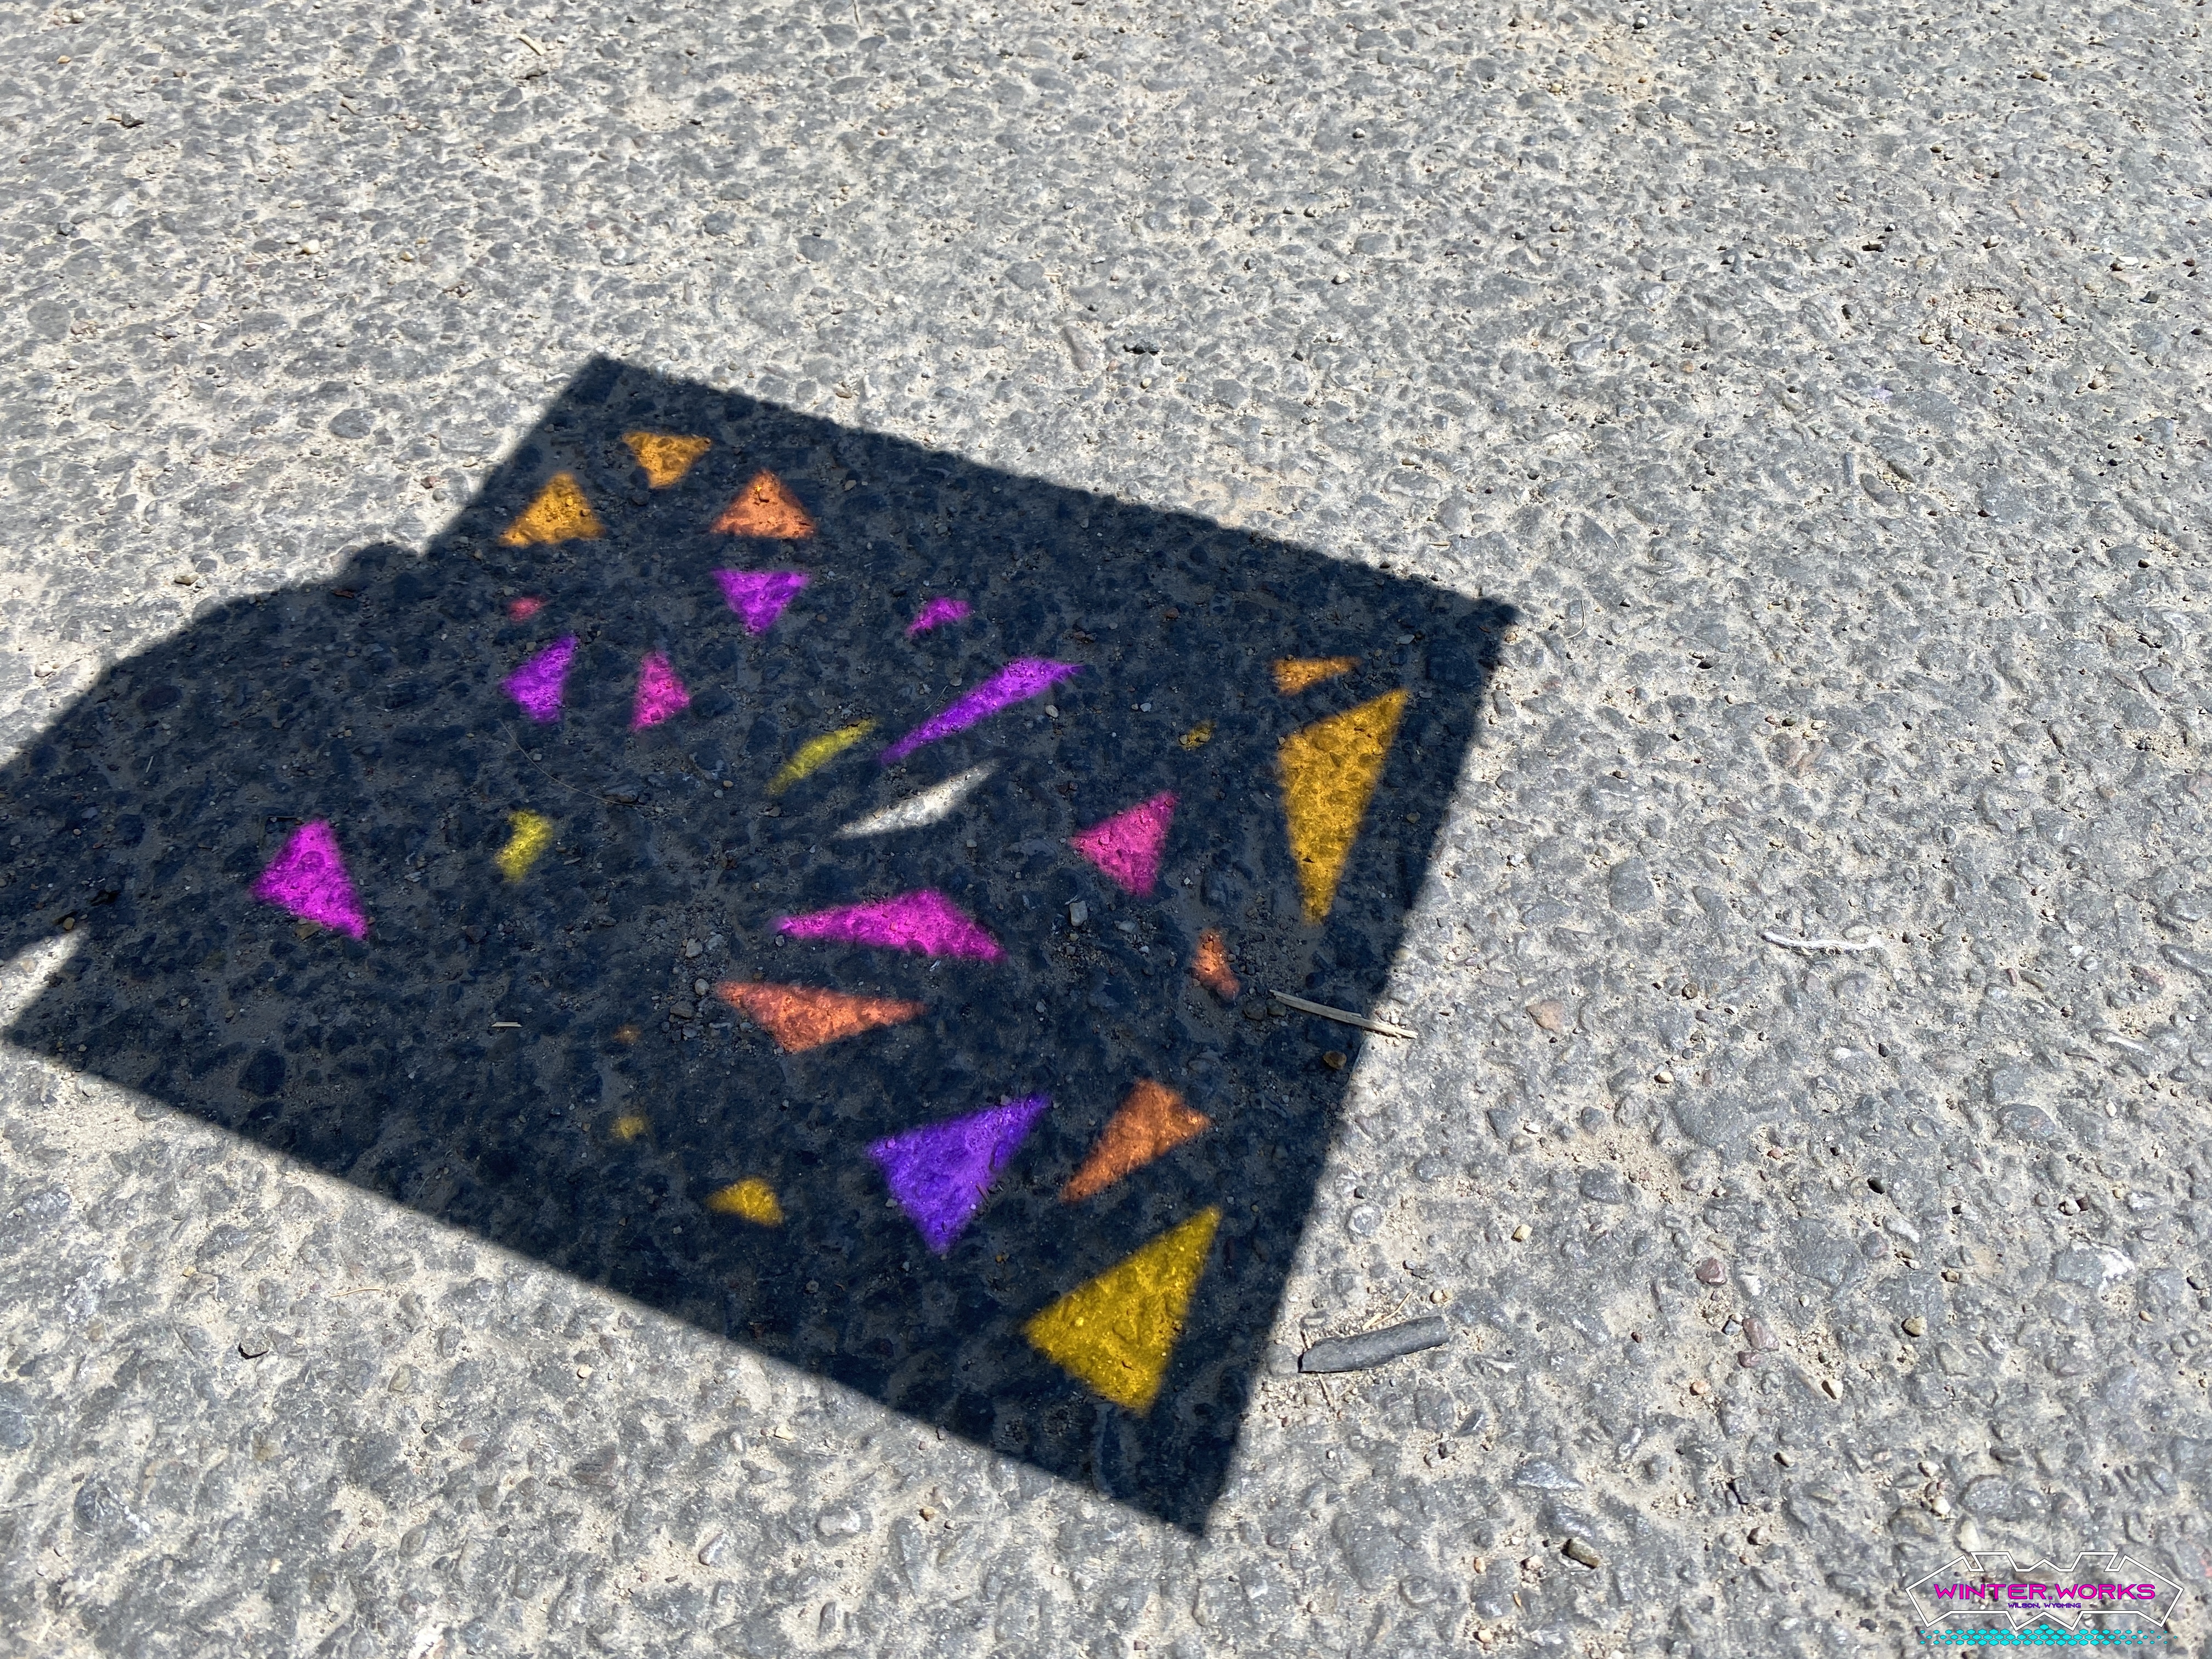
One of the awesome characteristics of the dichroic material is that the color changes based on the angle. You can see the effect here as I move it around by hand:
The Process
Building this sculpture involves a multi-step process with a fairly high level of complexity, which is what I’m into :) Luckily lost-wax casting has been around for ages and so there is a dearth of information available as to how it’s done. One of the videos that inspired me, though he is using a slightly different process, is this gentleman:
He is using a process called “sand casting” in which an imprint of the piece to be duplicated is made in a special sand that is designed to retain features when packed around a three-dimensional object. The process I am using is called “lost-wax casting” and it varies only in the way the final mold is generated. There is an example of this process on display at The National Museum of Wildlife Art where my wife works. Here’s a couple of pics:
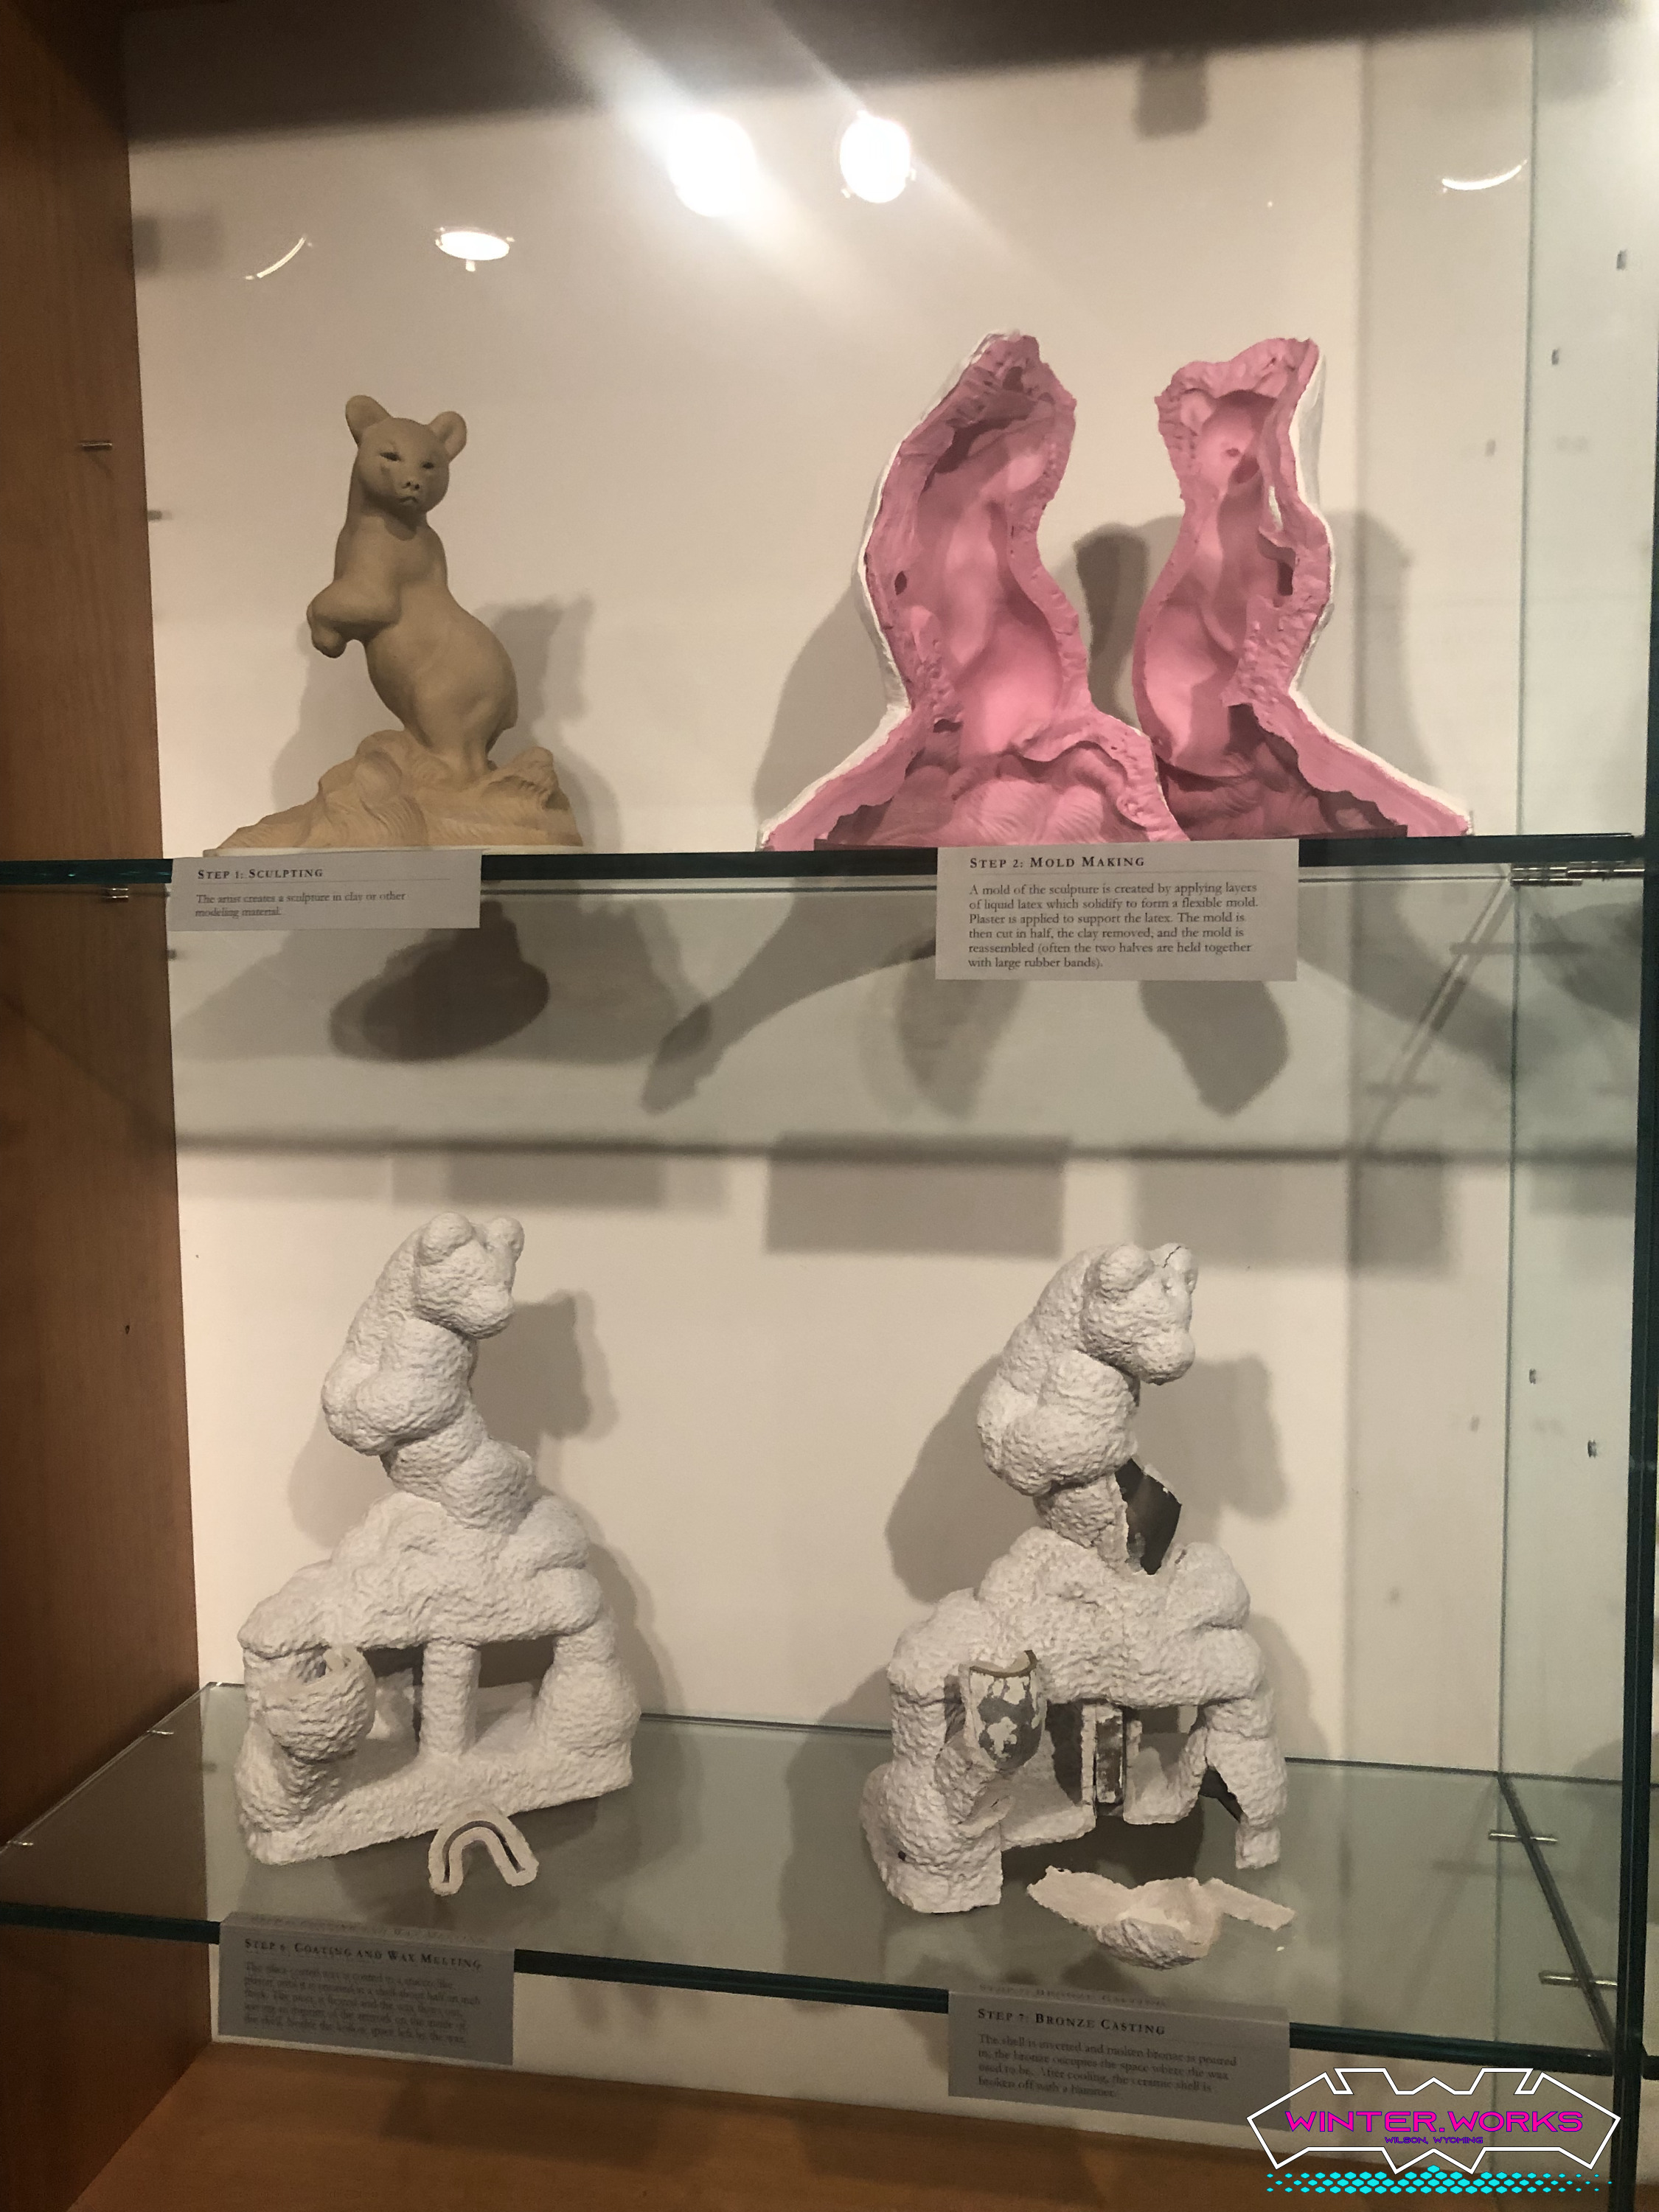
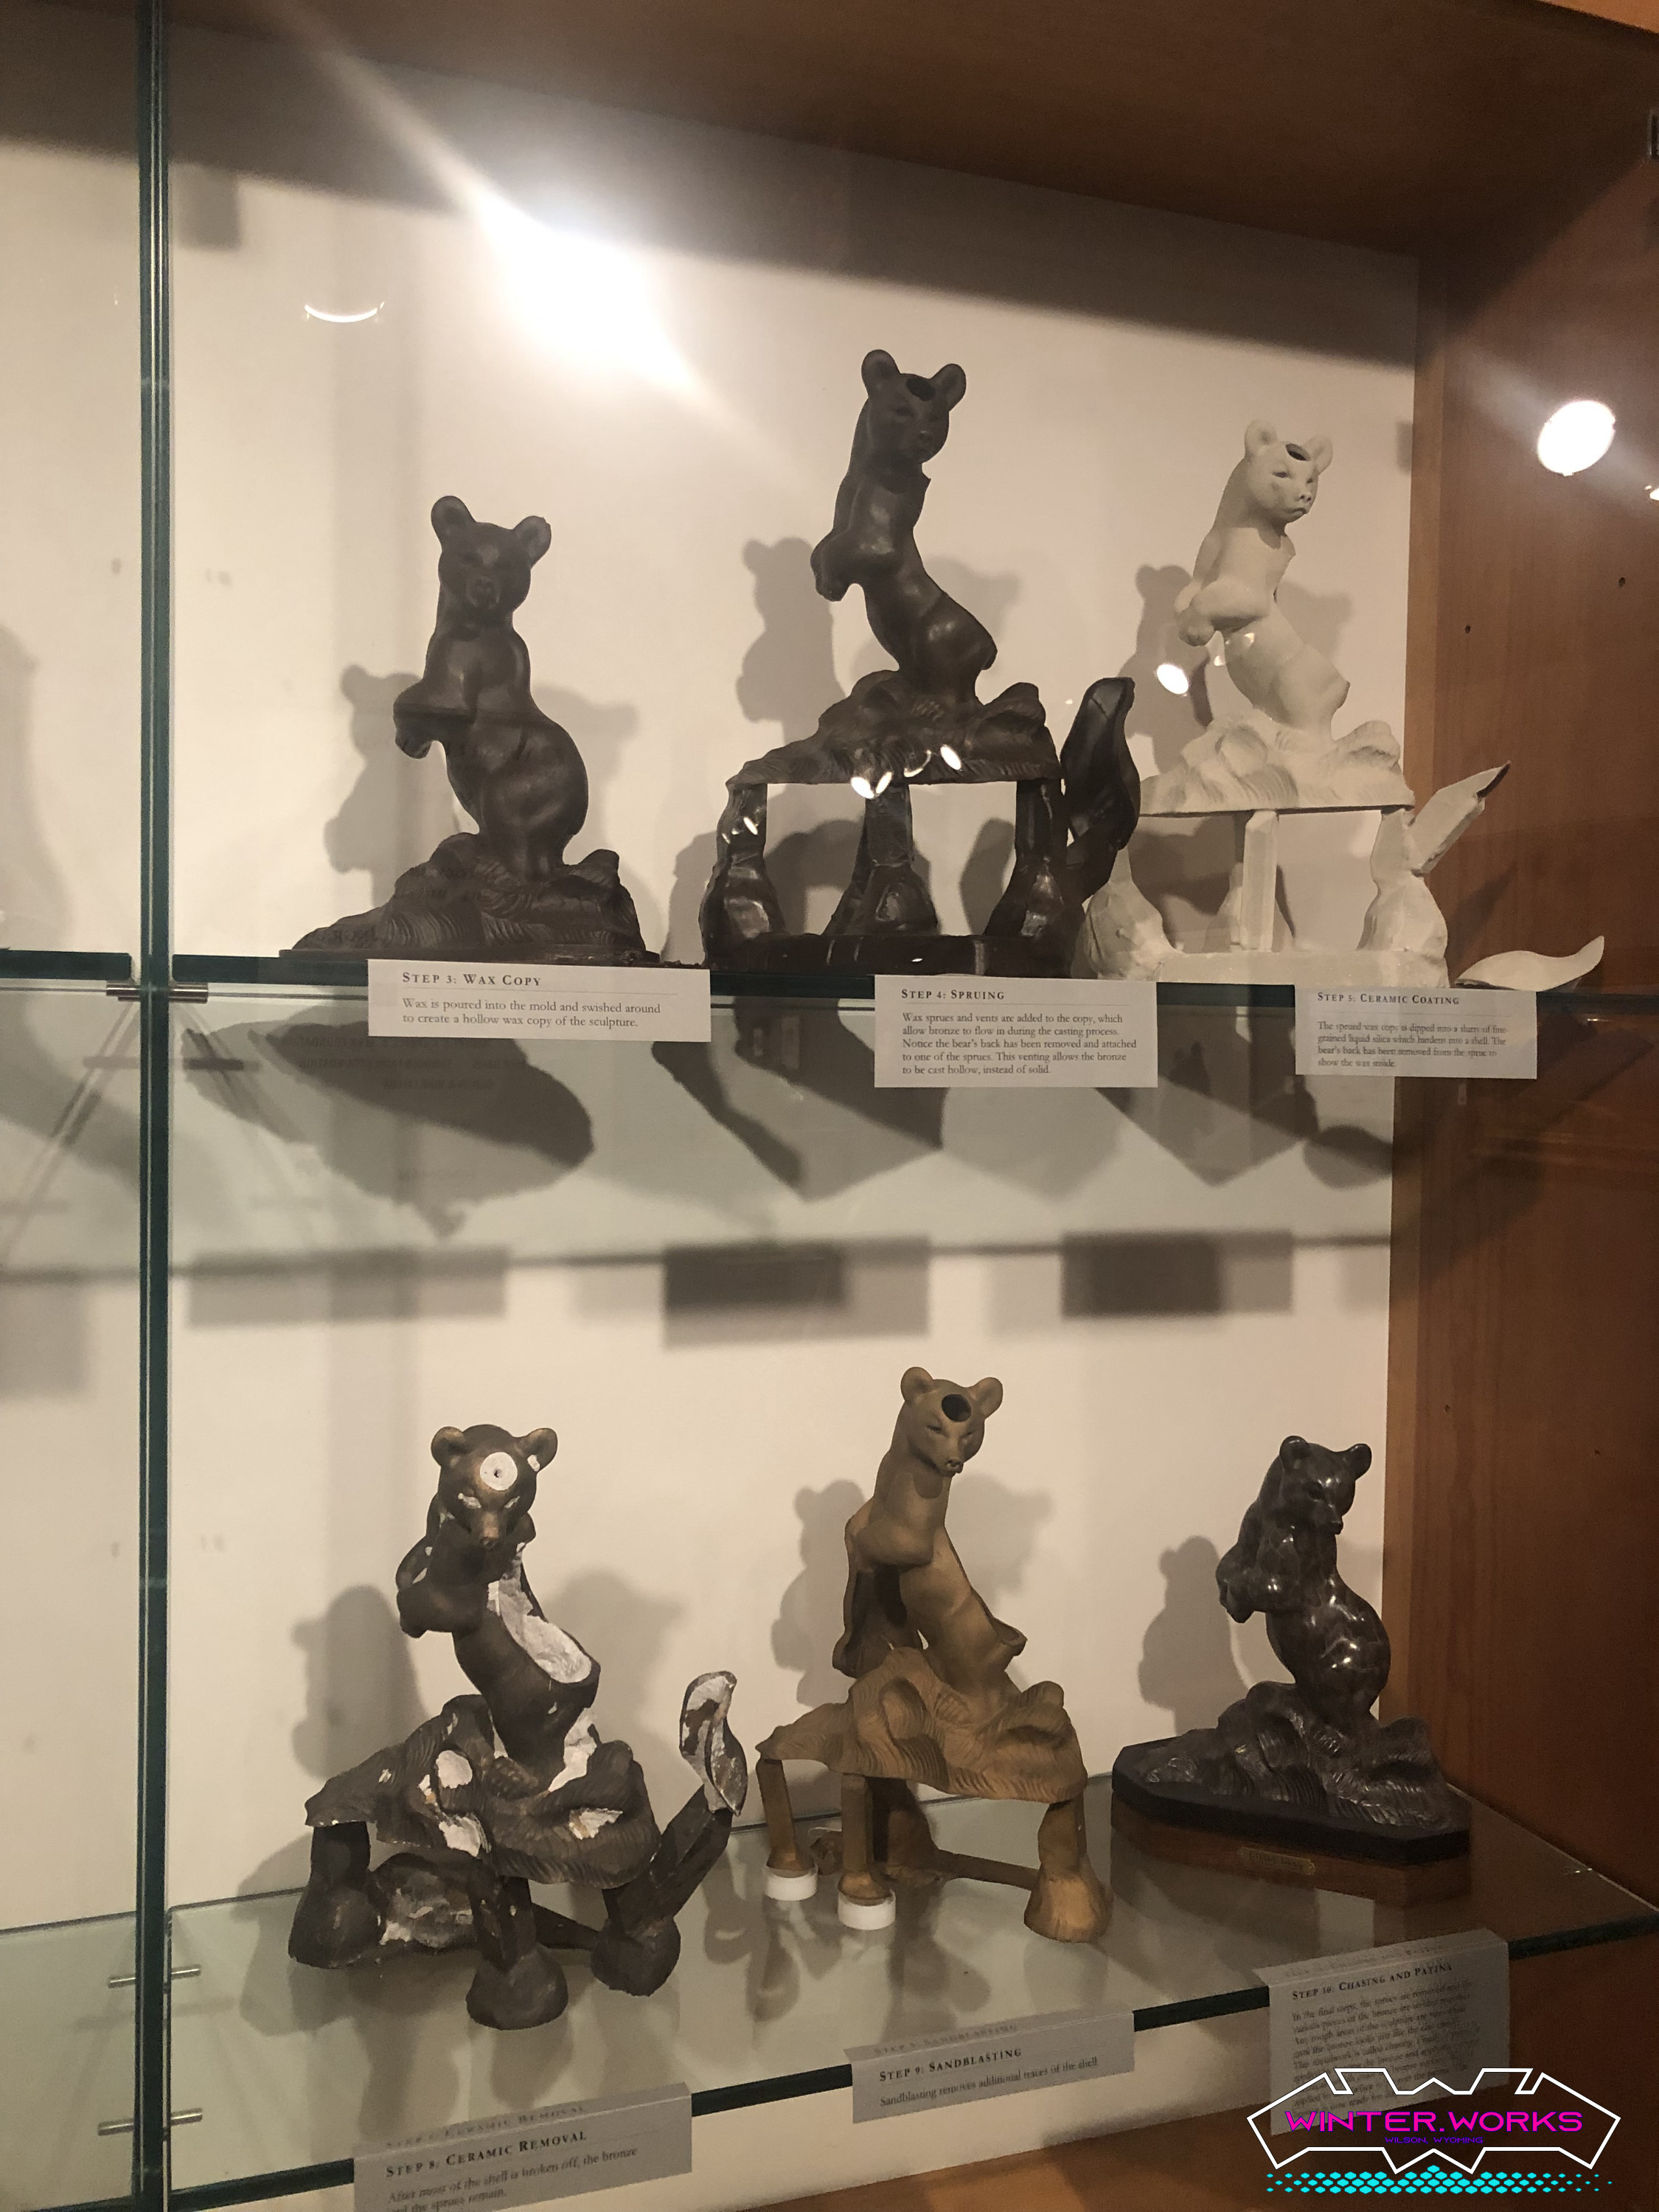
In sand casting, the mold is made from the imprint of your part in the sand. With lost-wax casting, you create a mold around a temporary substrate (like wax) using investment plaster and then melt out that substrate prior to filling the mold with your casting metal. This leaves a hollow plaster shell that can accept the molten aluminum and allow it to solidify. The process allows you to create more complex structures while still capturing a very high level of detail.
Let’s dig in a bit deeper and go through the steps as I understand them.
Equipment
I have to fabricate some equipment to complete this project. The commercially available alternatives are just too expensive for my current situation, and I also enjoy making tools.
Degassing (vacuum) chamber
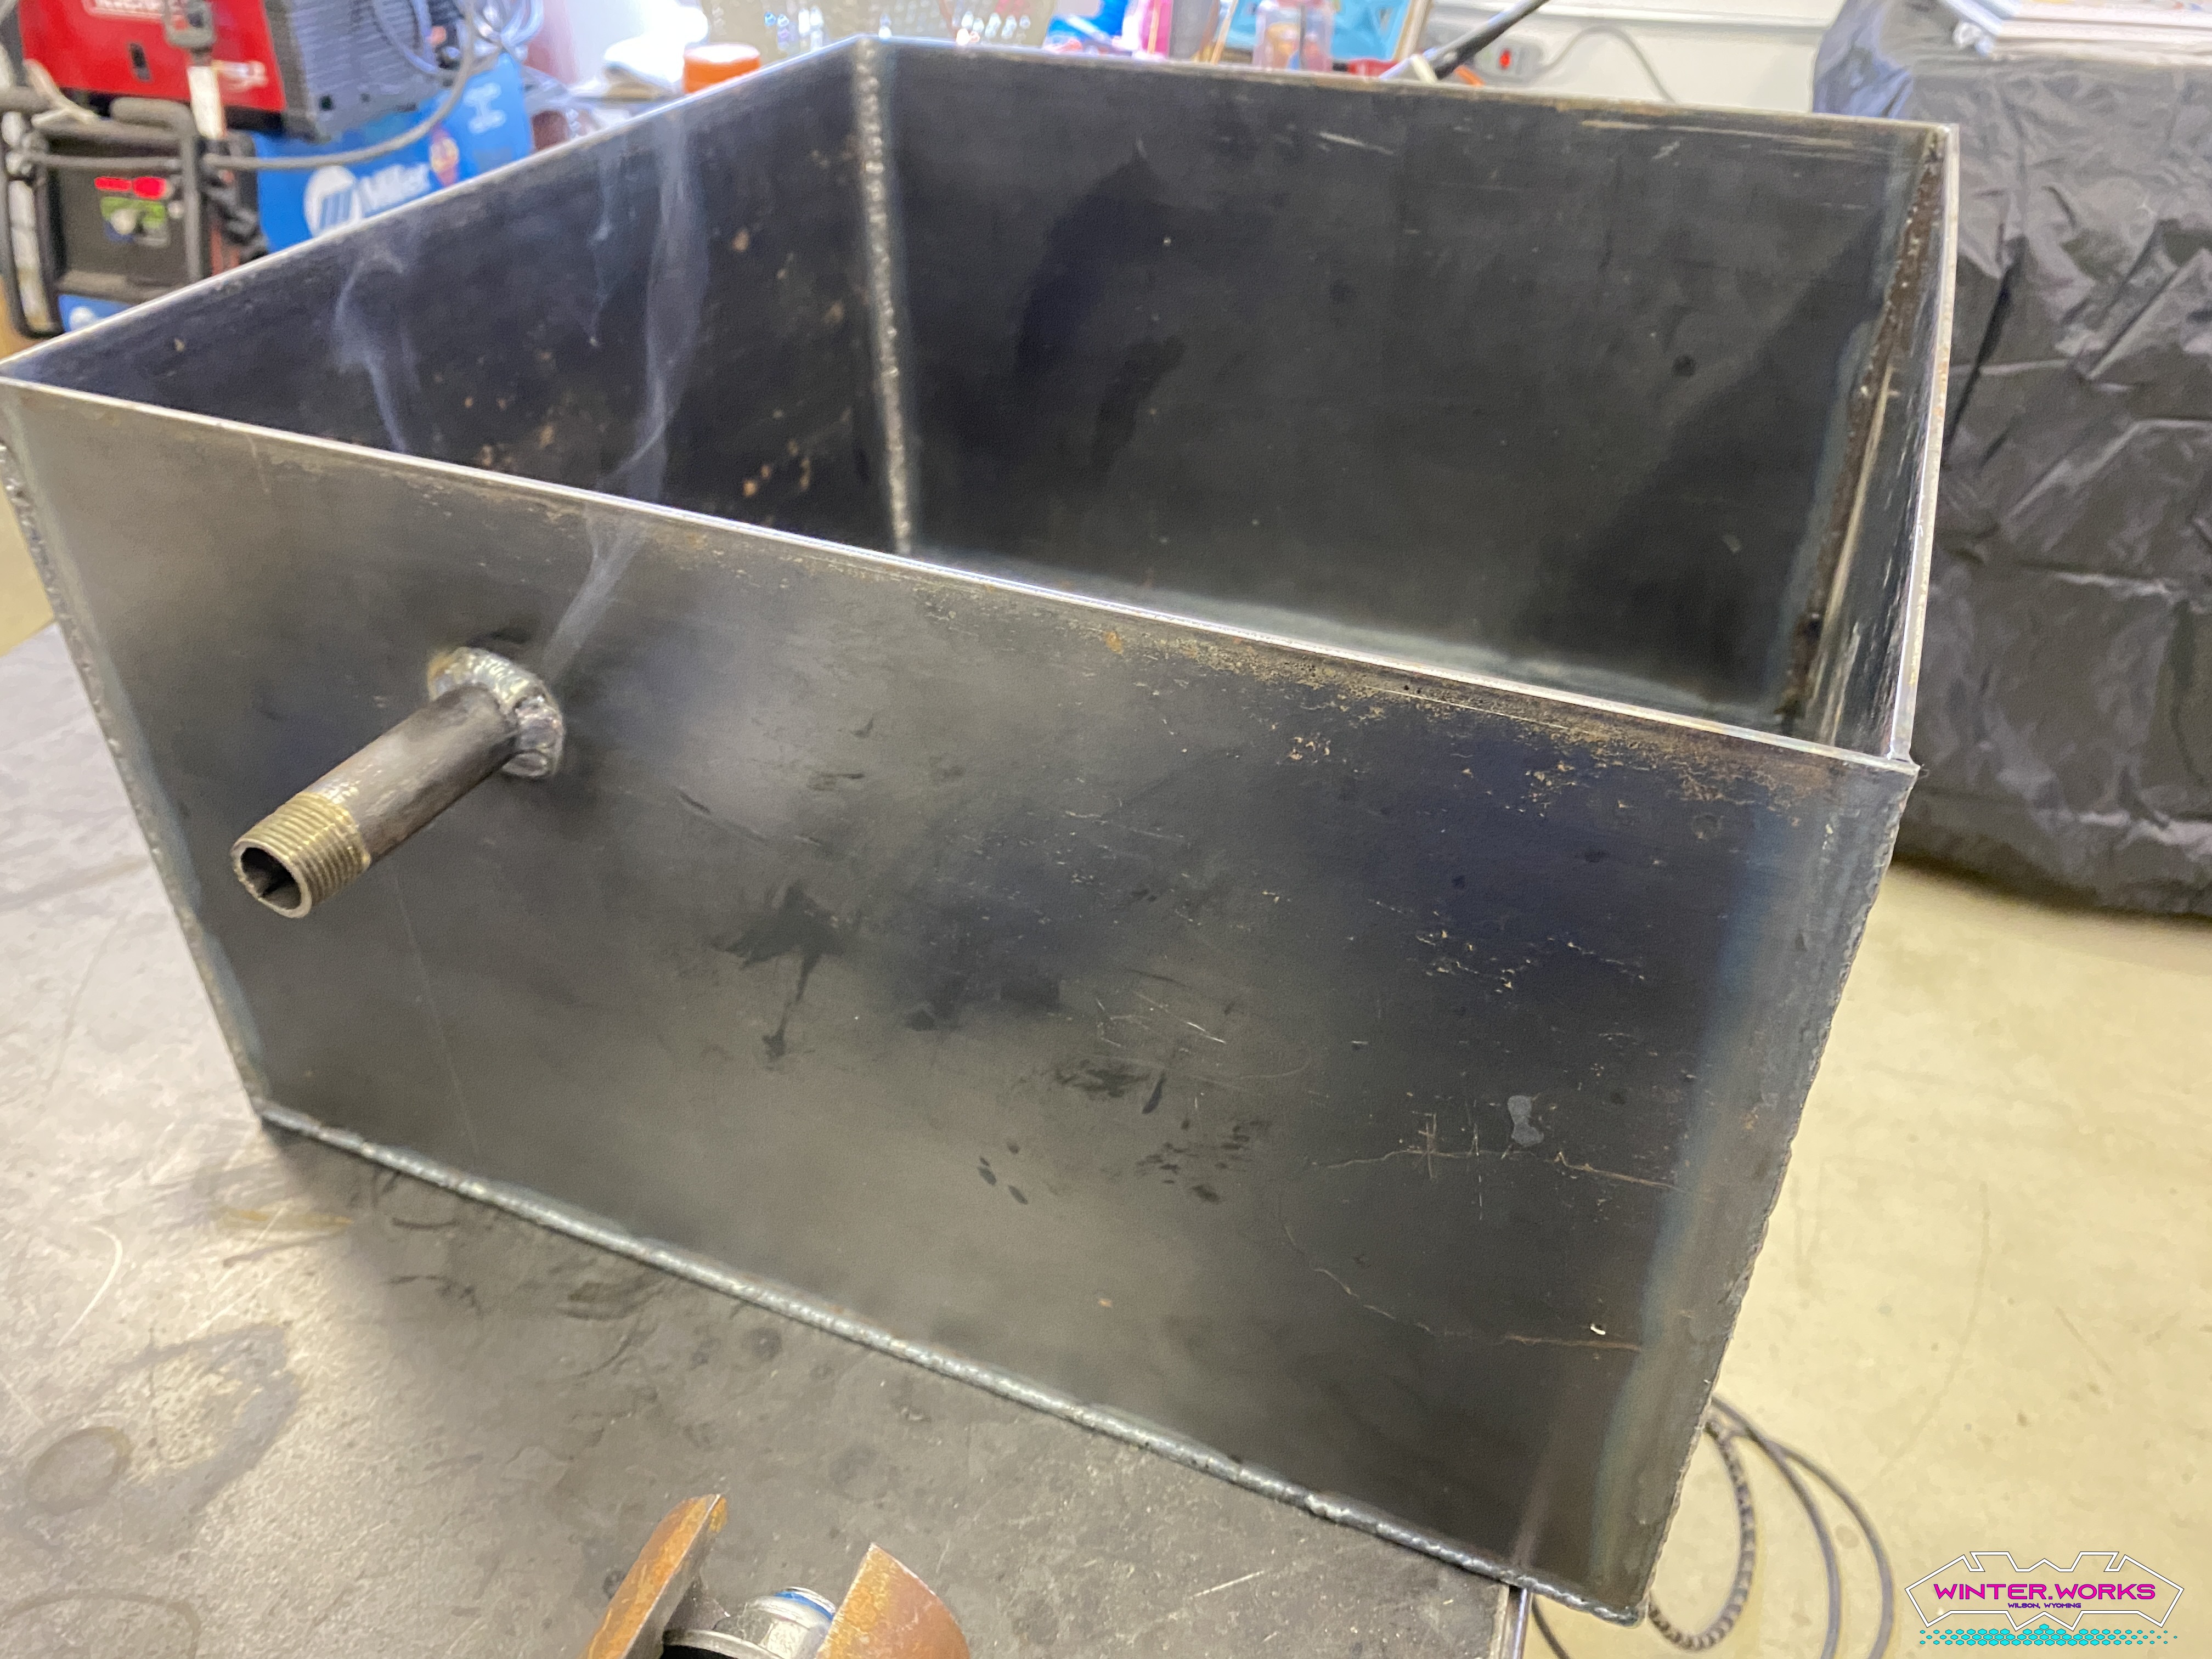
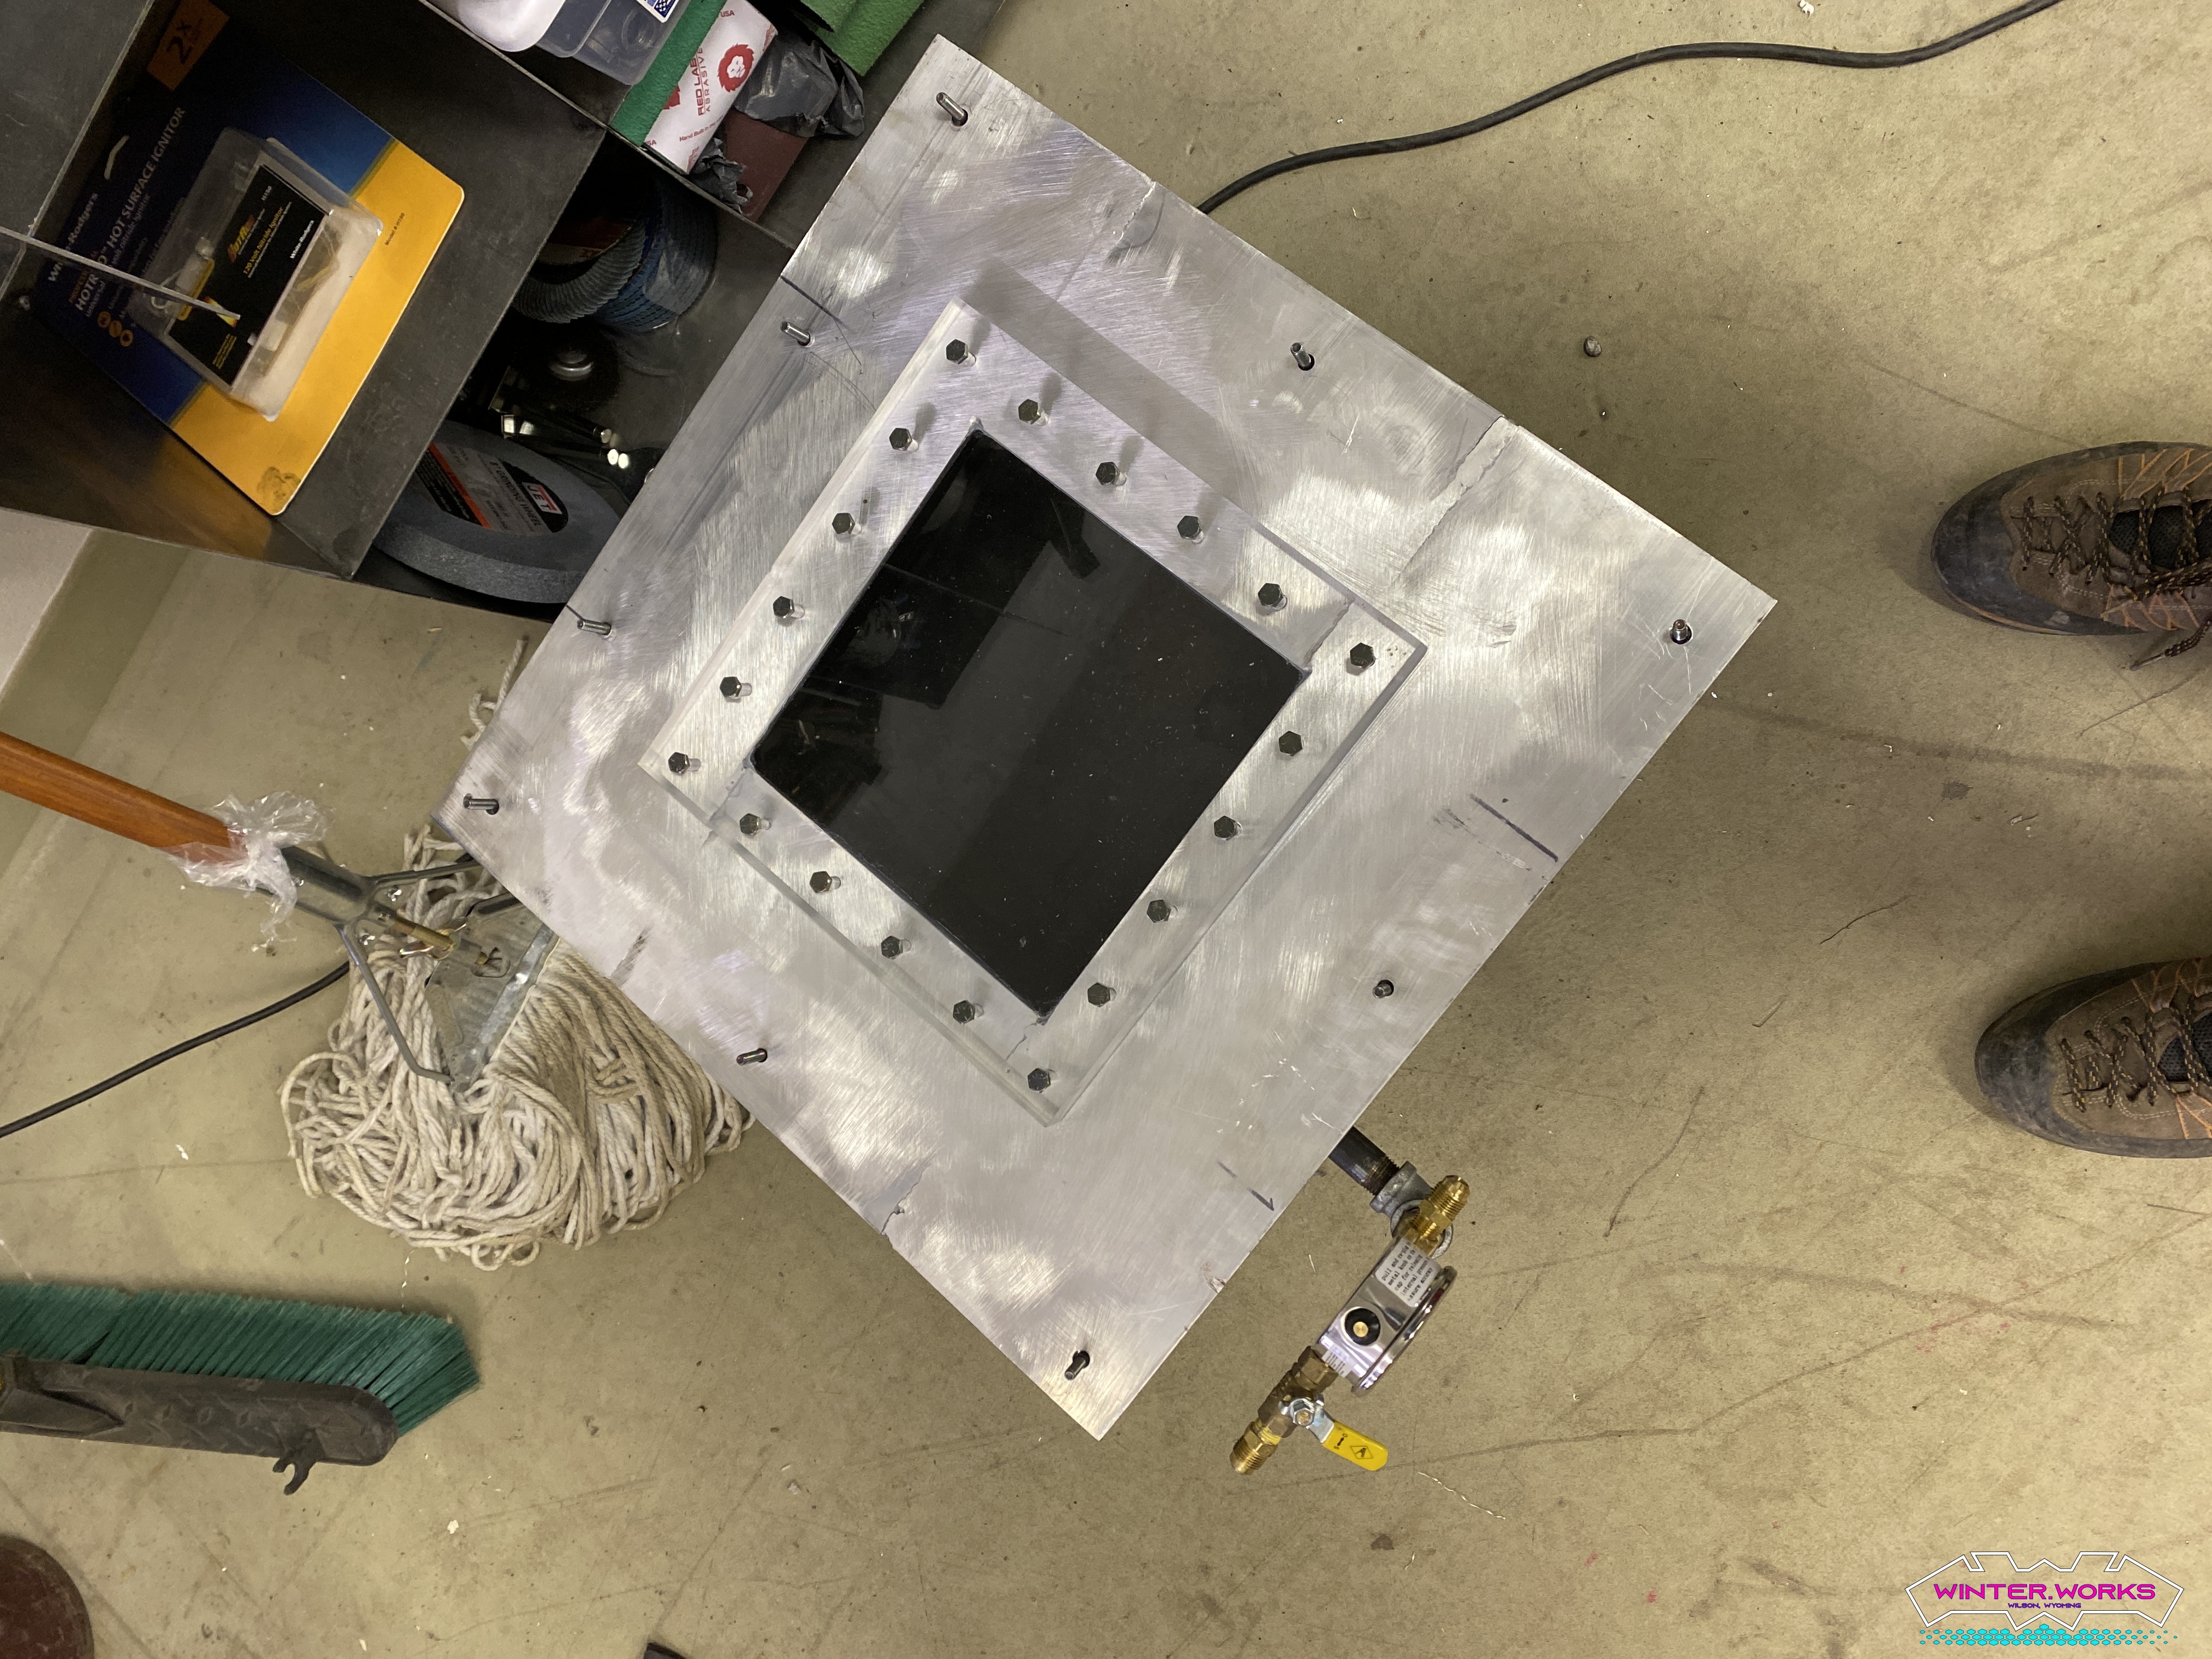
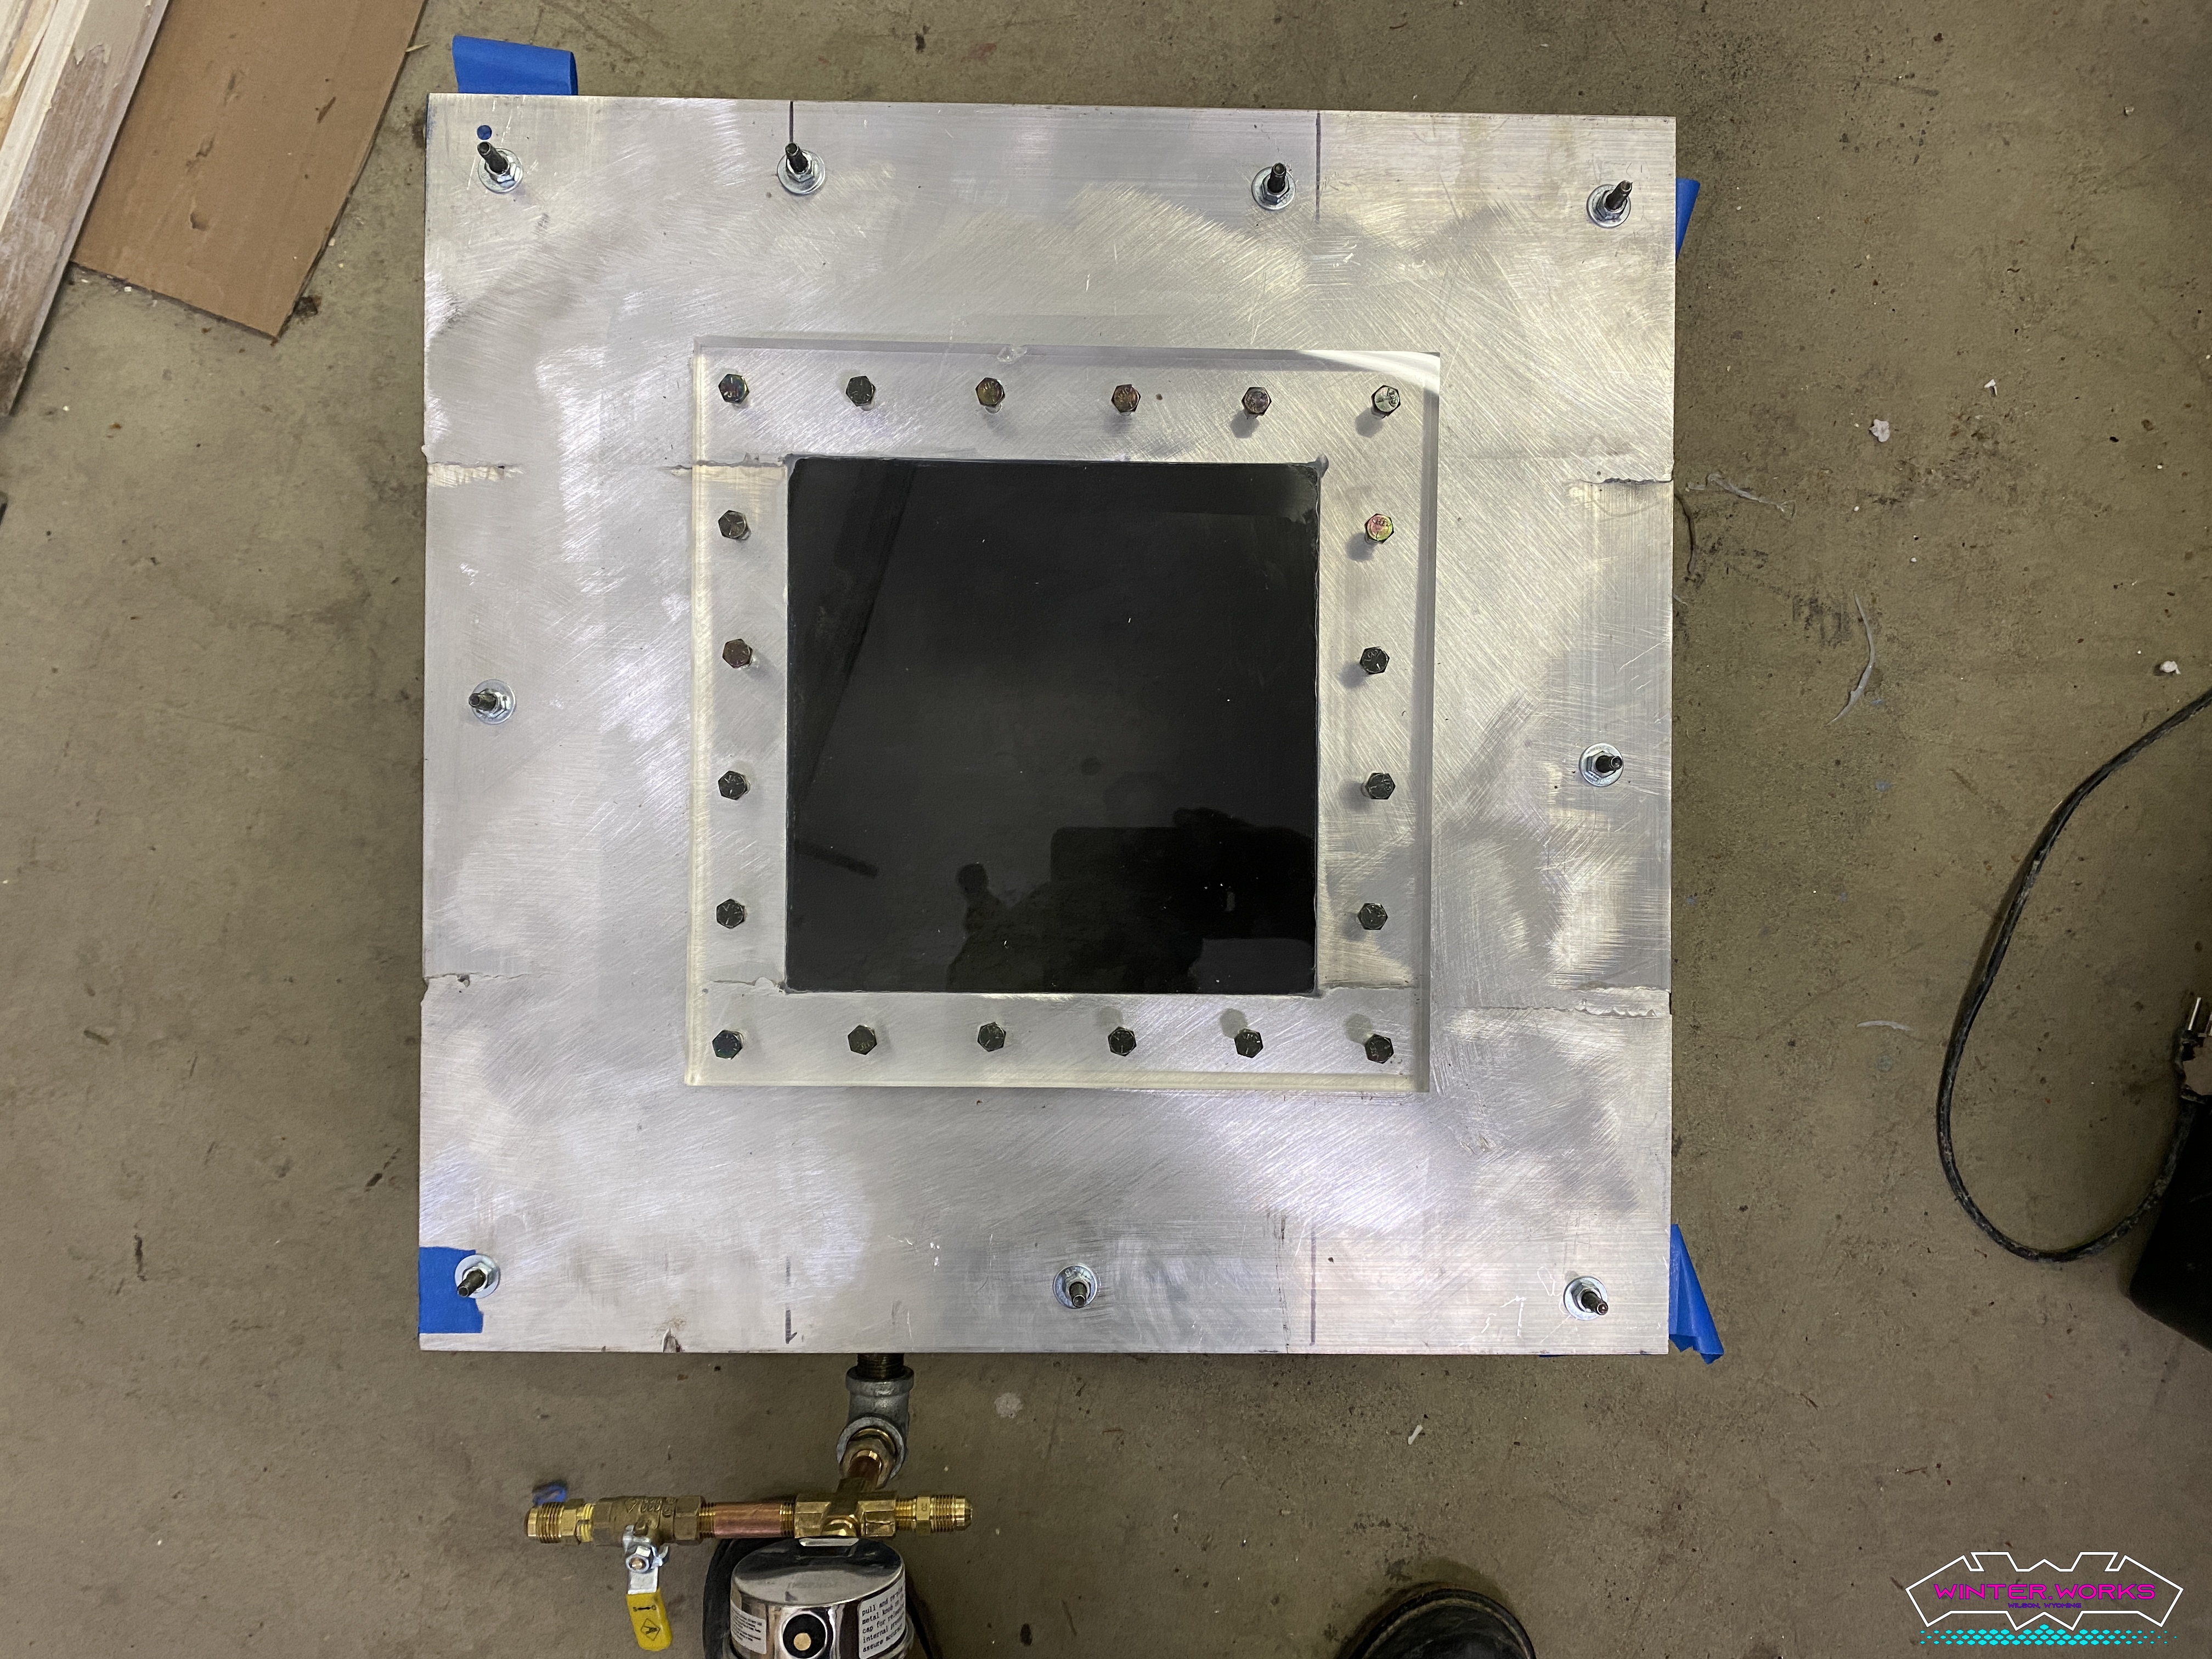
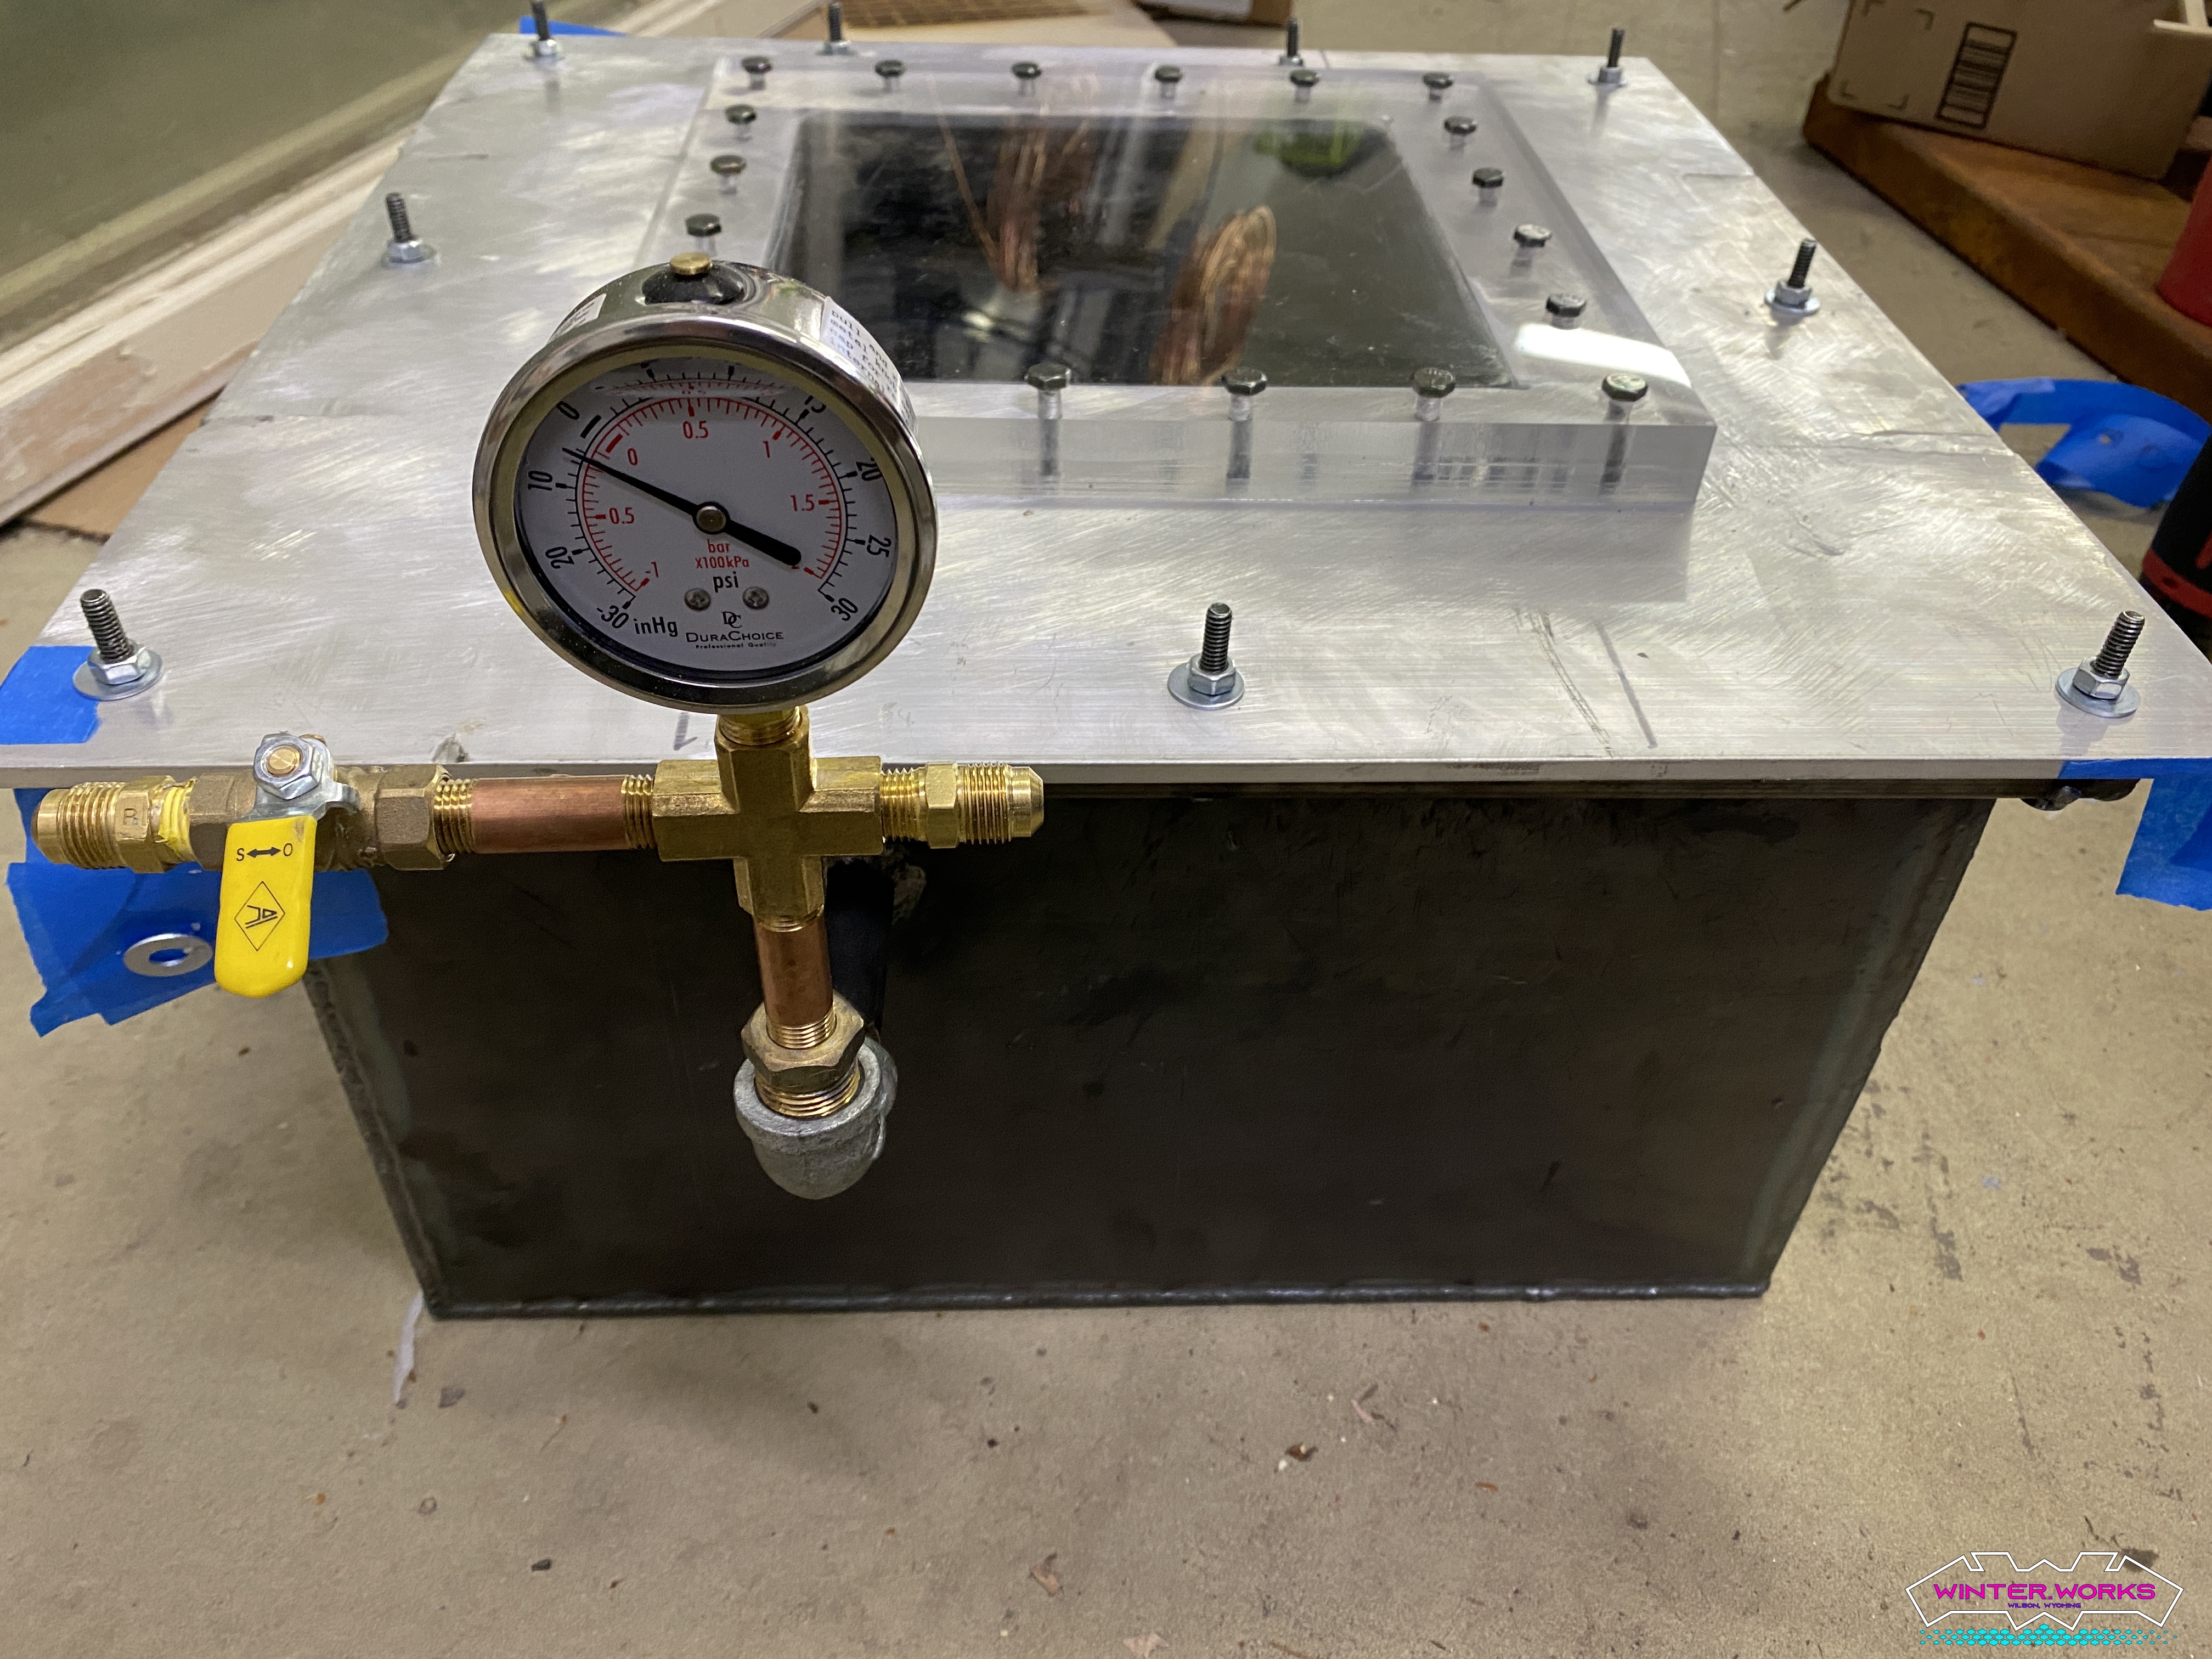
There are a few components that need to have the air bubbles removed from them in order to output a quality product. The tool one uses for this degassing process is a vacuum chamber. I looked online and they run in the thousands of dollars, so instead, I designed and fabricated my own. It consists of a 20" x 20" x 10" box of 1/8" thick mild steel with some plumbing to hook up the vacuum pump and a top made of aluminum and 1" acrylic that is bolted on via a flange and gasket. Check it out:
Melting Furnace
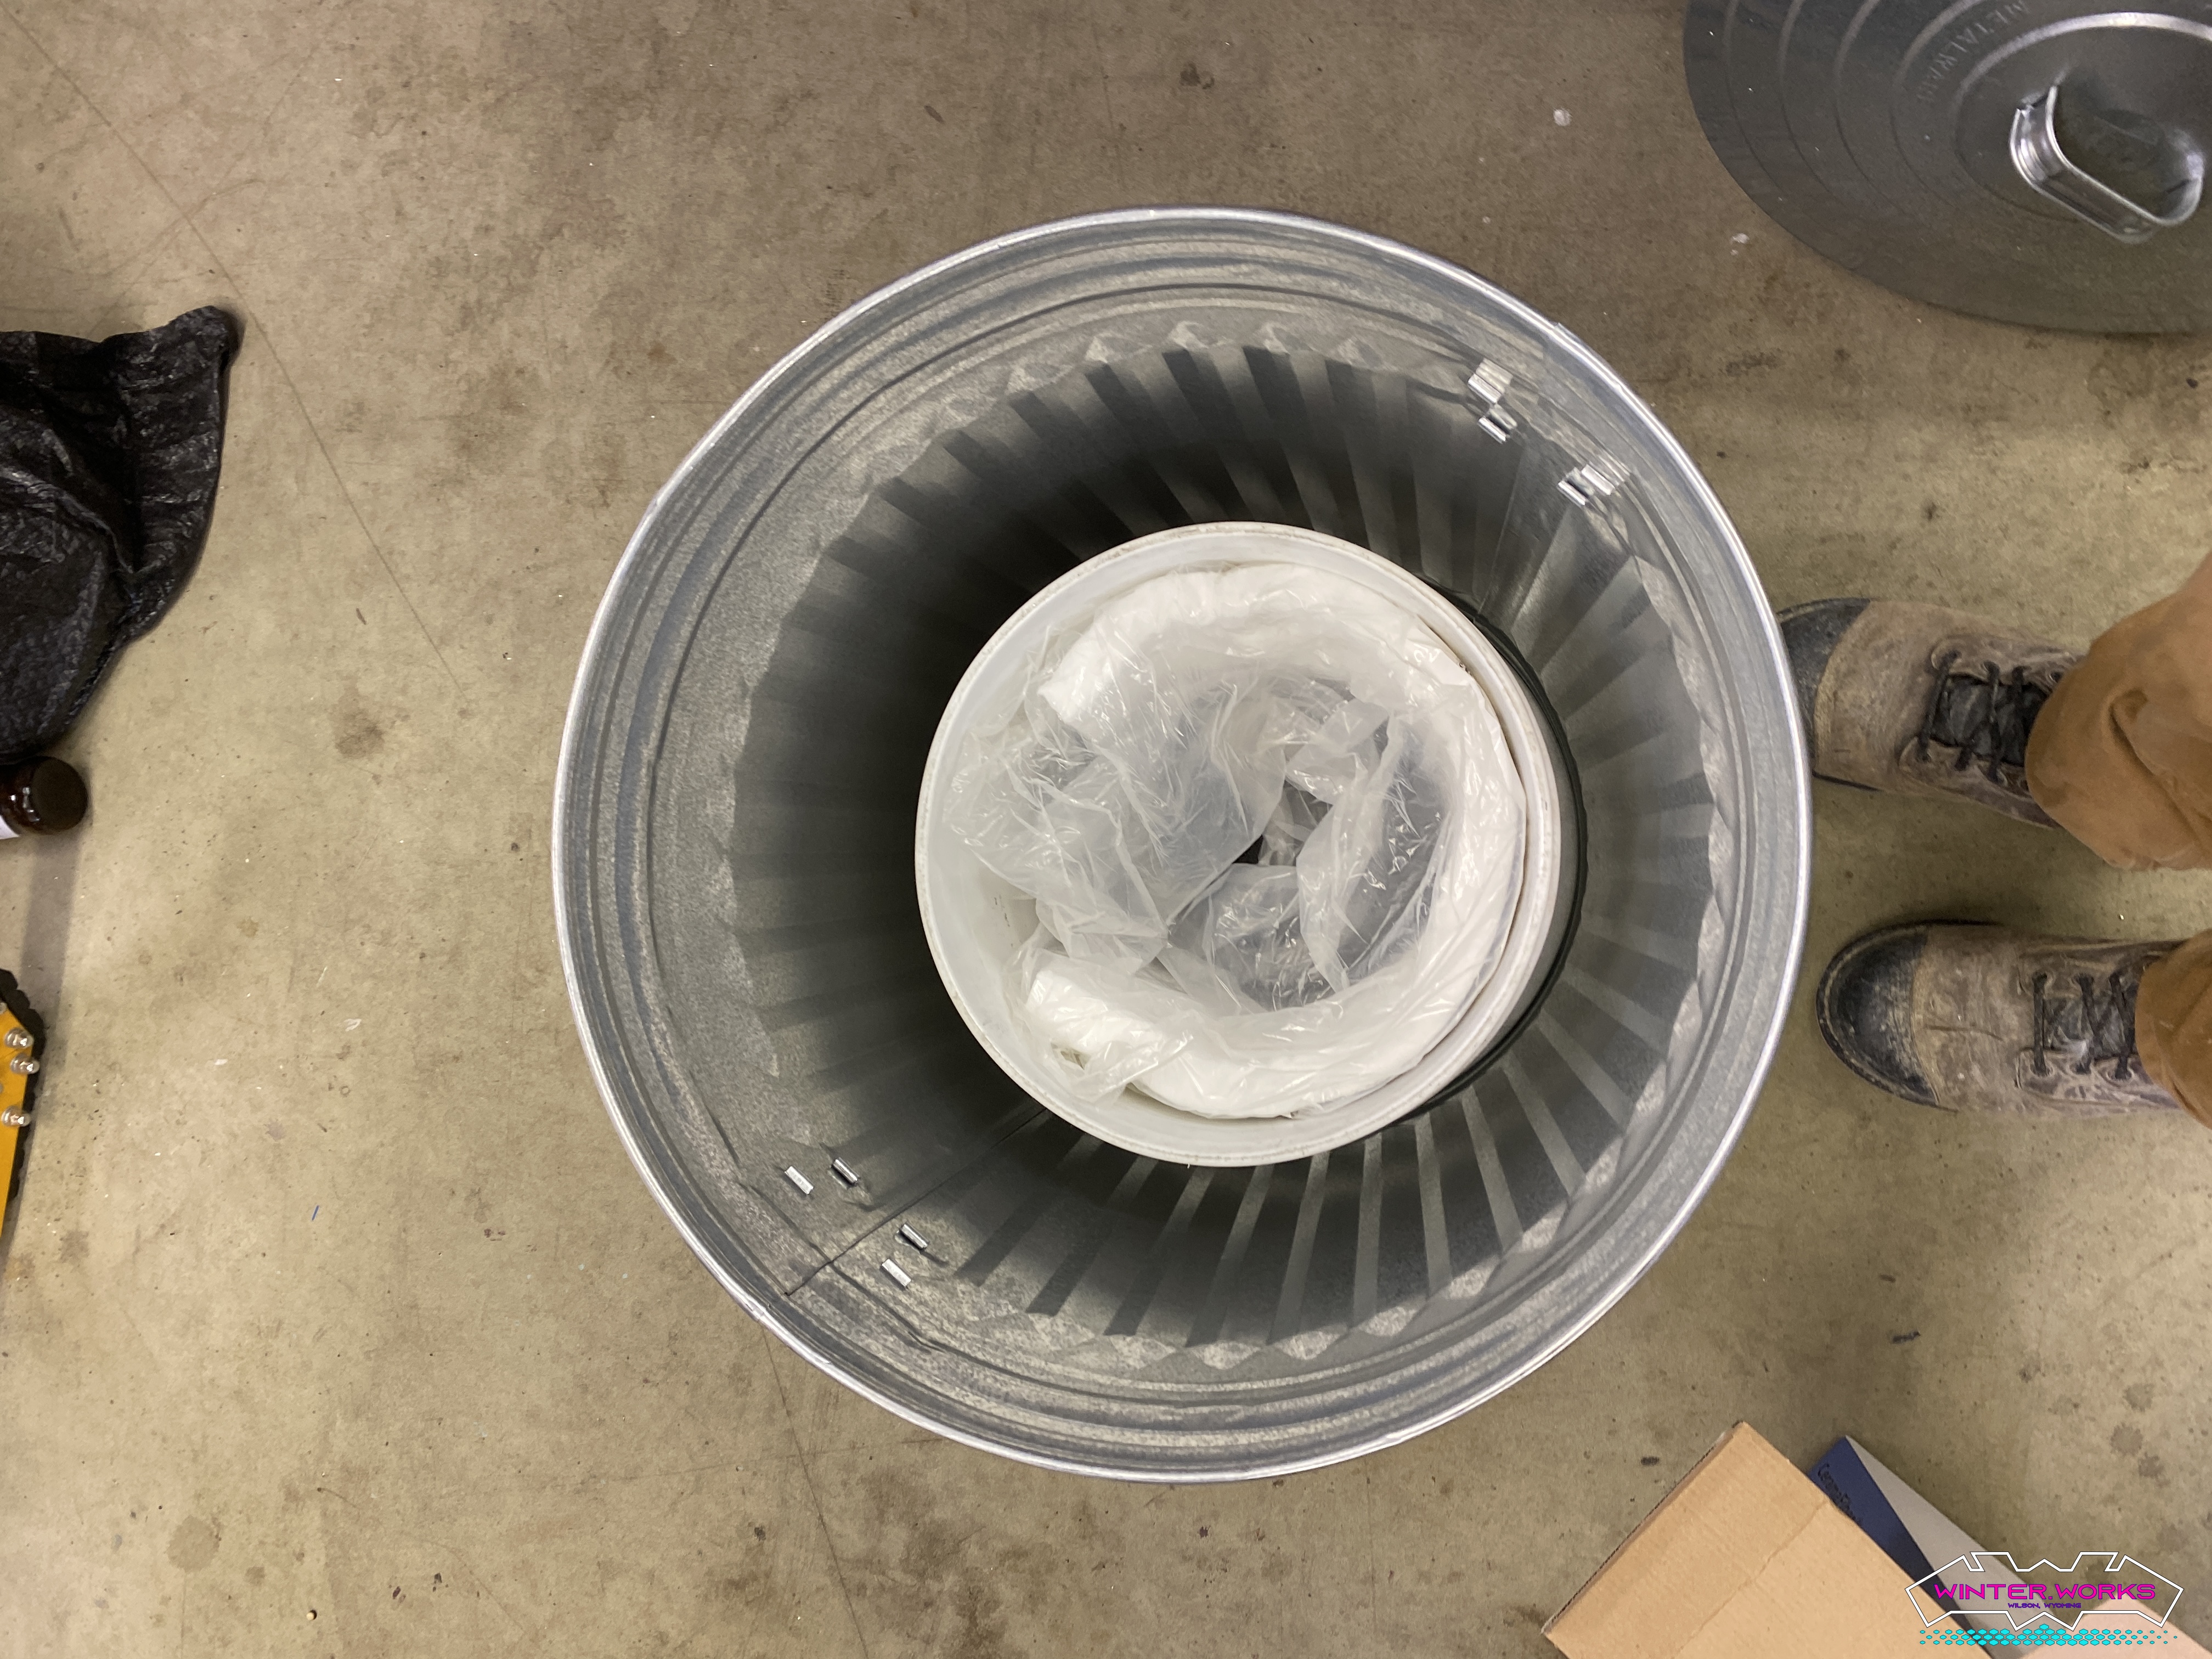
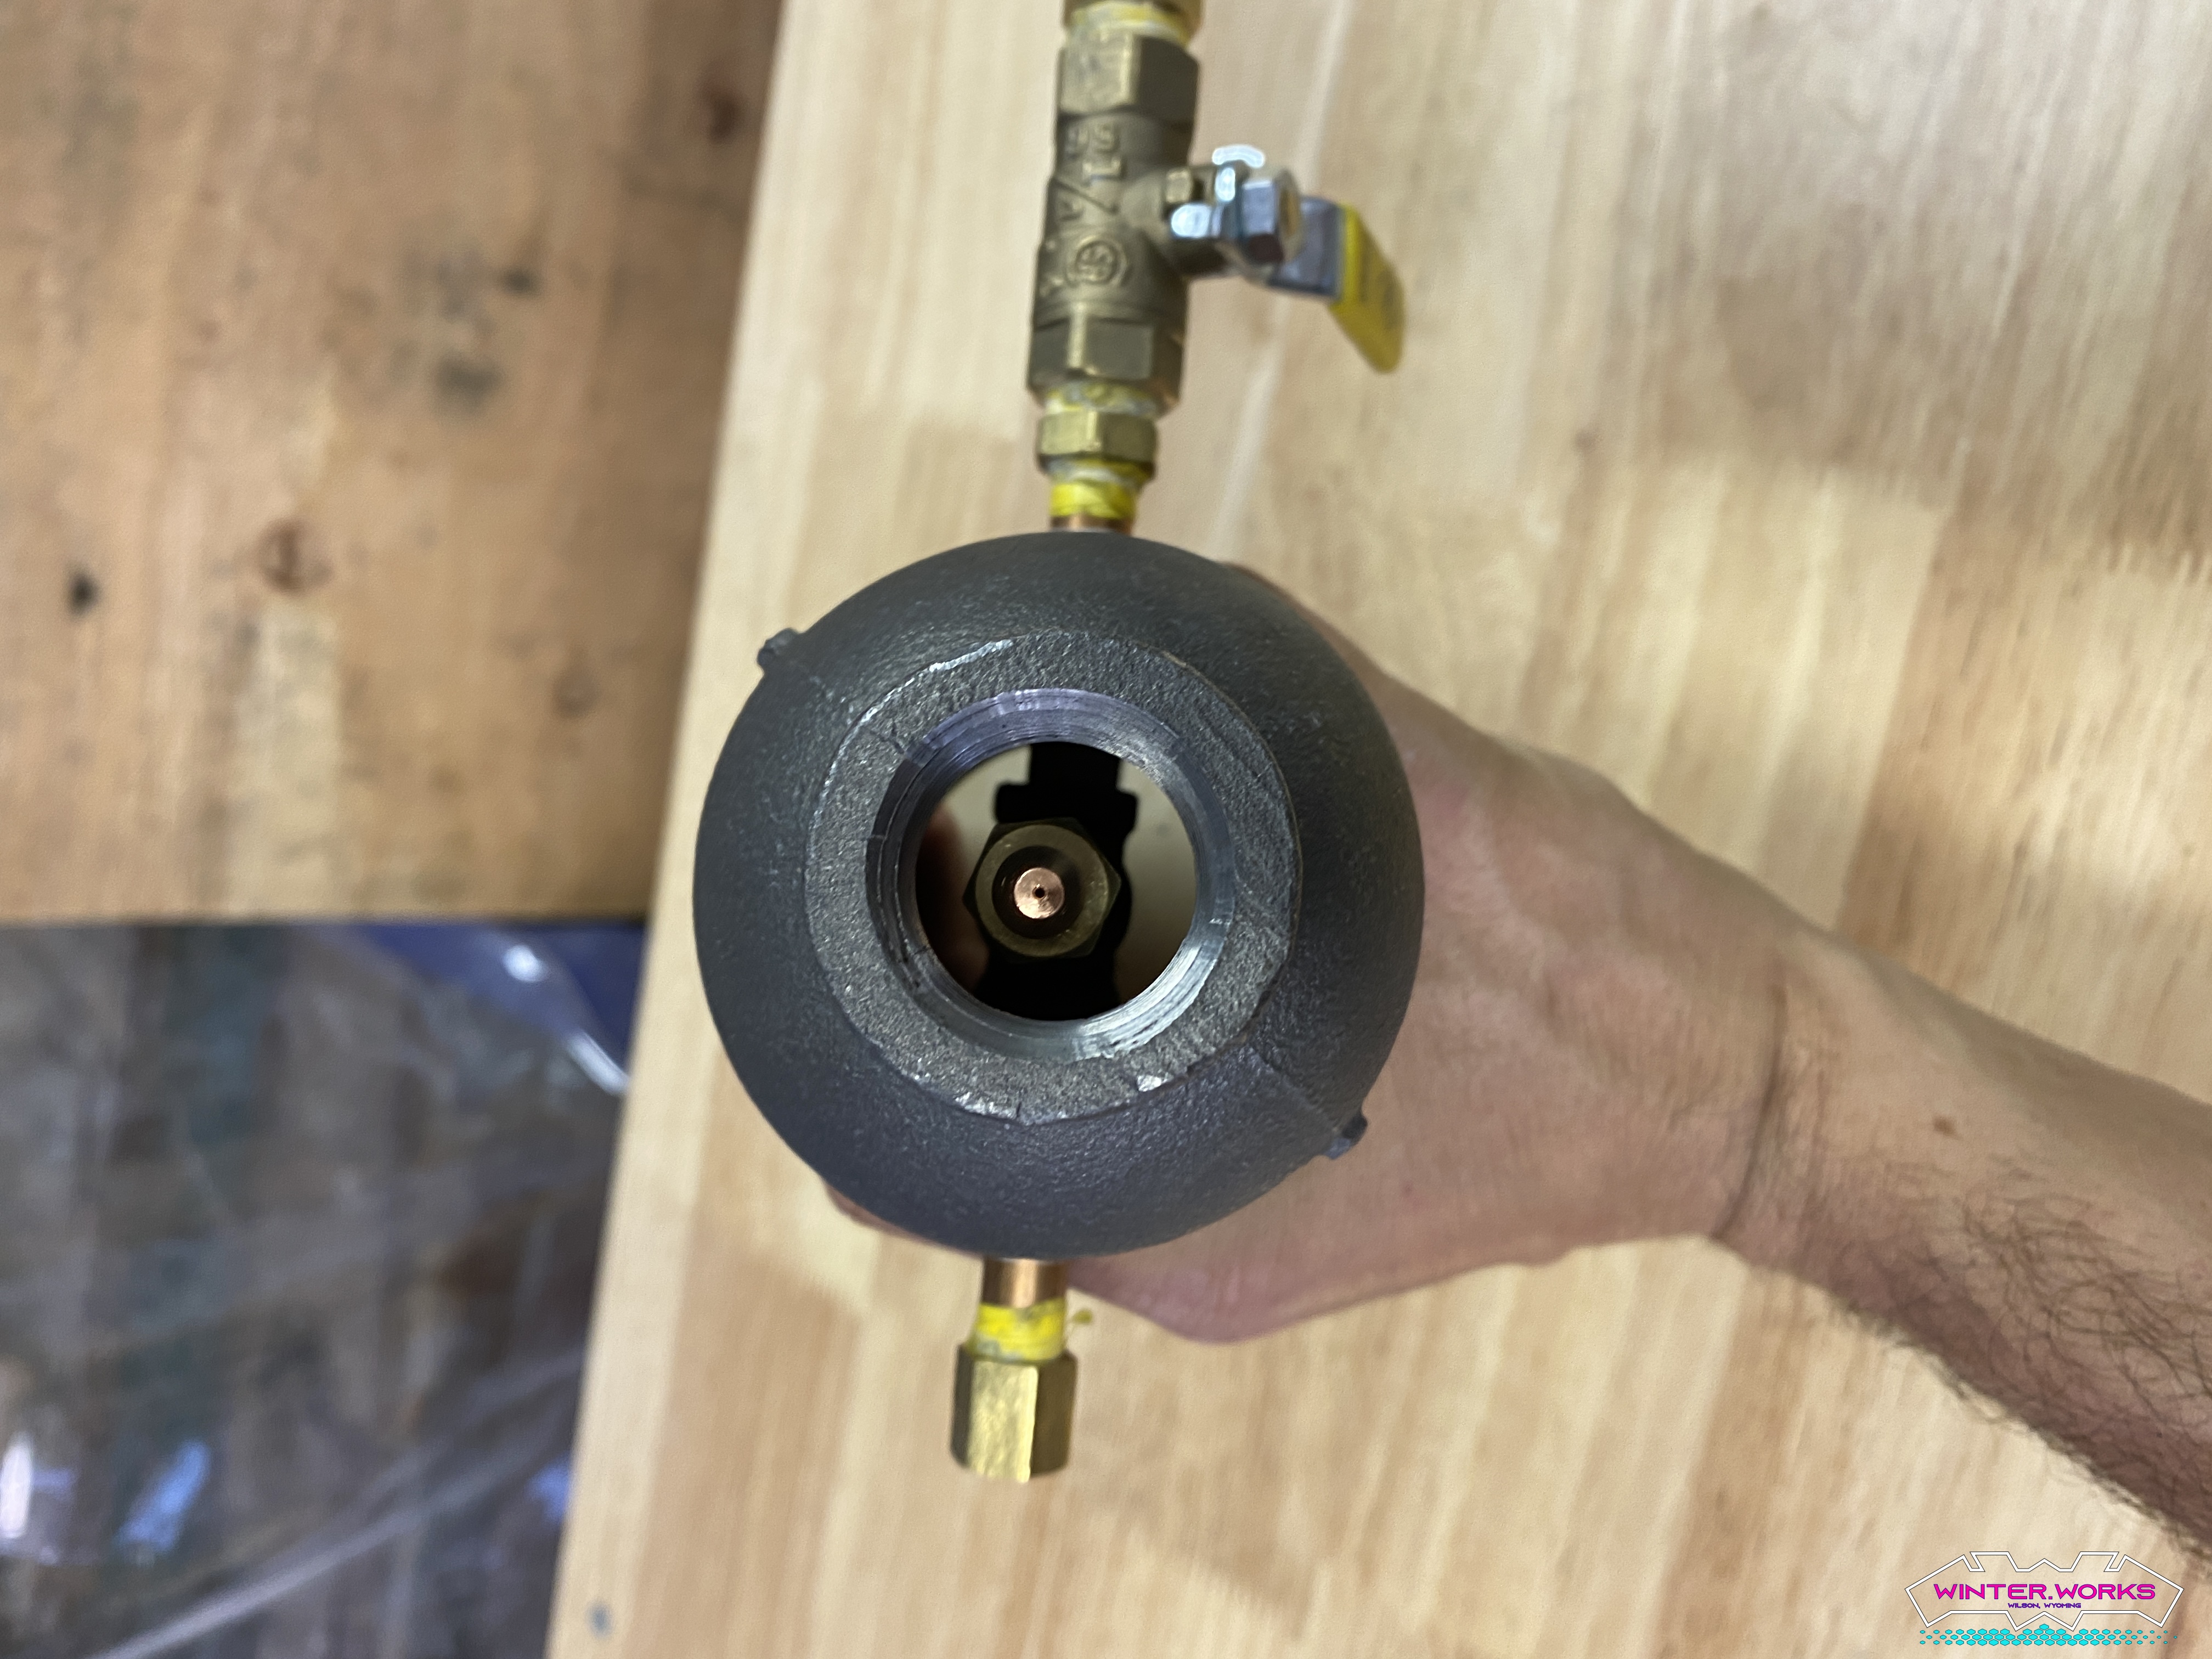
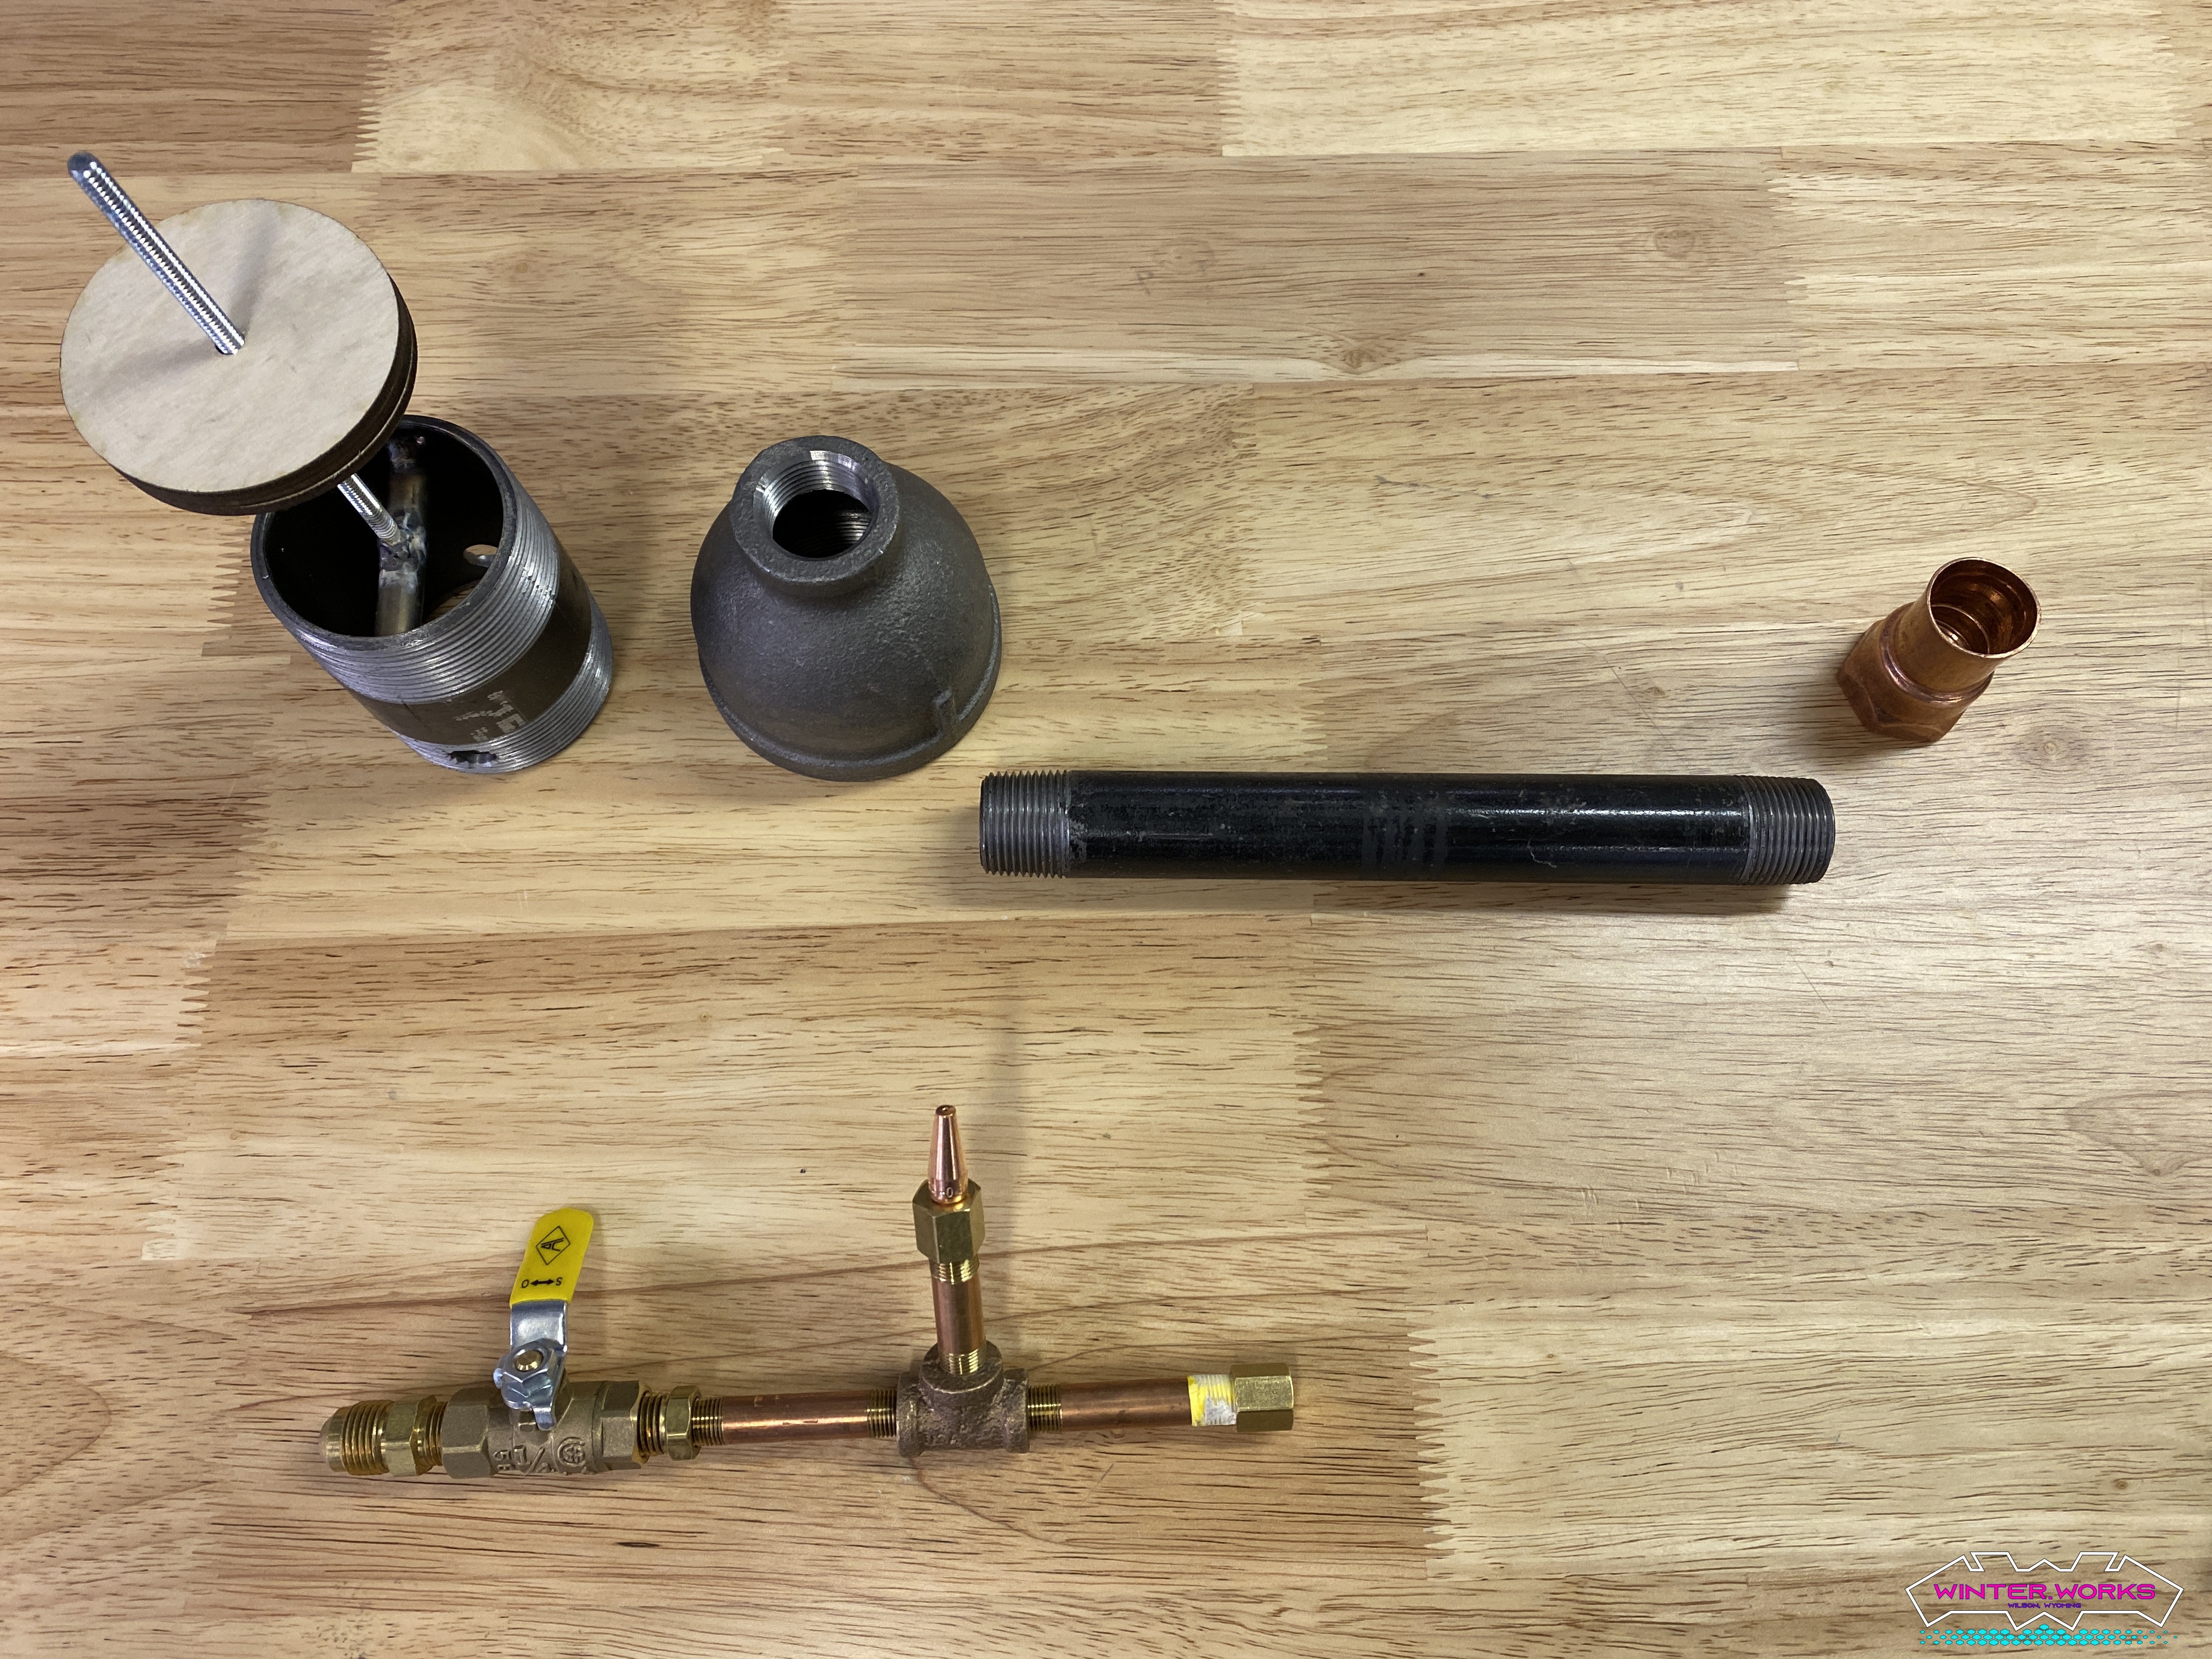
I will need a way to melt the aluminum for casting and the most reasonable way is a propane-fired melting furnace. The device consists of a metal cylinder + lid lined with refractory cement, ceramic wool, and refractory lining with a set of propane-fired burners blowing into the chamber. I am still working on the chamber itself:
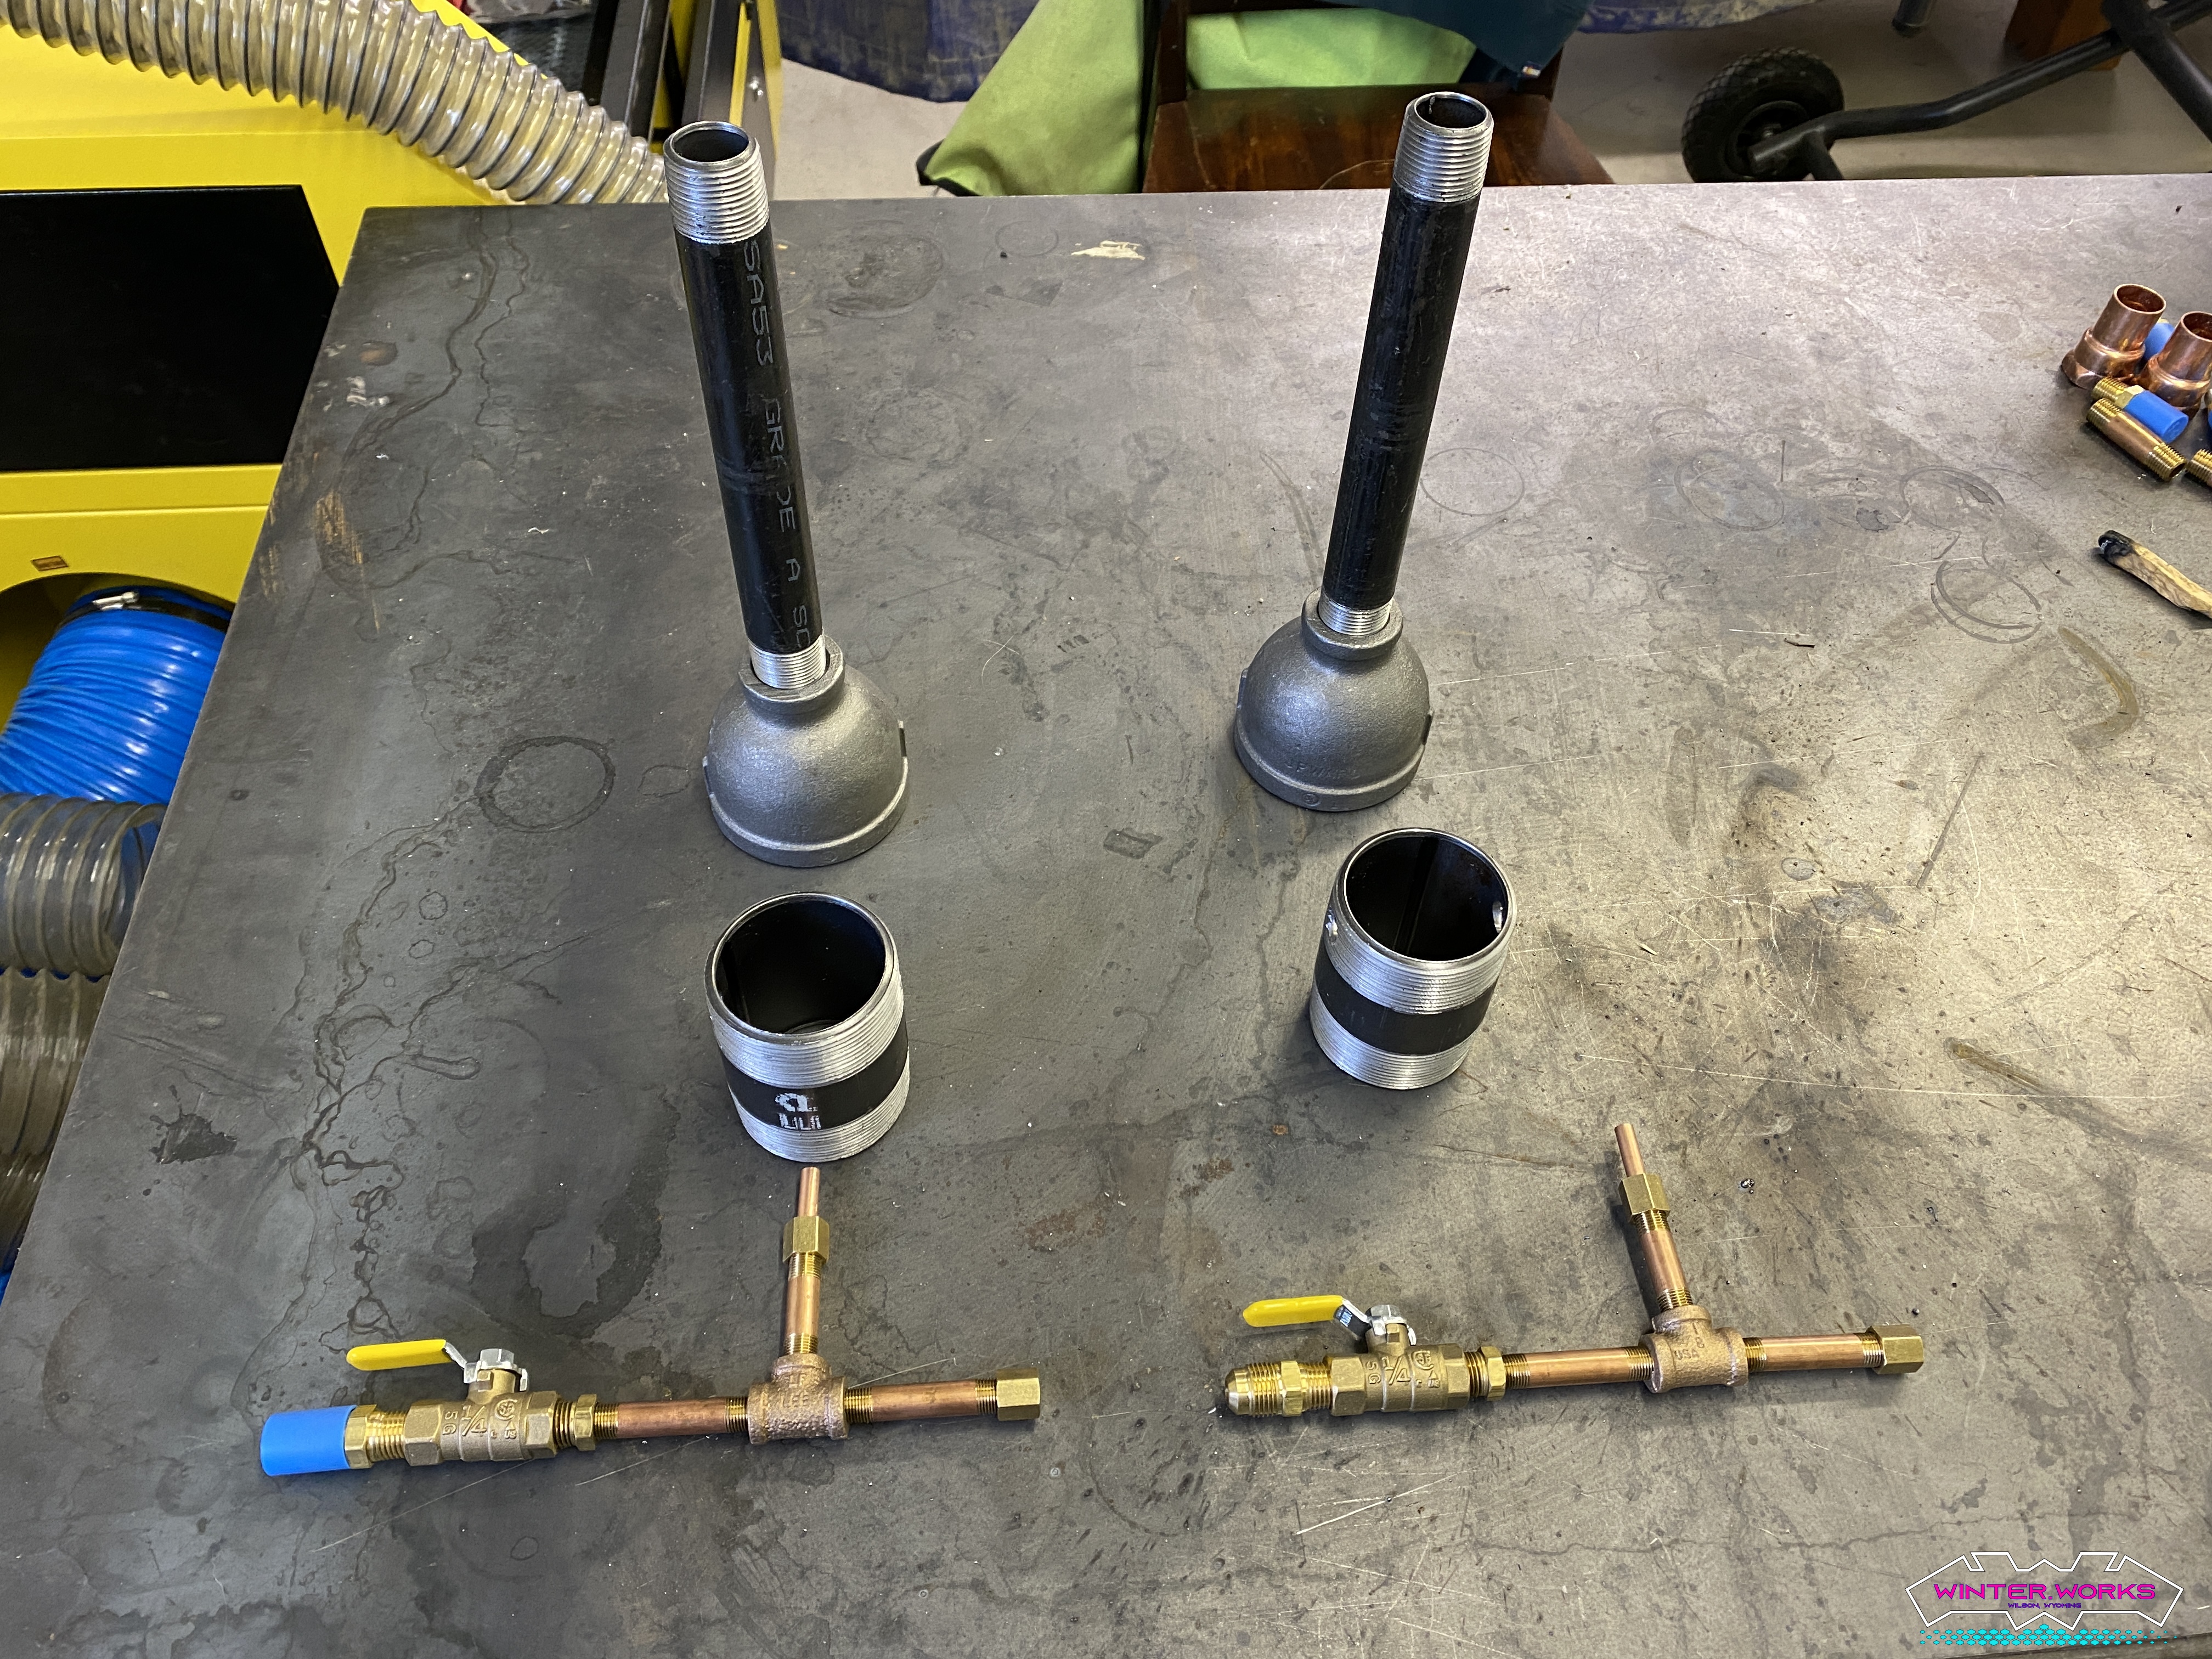
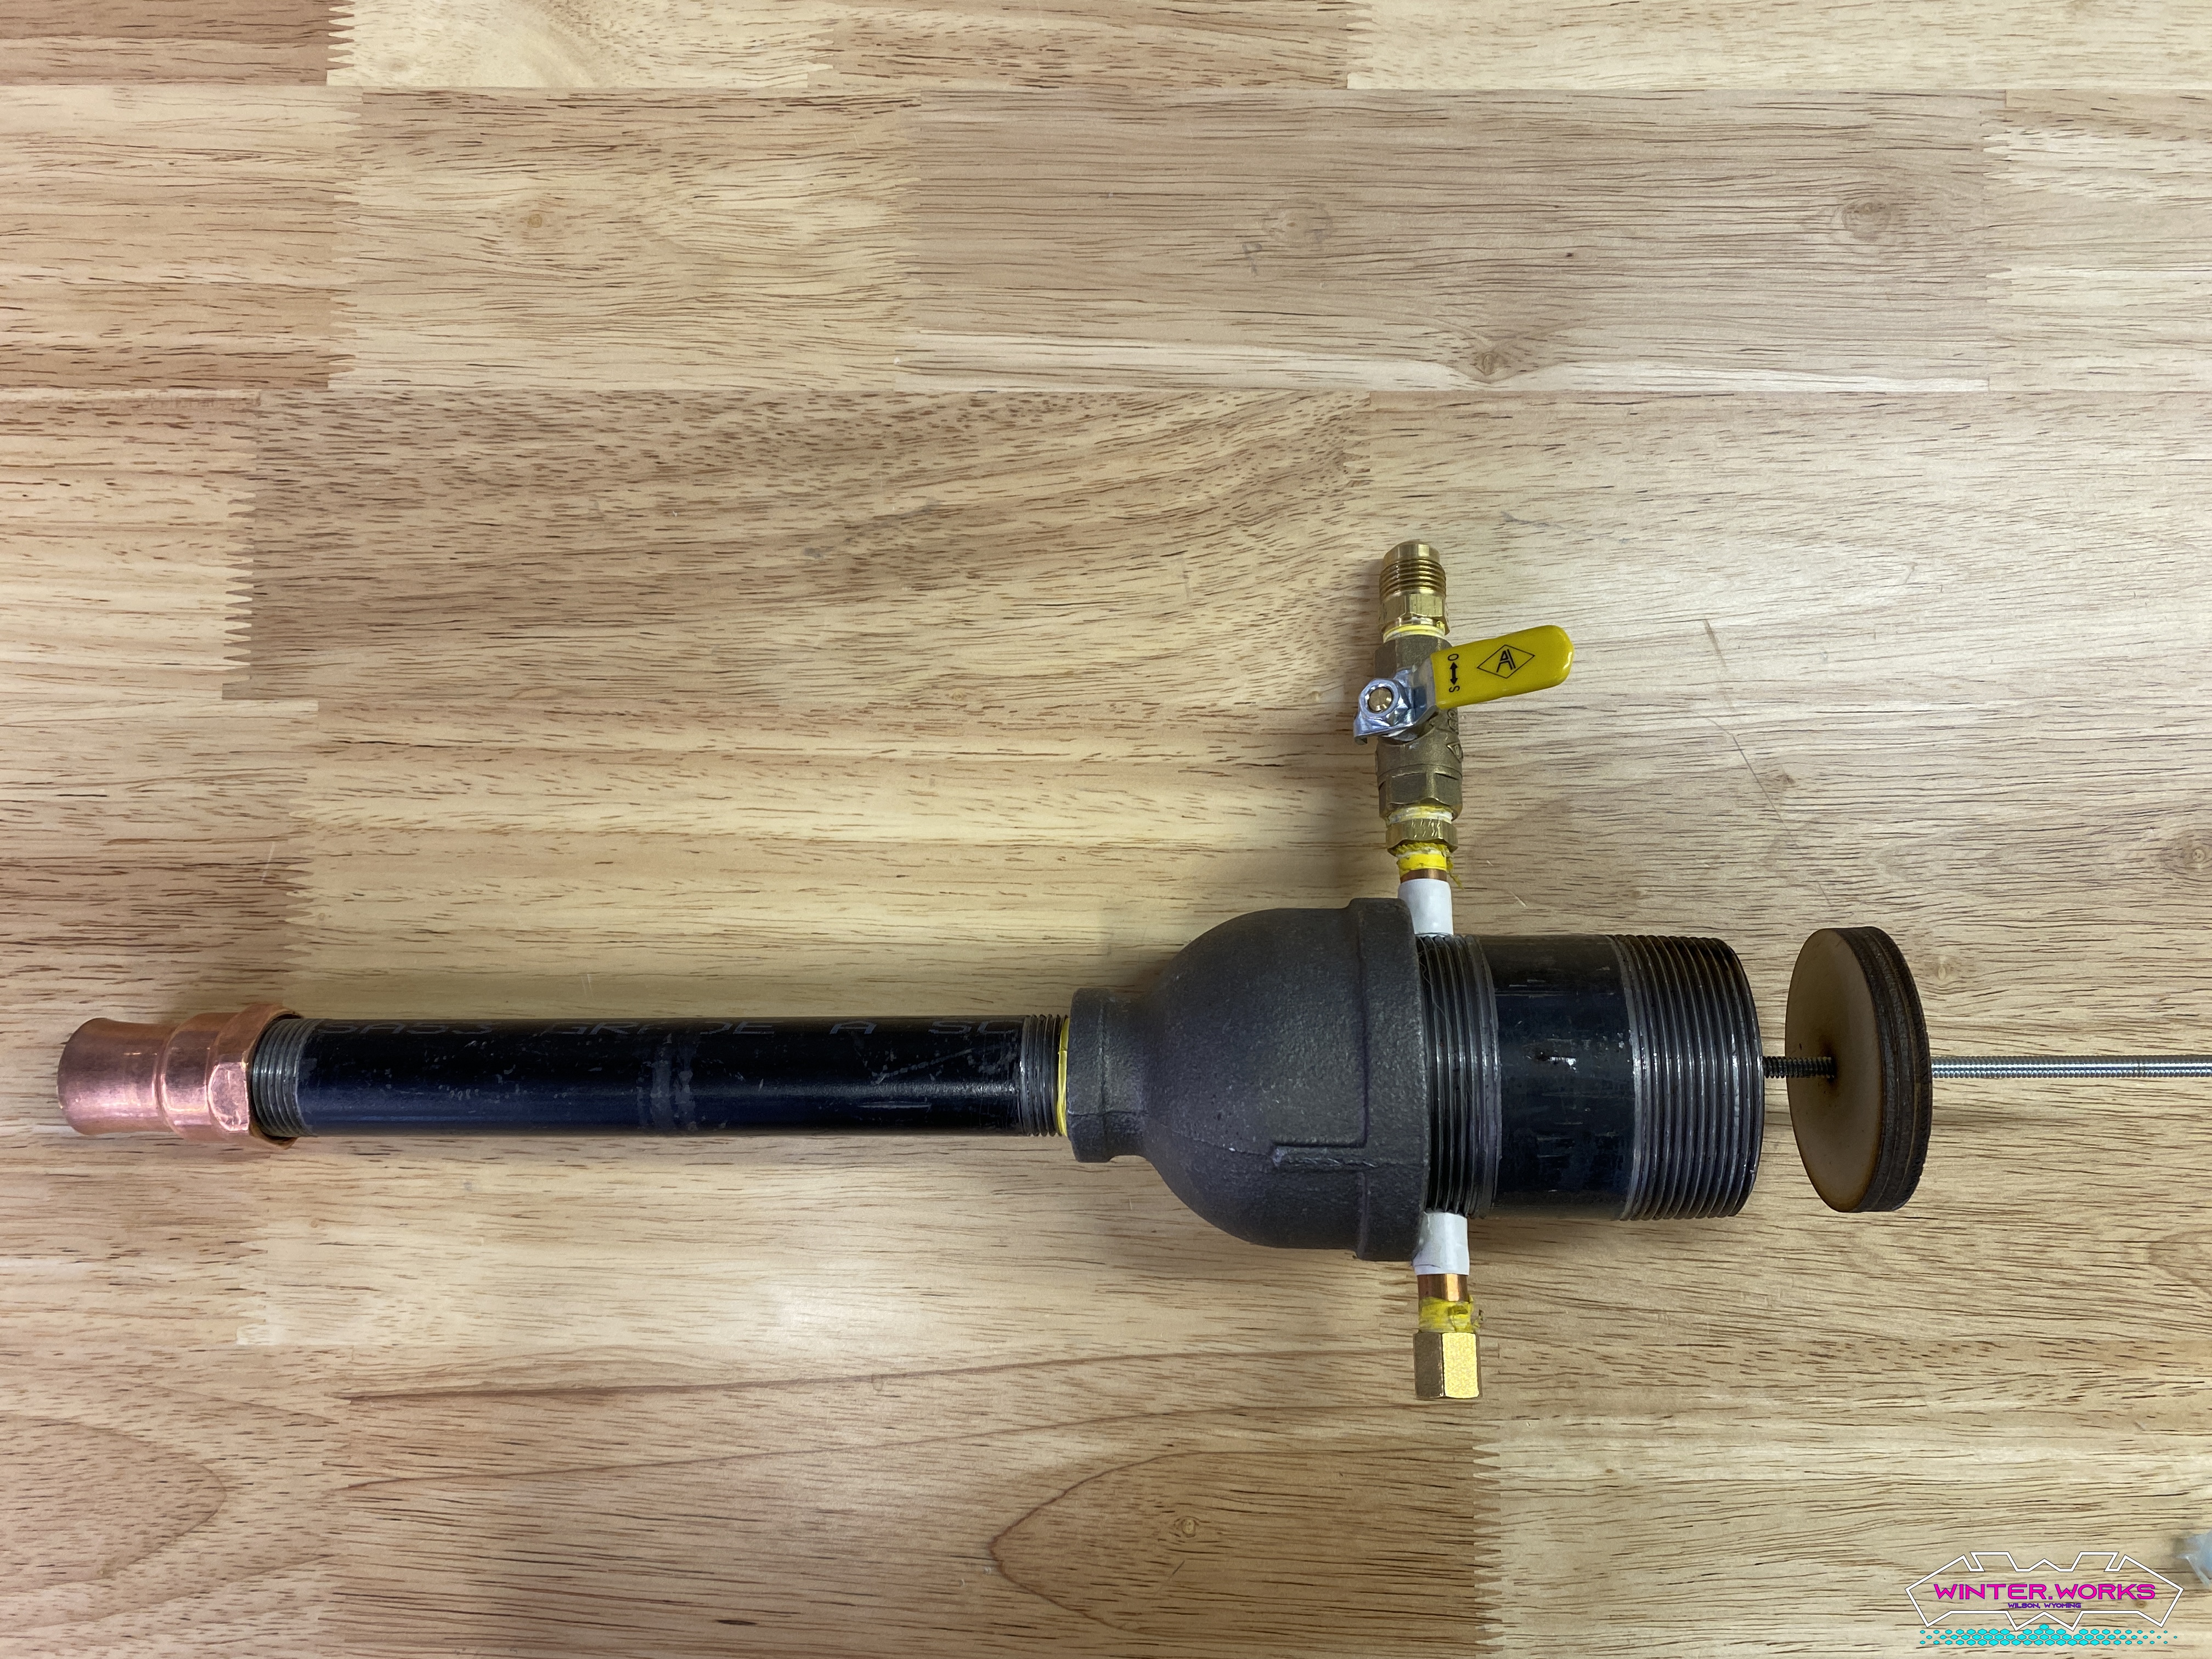
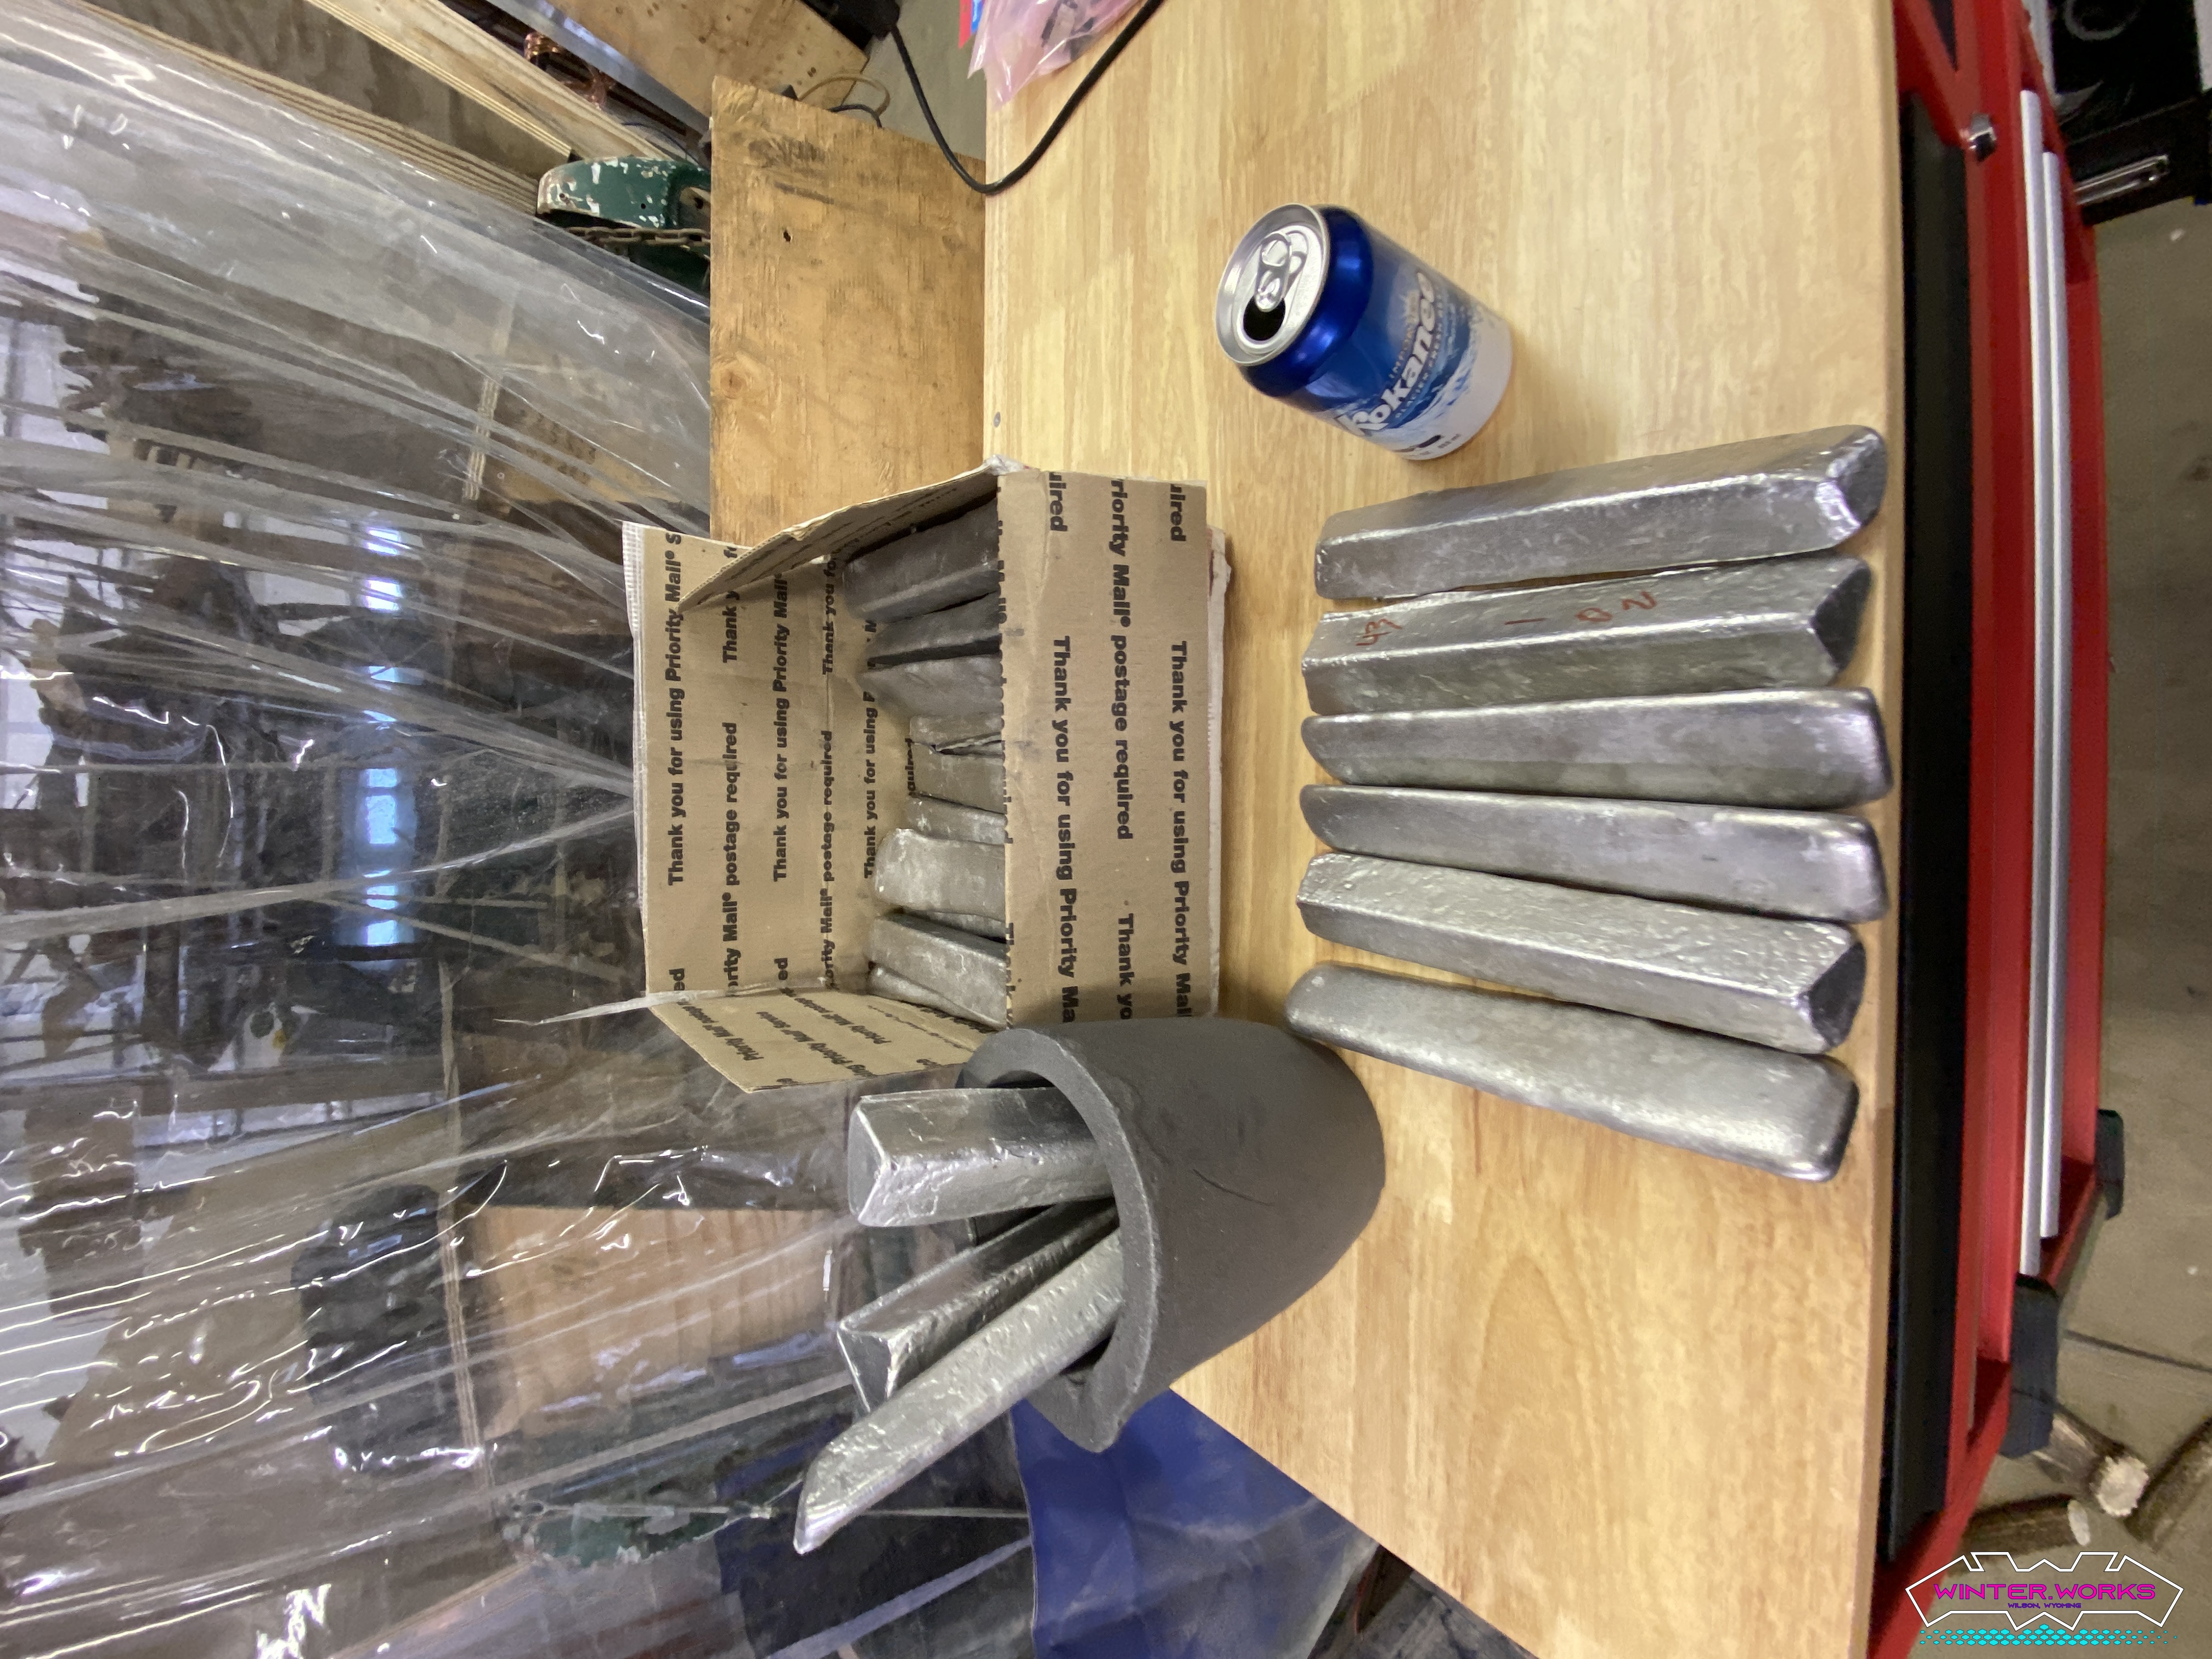
and the burners are fabricated and ready for installation and tuning and the aluminum casting material is on hand:
3D Printer
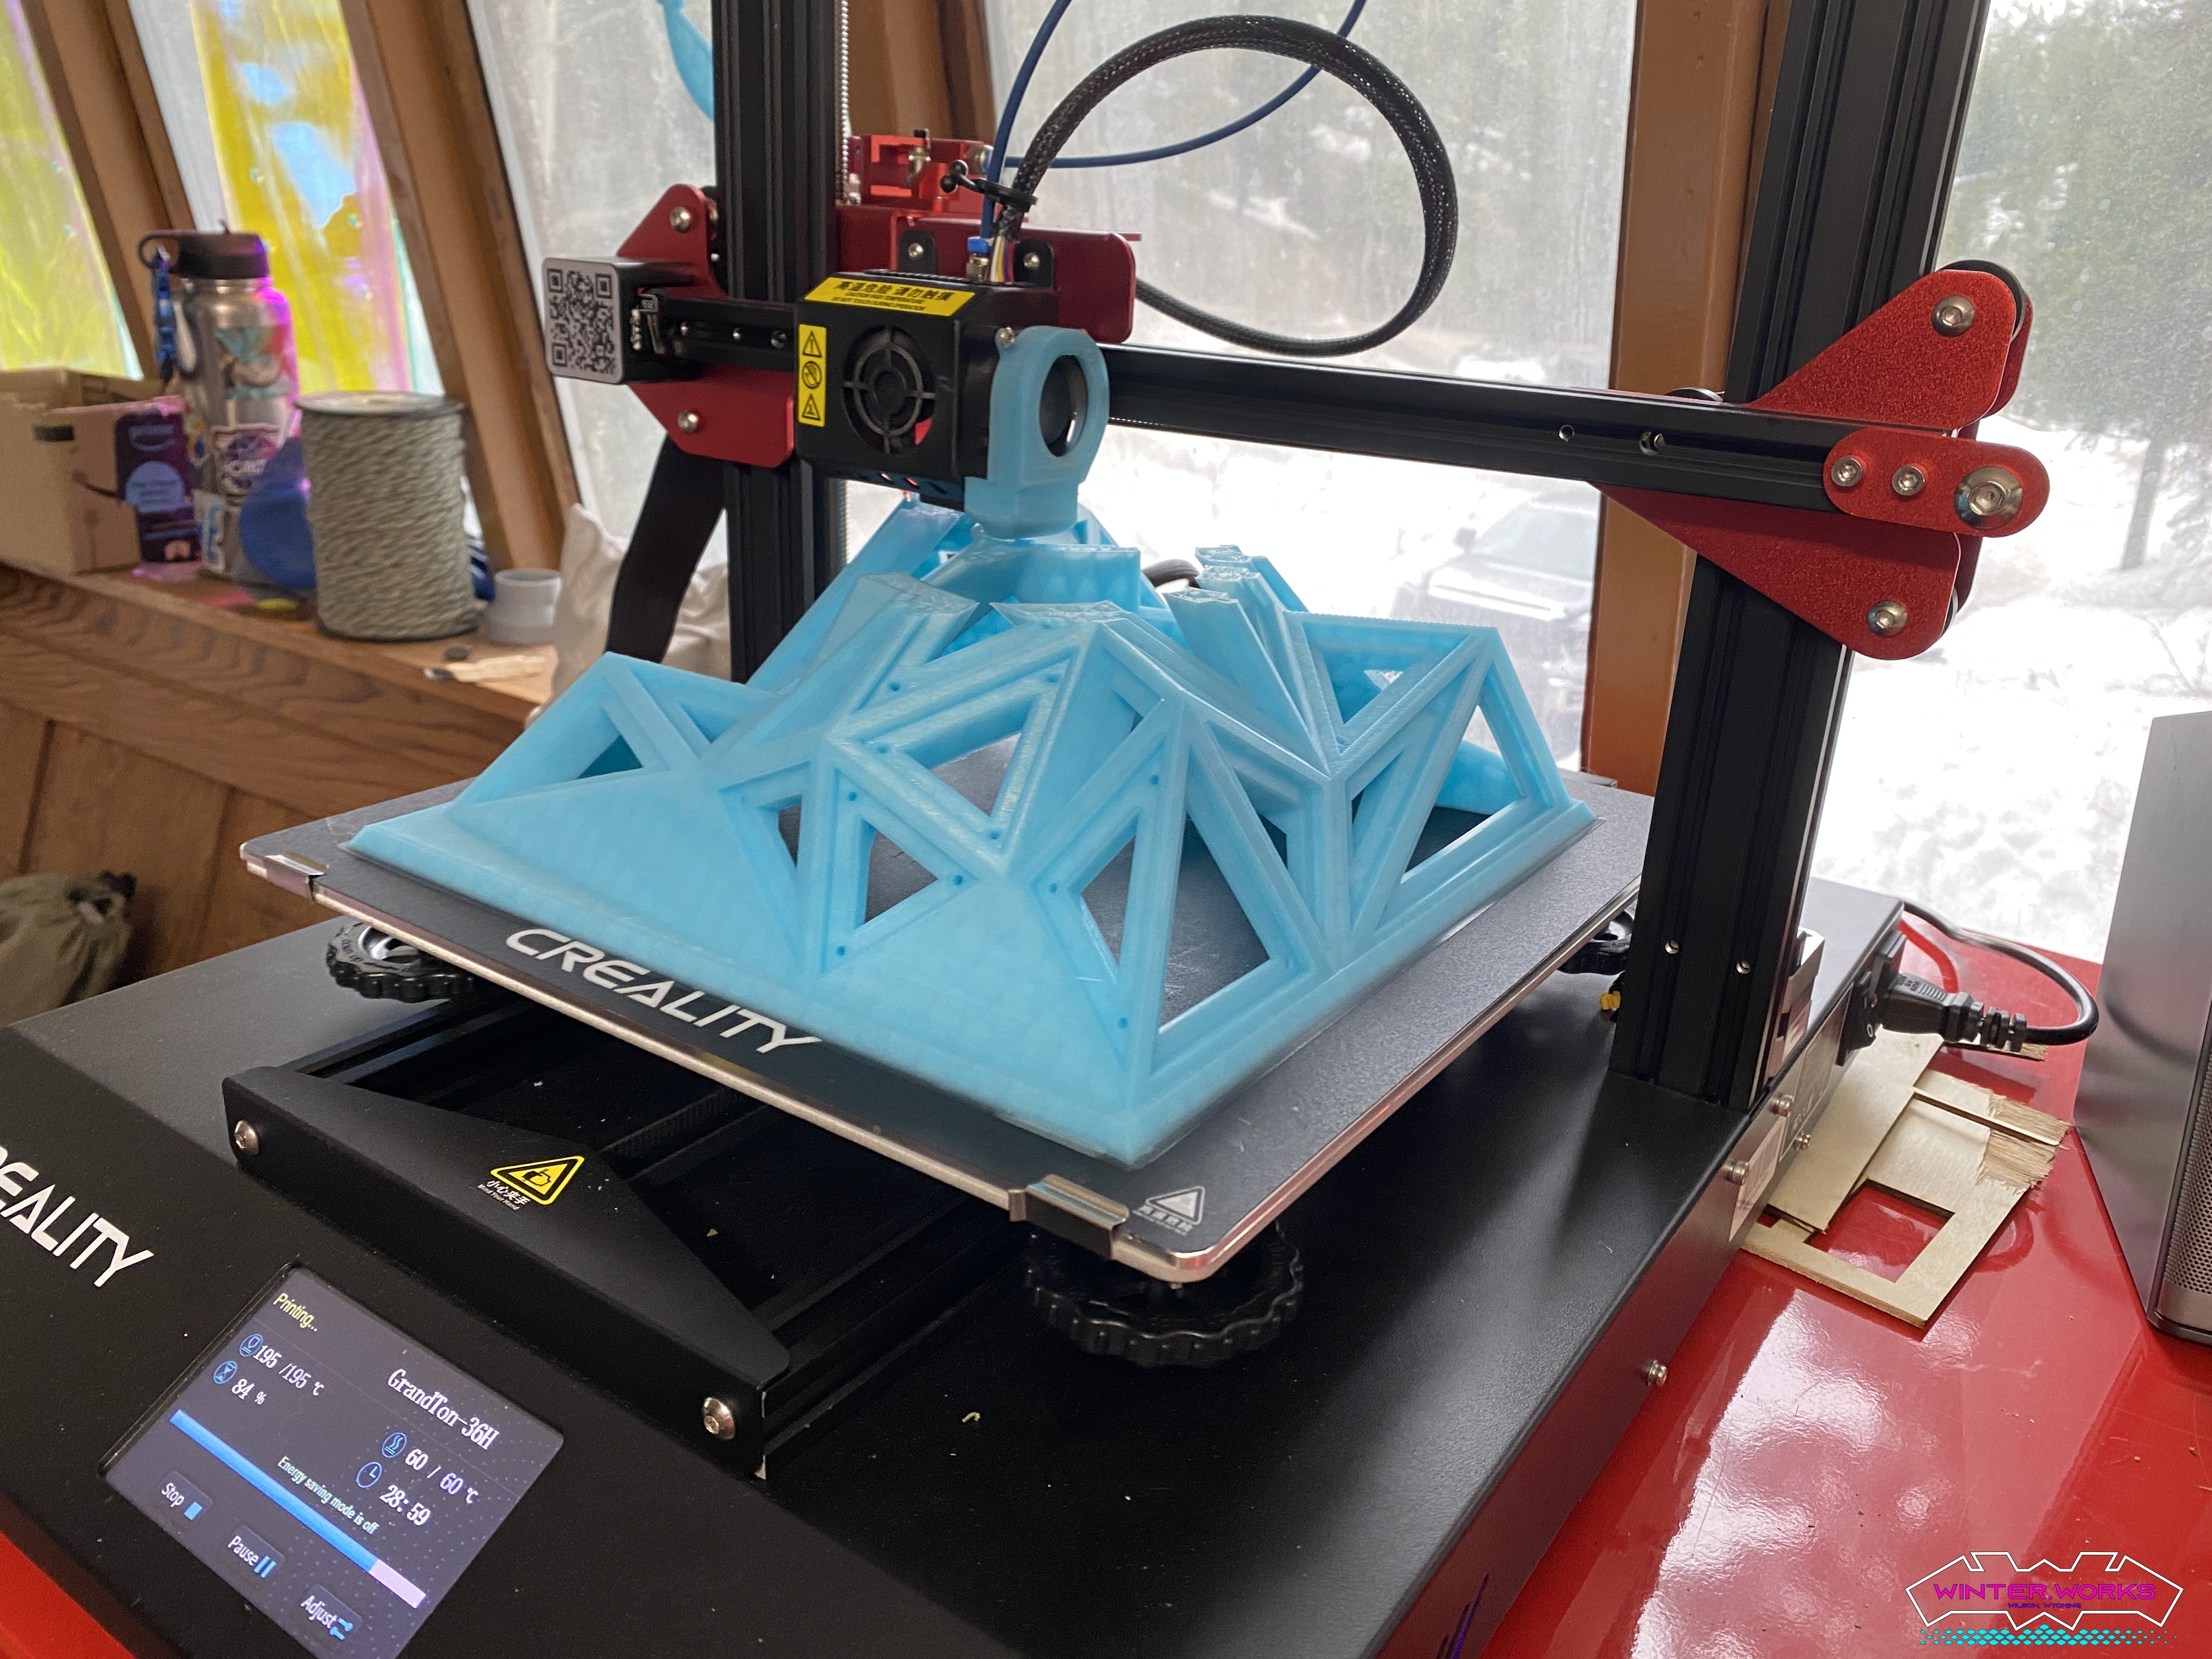
While I did not fabricate this tool, I have upgraded it to support the process and it’s been serving me well. It is a Creality CR-10S Pro V2 with a MicroSwiss all-metal hotend, hardened steel nozzle (for printing exotic materials), and a variety of filaments. So far I am very happy with the performance of this device.
CO2 Laser Cutter / Engraver
This tool is one of my favorites. With a huge bed (22" x 28") and a passthrough to accept longer material, I will use Old Yeller (it is yellow in color) to cut the dichroic panels for the facets of the mountain.
Design
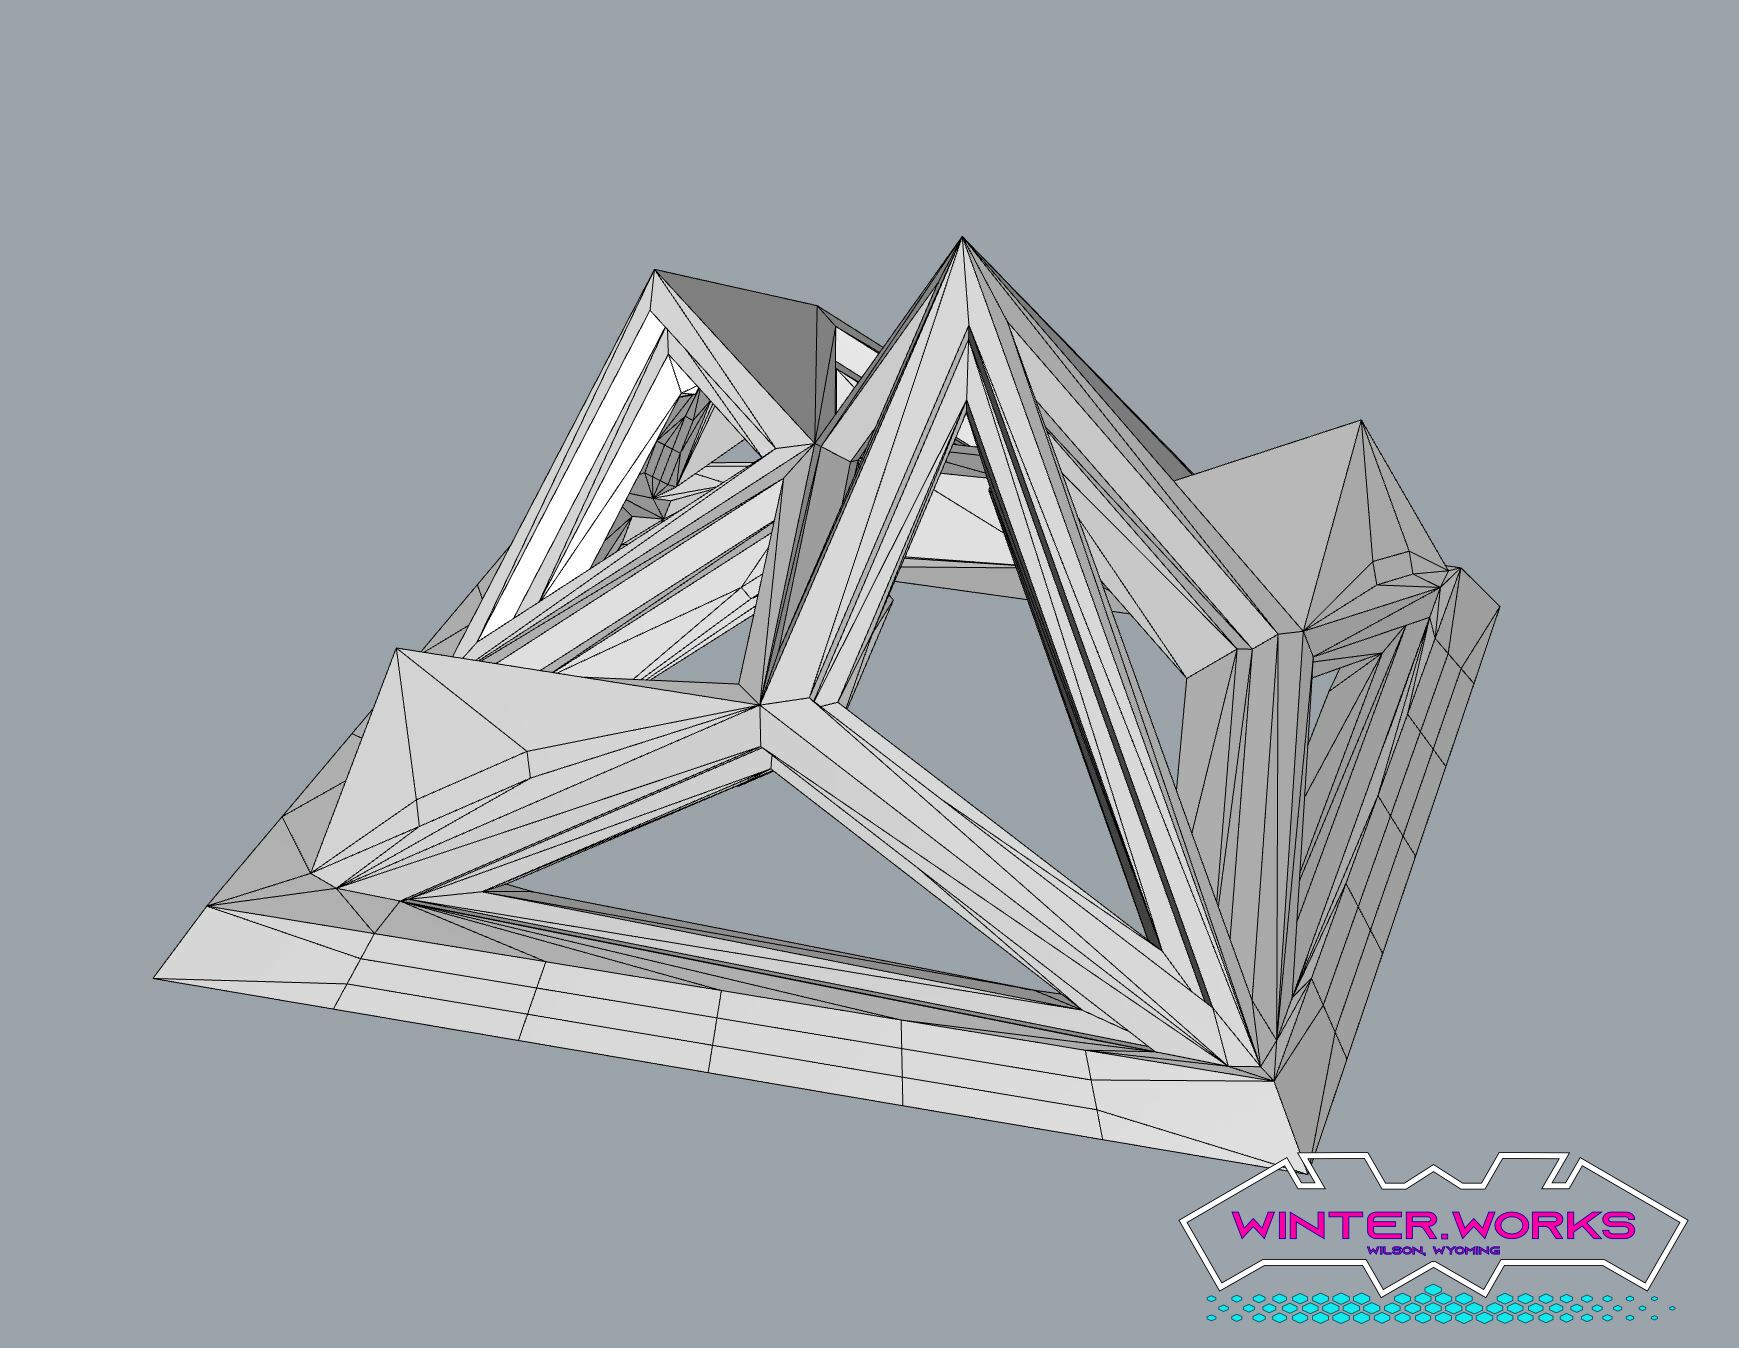
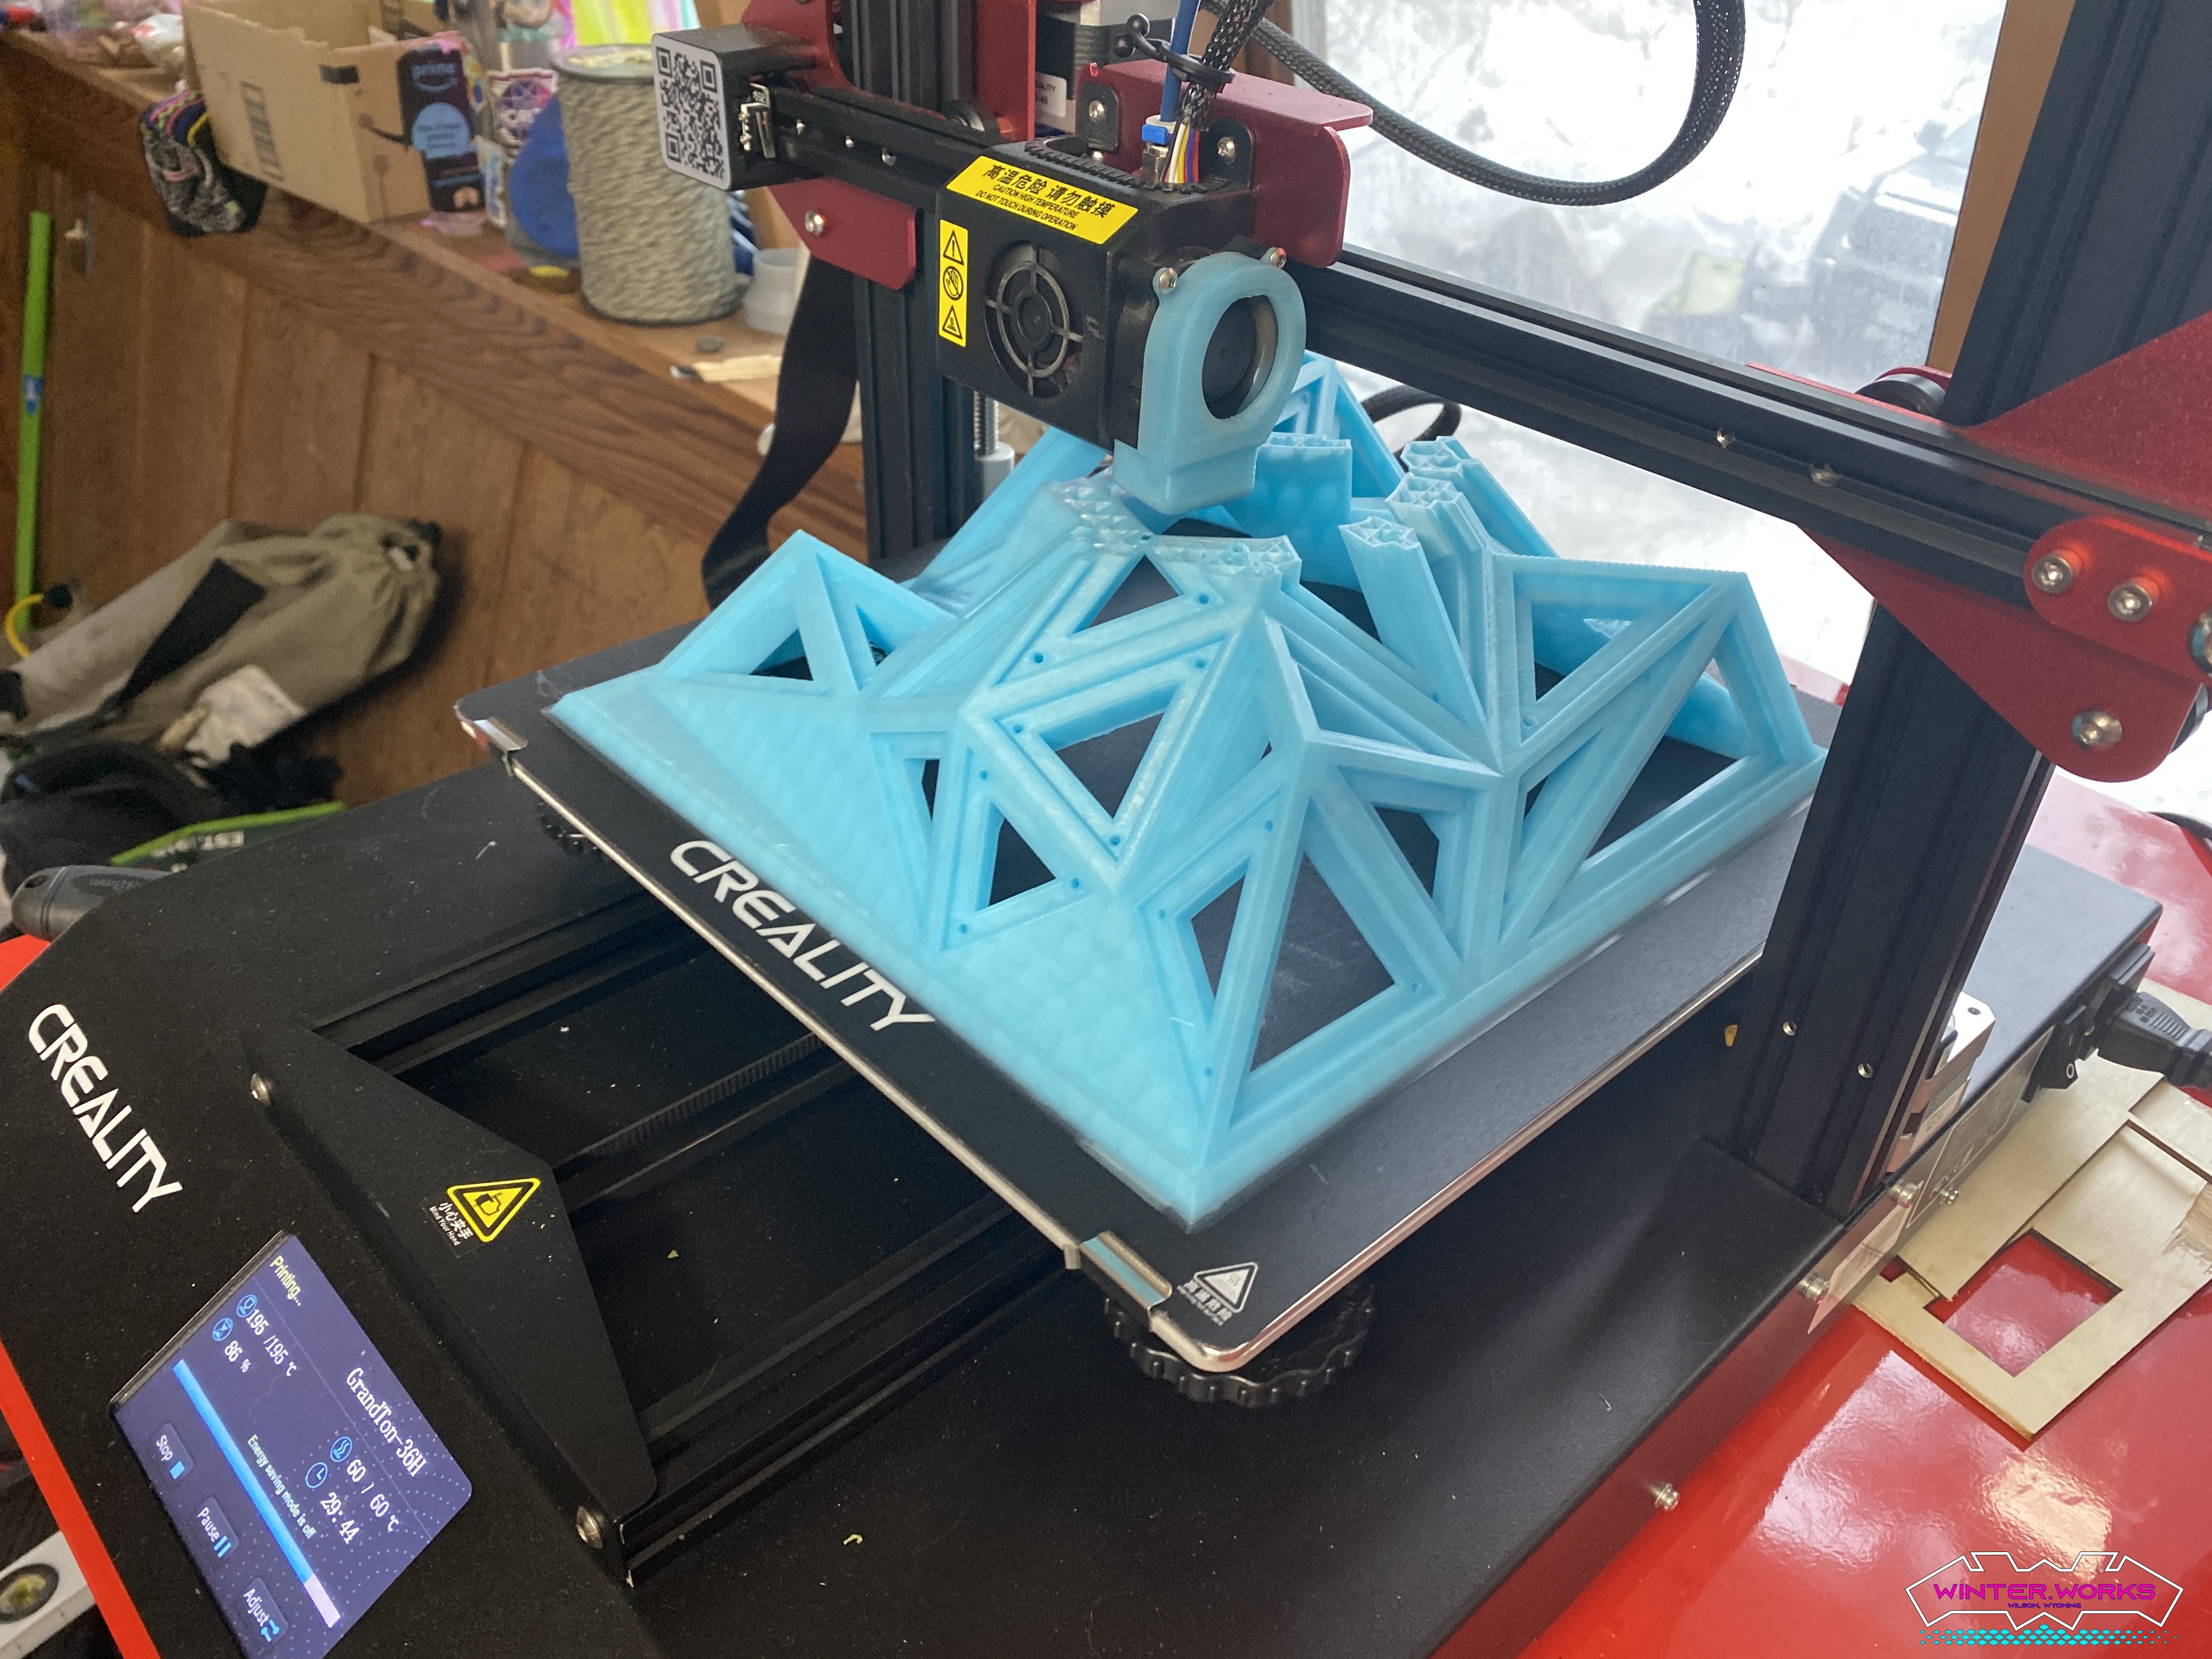
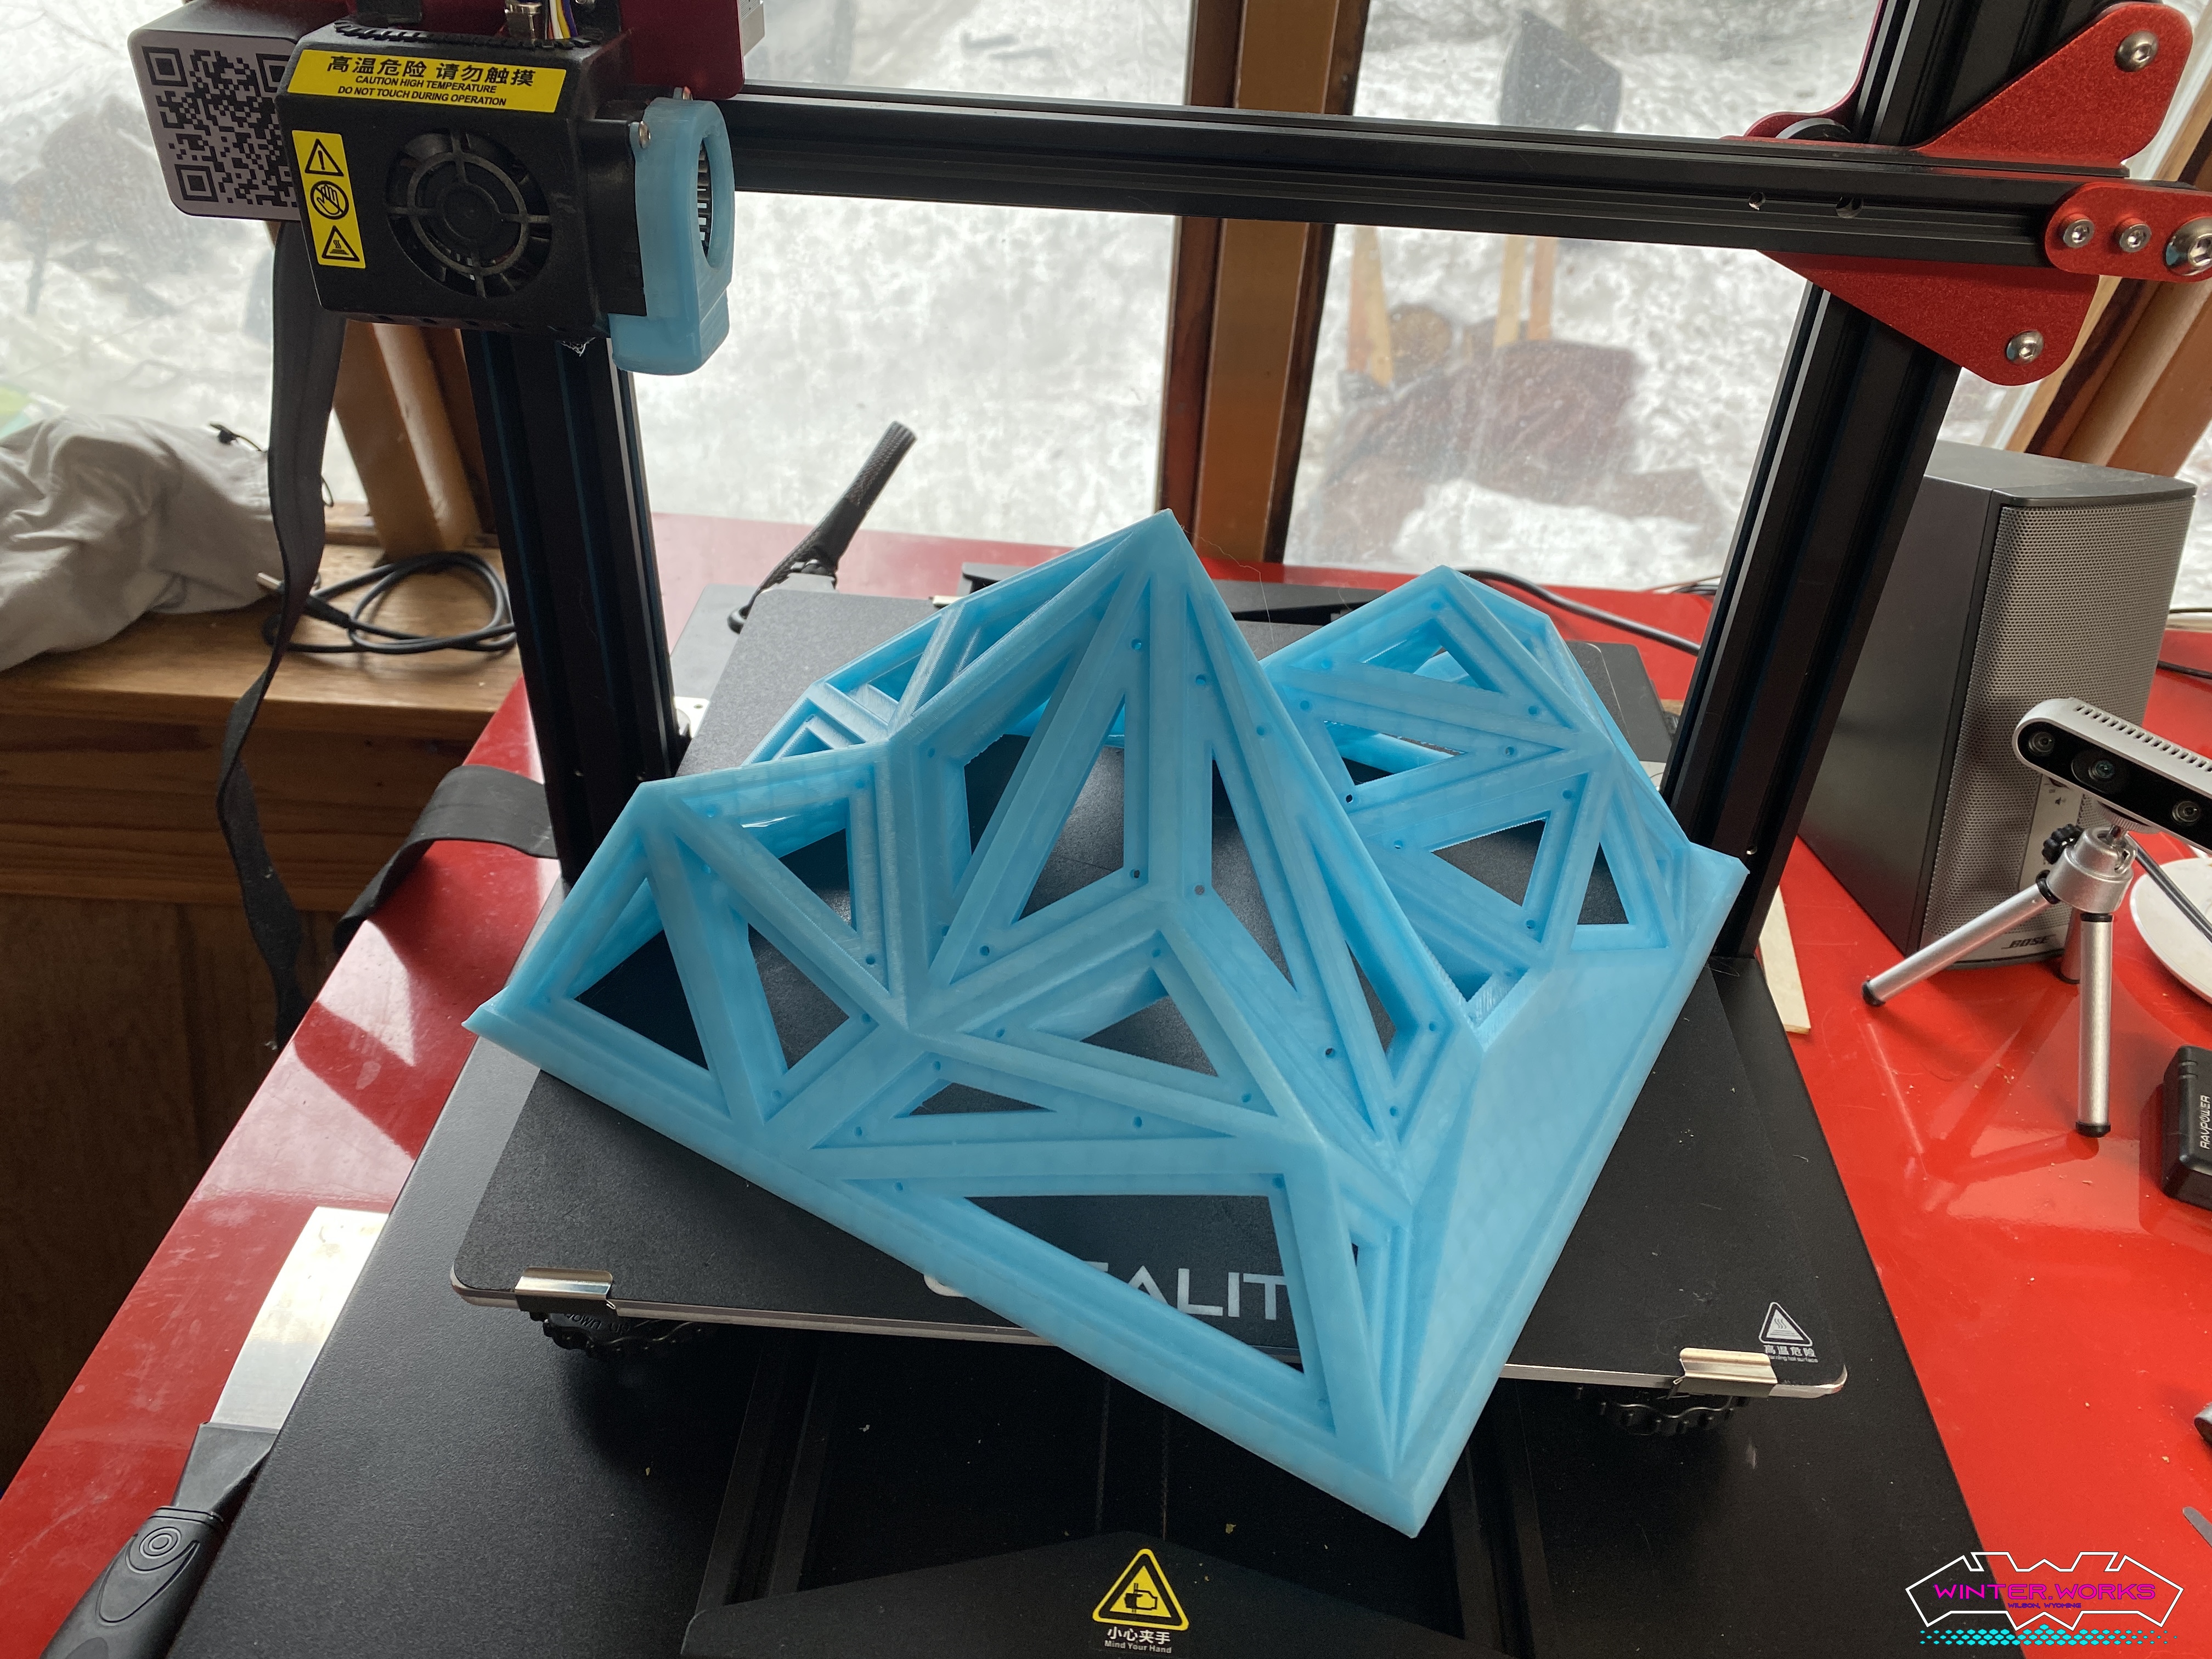
The initial model I’m using for this piece is a geometrically rendered version of the Grand Teton. I’ve designed it in #Rhino3D based on our local hero and then rendered this to reality using my Creality CR-10S Pro V2 3D printer in a material called PLA. PLA (polylactic acid) is a plastic derived from cornstarch. This allows me to get the output I want in quick iterations with a low expense. Here is an output of one of the earlier rounds of design and prototype:
Finish Tune-up
While the printer does output a fairly nice representation, it is still not 100% accurate. The lines of the material show as well as minor imperfections due to the nature of the process. I will use a variety of techniques to go from the rough print to a finished and shiny model that can then be used to make a mold. Sanding will be the #1 technique.
Make a mold
Once the model is to my liking, shiny and smooth, I will then use it to make a silicone mold as I intend on making a series of each mountain (there are a few very important mountains in my life). The silicone mold will be used in the next step, but the process is this:
- Pack the inside of the sculpture with clay. We are making a two-piece mold and want to keep the silicone on the outside for this round.
- Place the model in a container that holds it. I am going to 3d print one that gives me the precise amount of volume for a 1/2" - 3/4" wall thickness.
- Mix the silicone and hardener. I am using Bluesil RTV 3040 which is a medium thickness, medium flex silicone. The clock starts ticking so the next steps should be ready to go before you start this.
- Place the container of silicone into the degassing chamber and pull to 29 inches of mercury. This will pull the air bubbles that were inevitably incorporated during the mixing to the surface and make them pop. Once bubbles stop, you can kill the vacuum and remove the silicone liquid.
- Slowly pour the silicone down your container with the model secured in the center. Pouring down the side will reduce the incorporation of air
- Put the entire container into the vacuum chamber and pull another 29in of hg. This should ensure the silicone gets into all of the nooks and crannies of the mold.
- Let it cure overnight at least.
- Remove the clay without disturbing the model.
- Clean the model and spray with a mold release (like Mann Ease Release 200) to ensure that the silicone does not stick to itself. This will allow the second piece to be pulled out.
- Cure and rejoice! You now have a 2 piece mold that will last a good amount of time. Be gentle with it.
Pour a wax casting
Now that you have a fancy silicone mold, you can use it to make a casting of wax. Spray the inside of your silicone mold with mold release, melt your wax, and pour it into the mold. Once it hardens, you should (ideally) be able to remove it and have a beautiful, albeit ephemeral, casting of your sculpture.
Coat the wax model with investment plaster
The silicone obviously cannot withstand the temperatures of molten aluminum so we will coat the wax model with something that can: investment plaster. I am using R&R’s Ultravest product. I intend on mixing it up with some sand and slowly coating the wax model.
Burn-out
Not just for hippies anymore (oh wait…), burn-out is the process of removing the temporary model from within the rigid plaster cast. Each type of investment has a different burn-out schedule, but you basically put in in an oven and slowly raise the temperature to remove all of the wax from inside the plaster, or burning it out as they say. You are then left with a hollow shell that can withstand the aluminum.
Melt the aluminum
Using the melting furnace and ingots of aluminum from above, make them a liquid by applying appropriate amounts of fire.
Pour the aluminum
Pour the molten aluminum into the investment mold and allow to harden.
Clean and finish the casting
Whew, we are finally here. Soak your casting in water to soften the investment and clean it up. You may need a Dremel or other power-tools depending on how clean your original is.
Assemble and Install Electronics
Assemble the final piece, install your panels and electronics, and other do-dads and you’re good to go.
Well, you’ll notice there are no images for the second half of the process, so that’s all conjecture. I hope it goes well and will update you next week with the results!